An oil change is the key maintenance job for a motorbike engine. Fresh oil reduces wear, carries heat away better and keeps the engine clean. You can easily do it at home with basic tools.
The most convenient times are in spring before the season starts and in autumn before winter storage, as well as at the mileage the manufacturer specifies.
What you will need
- cardboard or old newspapers for the floor
- a drain plug spanner and a filter wrench
- a new drain plug washer
- a drain pan, funnel, rags and gloves
- new oil recommended by the bike manufacturer and a new filter
- WD-40 Specialist Penetrant for seized fasteners
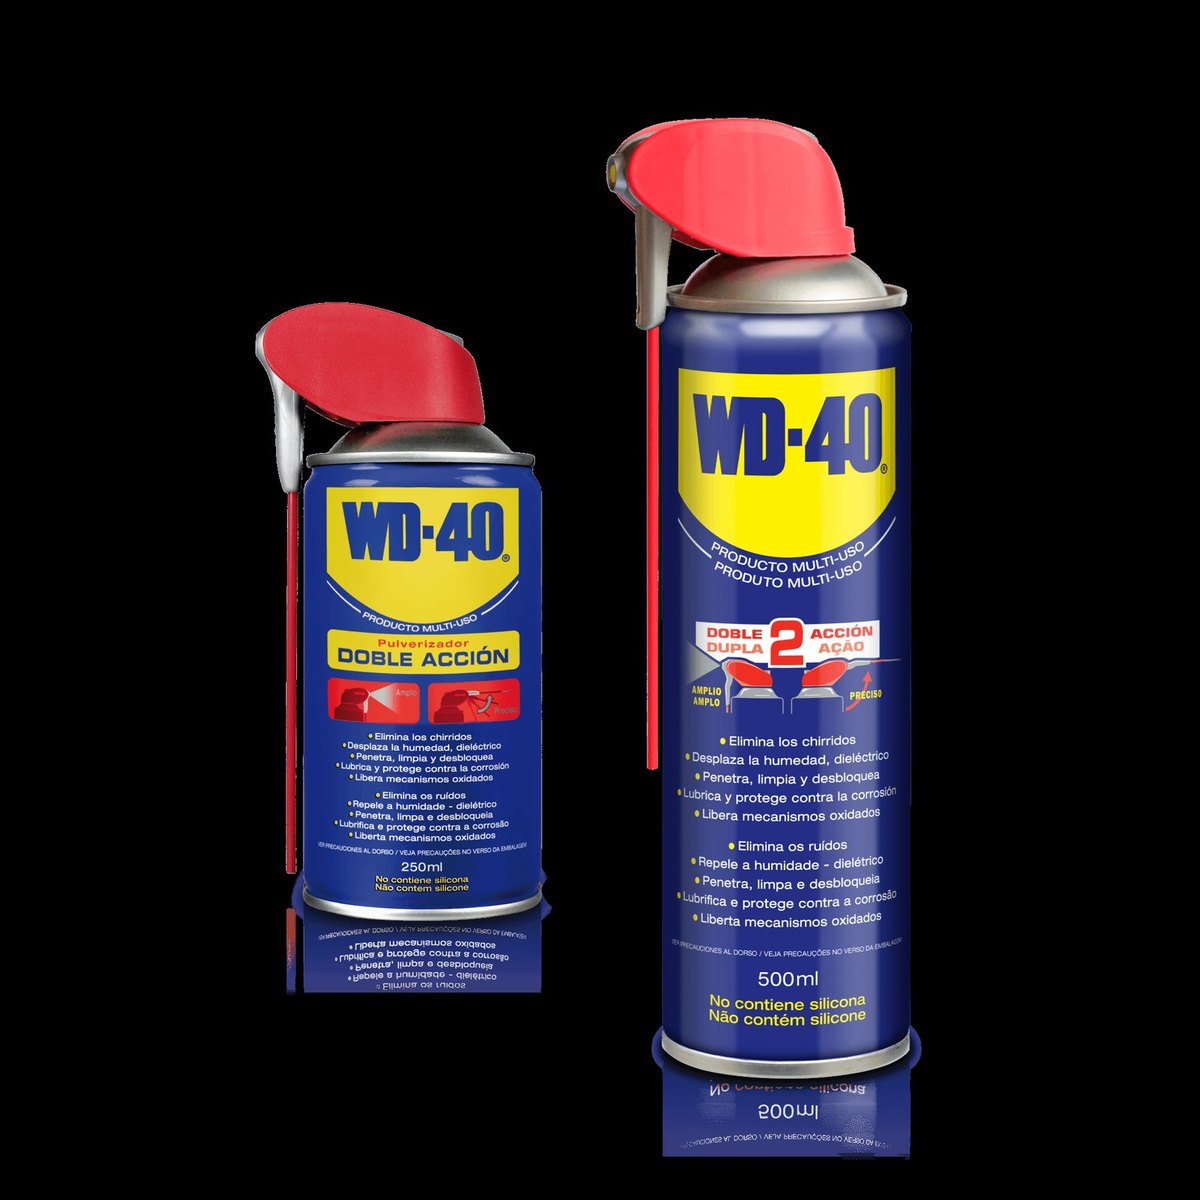
- WD-40 Multi-Use for cleaning and protection
Important: Work only on a cold or barely warm engine: hot oil burns. Keep oil and WD-40 products off brake discs, pads and tyres; if any gets on them, clean those parts thoroughly before riding.
Step 1
Prepare the area and the bike
Check the manual for the right filter, the oil type and viscosity, the capacity and the drain plug torque. For bikes with a wet clutch use motorcycle oil with the manufacturer's approval, as ordinary car oil can cause clutch slip. Choose a level, well-lit and ventilated spot, cover the floor with cardboard and put the bike on its centre stand or a paddock stand so it stands upright.
Step 2
Loosen the drain plug
Find the drain plug at the bottom of the engine. Dirt, moisture and road salt often make it seize. Apply WD-40 Specialist Penetrant, wait a few minutes for it to work into the thread, then undo it with the correct size spanner. Put the pan right under the plug and remove the filler cap so the oil drains faster.

Step 3
Drain the oil and change the filter
Let the oil drain completely. Meanwhile remove the oil filter with the wrench, keeping a rag ready as it holds some oil. Wipe the mounting face, smear the new filter's seal with fresh oil, screw it on by hand and then tighten as instructed. Clean the drain plug (its magnet often collects metal particles), fit a new washer and tighten the plug to the recommended torque.
Step 4
Fill with new oil
Using a funnel, slowly pour in exactly the amount specified for your model. Refit the filler cap.
Step 5
Check the level and look for leaks
Start the engine and let it idle for two or three minutes so the oil circulates. Switch off, wait a few minutes and check the level on the dipstick or sight glass as described in the manual. Top up carefully if needed. Slide a sheet of paper under the engine: if it stays clean after a few minutes, the plug and filter are not leaking.
Step 6
Clean and protect the engine
Wipe oil drips and grime off the crankcase with a rag moistened with WD-40 Multi-Use. Then apply a thin film to the drain plug, bolt heads and chrome parts: it displaces moisture and guards against rust, which matters after riding on wet, salted roads. Tight spots are easy to reach with the thin straw of WD-40 Smart Straw.
Tip: Pour the used oil into a sealed container and take it to a collection point or garage; never pour it into the ground or drains. Write the date and mileage of the change on a label under the seat.
What next
Change the oil at the manufacturer's interval or at least once a season, and check the level before every long ride.
These uses come from the experience of WD-40 users in many countries. Always follow the instructions and warnings on the product label.
More guides in «How to use».