A motorcycle battery does not last forever: after a few seasons, especially if the bike spent the winter in a cold garage without a charger, it stops holding charge. You can replace it yourself in half an hour, no mechanic needed.
The key points are preparing the new battery, following the right order for disconnecting and connecting the terminals, and protecting the contacts from corrosion, because moisture and road grime quickly take their toll.
What you will need
Important: Always disconnect the negative first and connect the positive first. If a spanner touches the frame while only the positive is off, you can blow a fuse or get a spark and a burn.
Step 1
Prepare the new battery
Most motorcycle batteries are lead-acid: maintenance-free AGM types or ones filled with acid at the point of sale. Lighter lithium batteries are also available. Choose by capacity, size and terminal layout as specified in the bike's manual.
Even a factory-filled battery should be charged before fitting, ideally overnight. Connect the charger to the positive first, then the negative, and once it shows a full charge, disconnect in reverse order.
Step 2
Get to the battery
The battery usually sits under the seat, on some models under the tank or behind a fairing panel. If in doubt, check the owner's manual.
Remove the seat. If the fixing screws have seized from moisture and salt, apply WD-40 Multi-Use, wait a few minutes and undo them without forcing.
Step 3
Disconnect and remove the old battery
Switch off the ignition. Undo the negative lead, usually black, from the terminal marked minus. Only then remove the positive, red lead.
Take off the retaining bracket or rubber strap and lift the battery out carefully, keeping it level. Do not throw the old battery in the bin; take it to a recycling point.
Step 4
Clean the cable ends and fit the new battery
Inspect the cable ends: white or greenish deposits impair contact. Brush them off, treat with WD-40 Specialist Contact Cleaner and let it dry.
Fit the charged battery, checking where positive and negative are: on a different model they may be reversed. A lithium battery is smaller than a lead one, so fill the gap with foam spacers to stop it moving. Secure the bracket, connect positive, then negative, without fully tightening yet.
Step 5
Test and protect the terminals
Turn on the ignition: the dashboard lights should come on and the engine should start. If all is well, tighten the terminal bolts firmly.
Apply a thin layer of WD-40 Specialist White Lithium Grease to the terminals and cable ends. It does not run off under vibration and protects the connections from corrosion and moisture. Refit the seat.
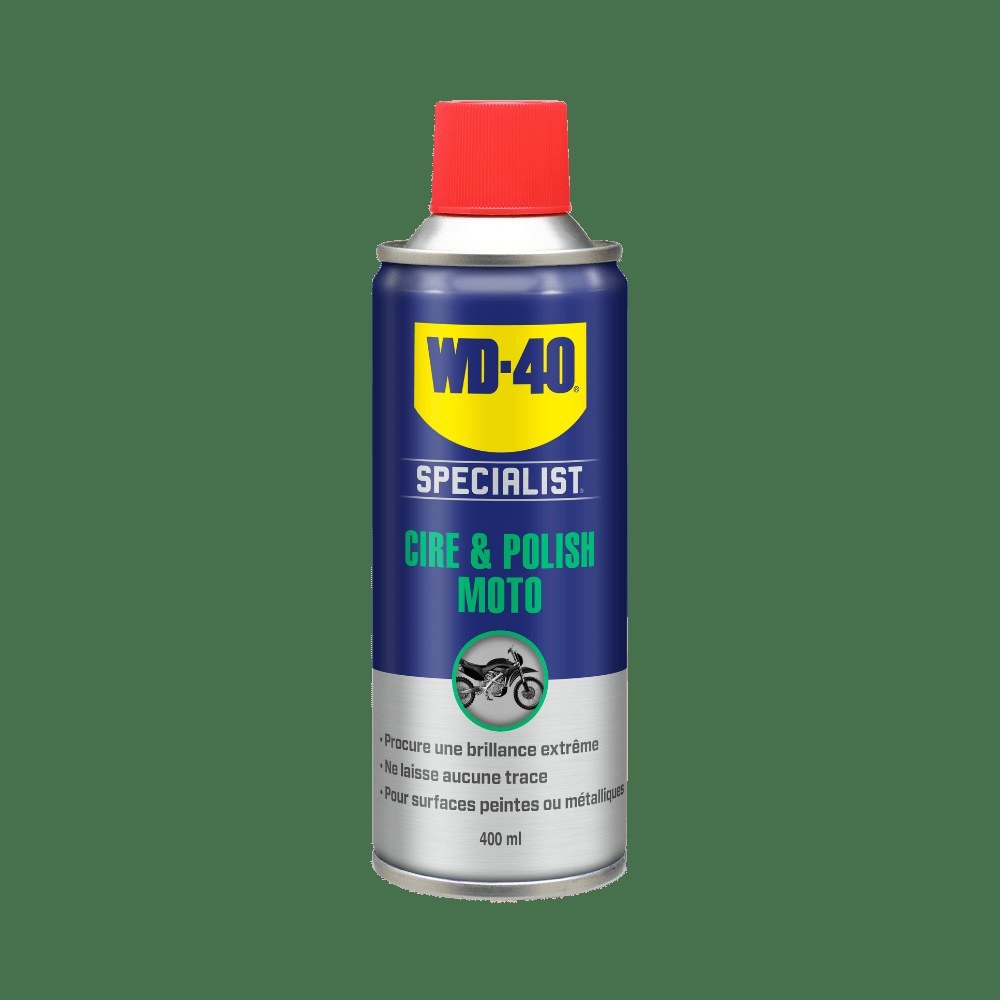
Tip: If the bike is laid up for winter, remove the battery and store it somewhere warm and dry, topping it up with a charger once a month. That way even an inexpensive battery will last several seasons longer.
What next
At the start of every season check the terminal bolts and renew the protective layer of WD-40 Specialist White Lithium Grease. If the starter begins to turn sluggishly, clean the contacts with Contact Cleaner first before thinking about a new battery.
These uses come from the experience of WD-40 users in many countries. Always follow the instructions and warnings on the product label.
More guides in «How to use».