The chain and both sprockets wear together, so they are replaced as a kit. Signs it is time: tight links that no longer straighten, sprocket teeth that are pointed or hooked, and slack you have to adjust more and more often. Left too long, a chain can snap and damage the engine casing.
You can replace the kit yourself with the right tools and a torque wrench. Take torque and slack figures from your manual.
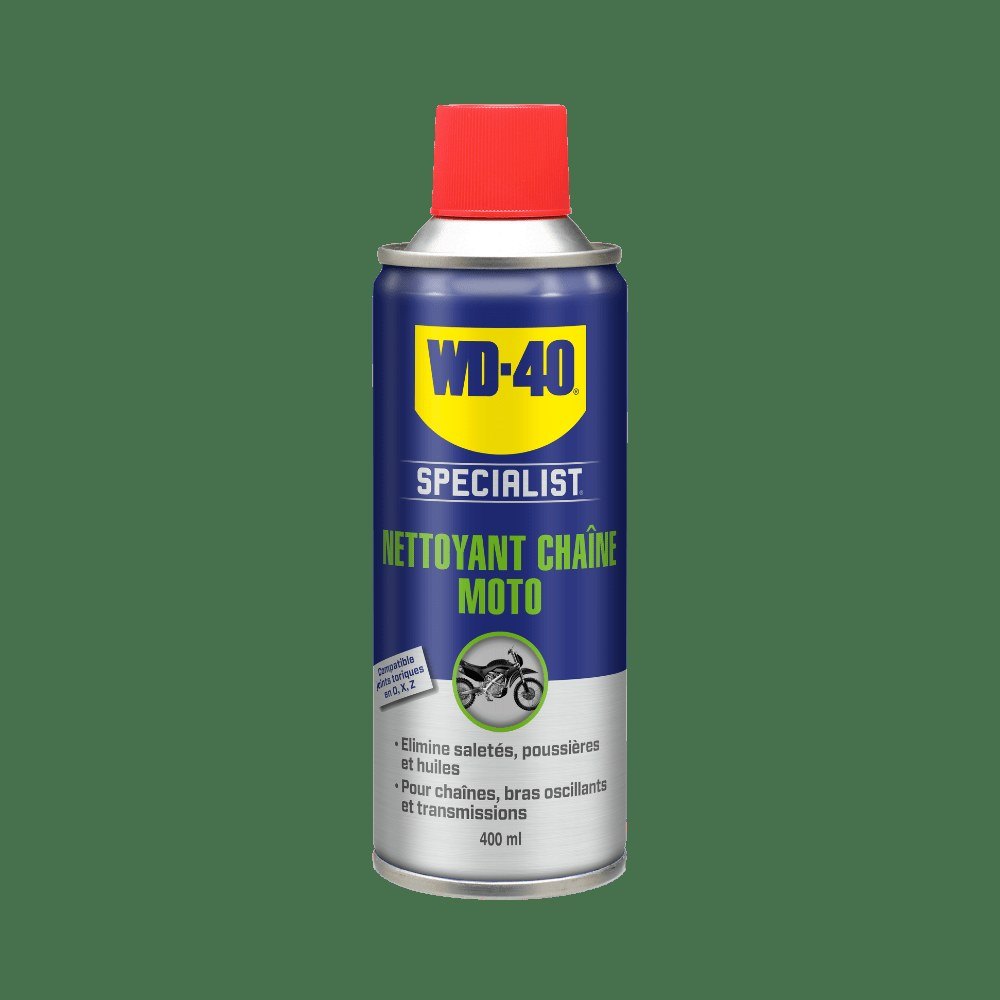
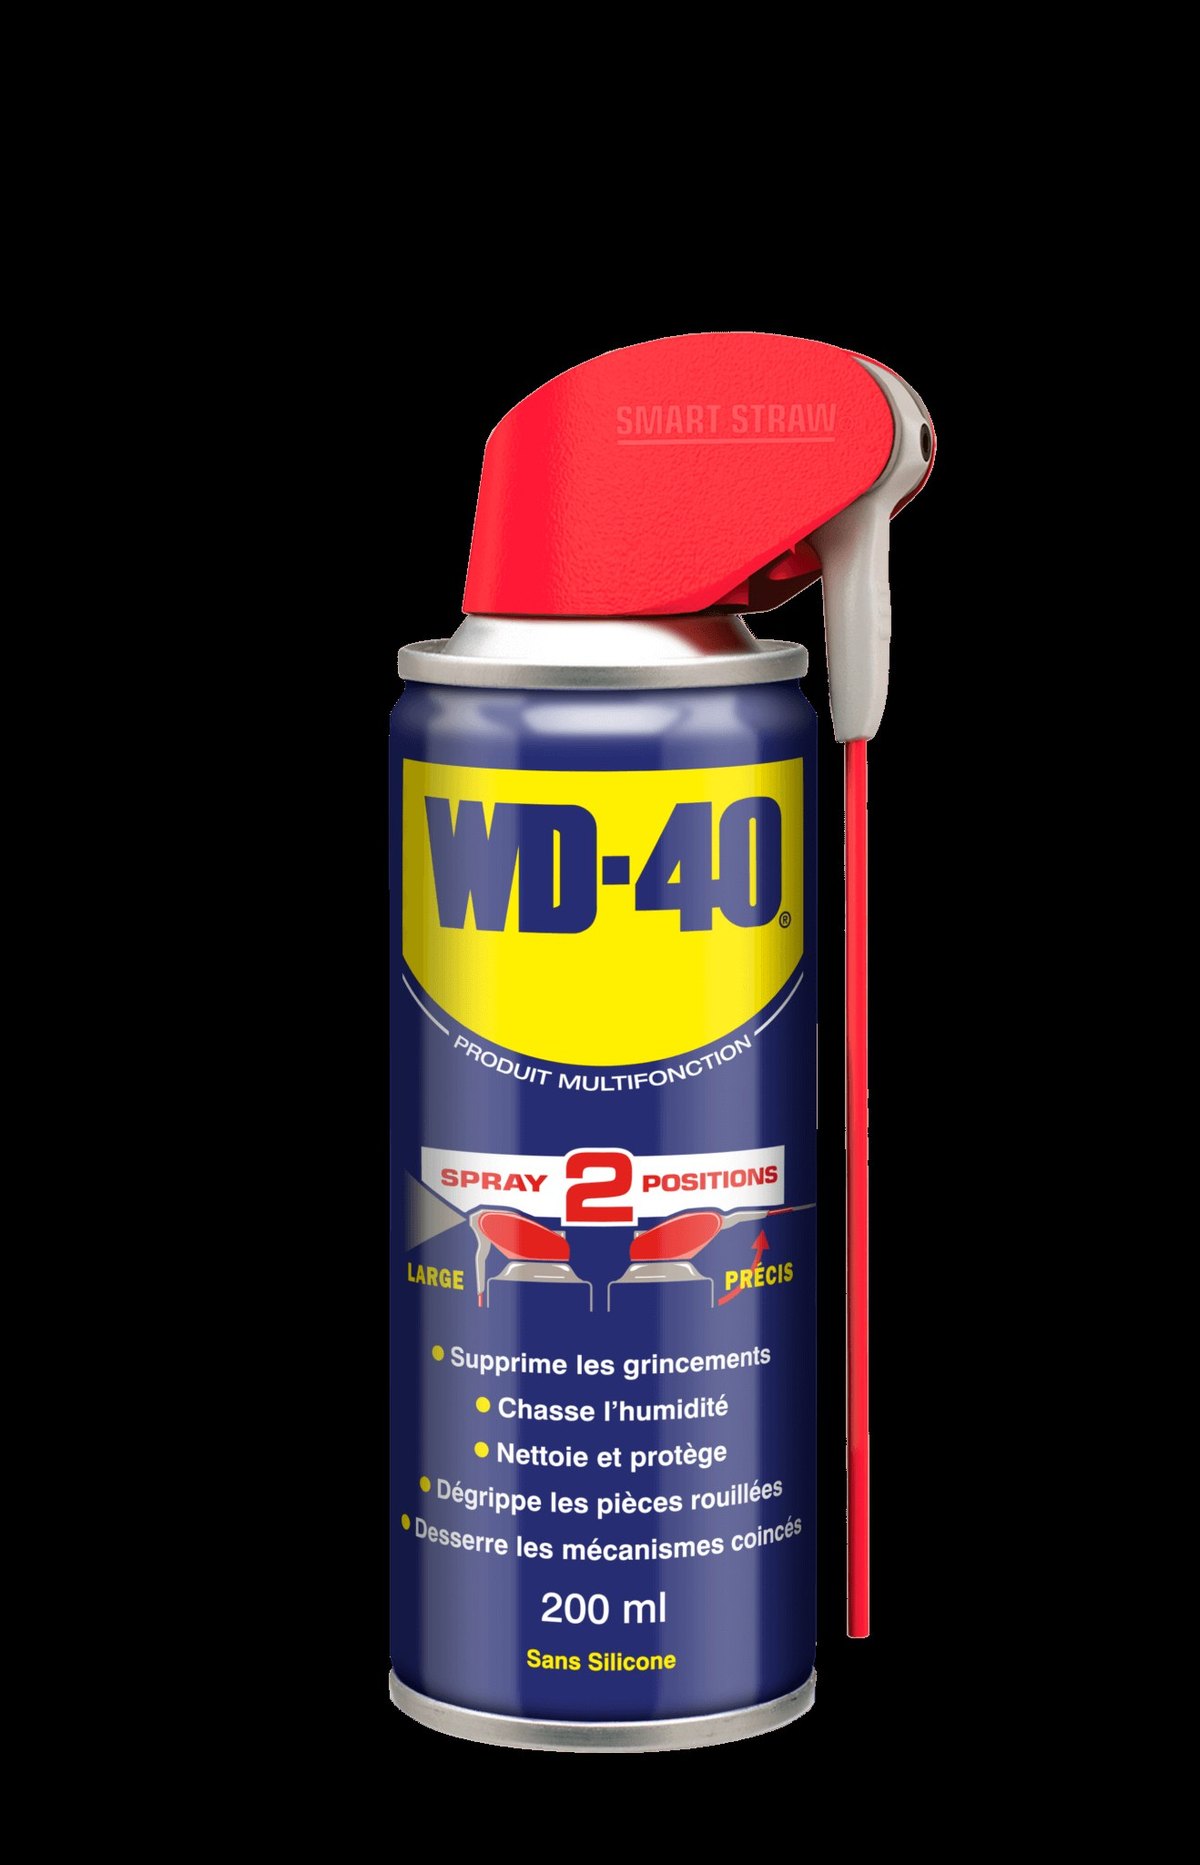
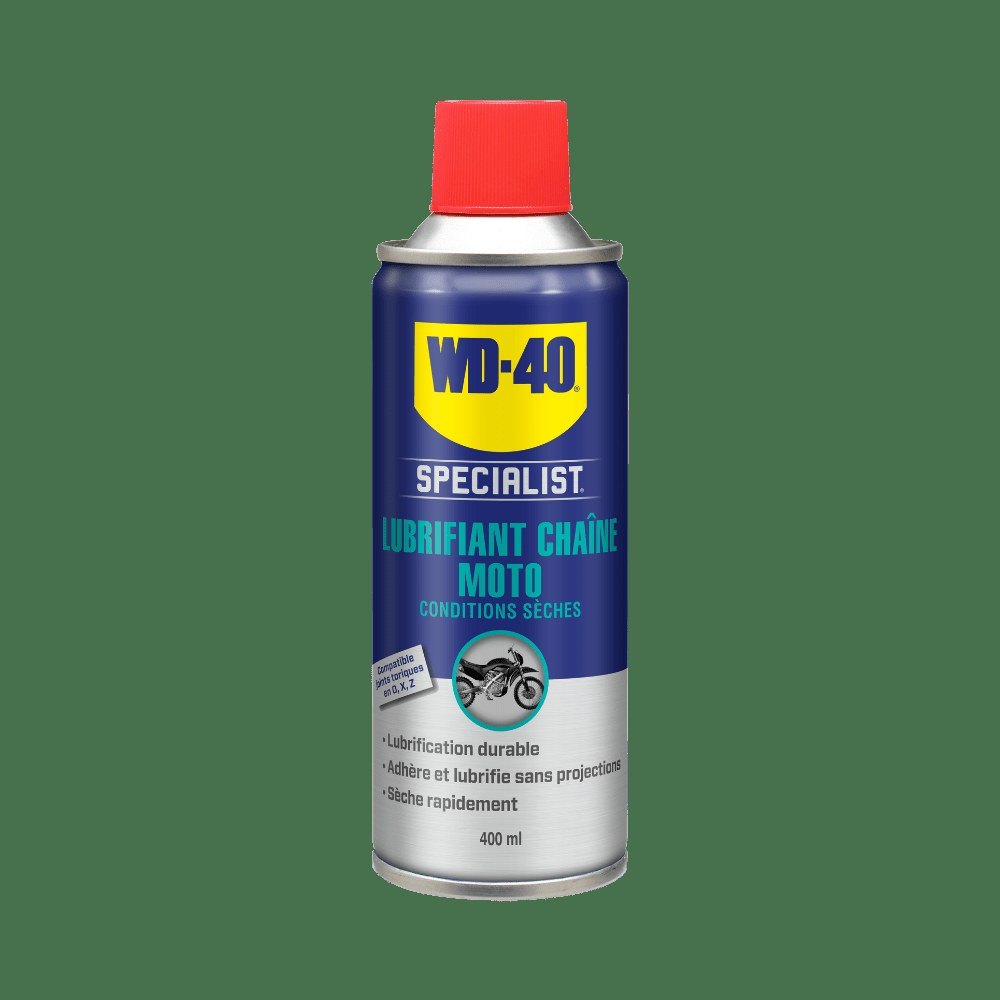
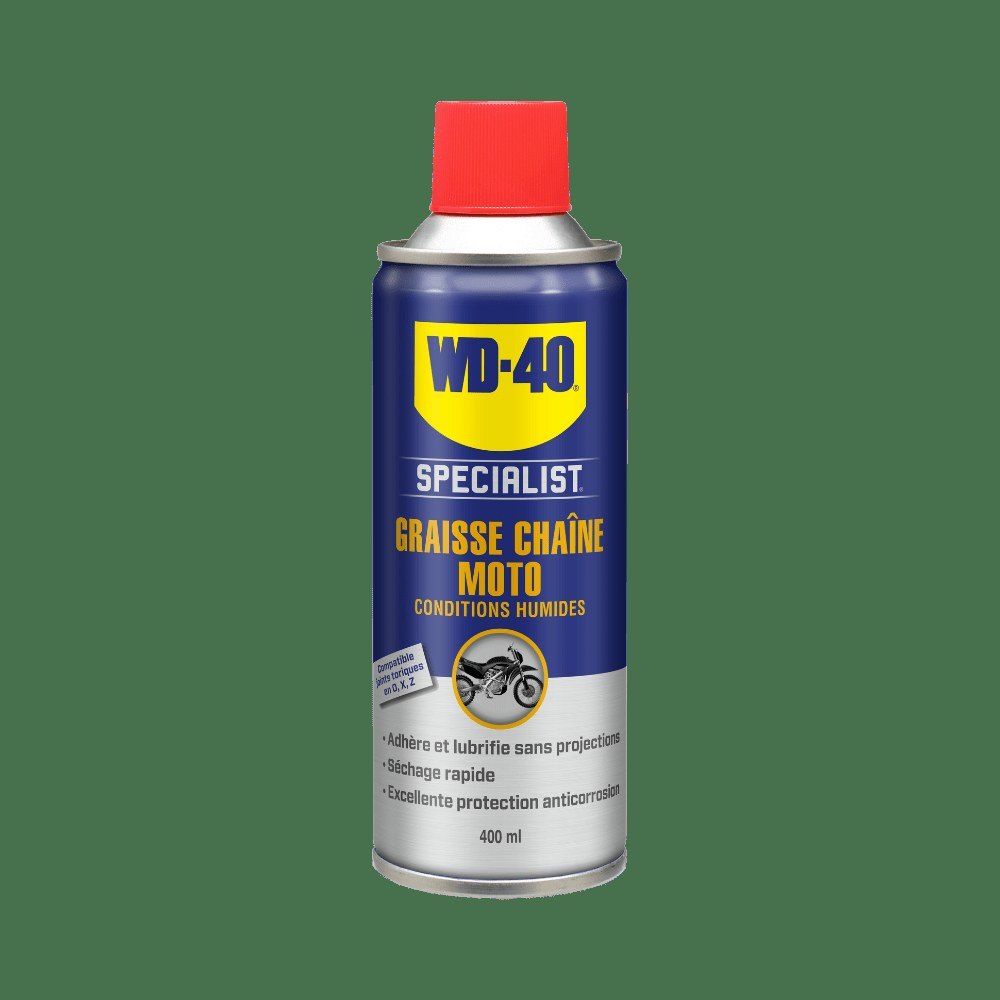
What you will need
Important: Keep all lubricants away from the brake disc, pads and tyre. Make sure the bike is secure on its stand and the engine is switched off and cool before you start.
Step 1
Remove the cover and the old chain
Put the bike on a centre stand or paddock stand so the rear wheel spins freely. Use a T-handle wrench to remove the front sprocket cover. Some models need the gear linkage disconnected first.
Undo the front sprocket bolt or nut. If it is seized, spray the thread with WD-40 Specialist Penetrant, wait a few minutes and try again. Break one link with the chain tool, or grind off the pin heads and drive them out with a punch, then remove the chain and the old front sprocket.
Step 2
Replace the rear sprocket
Loosen the axle nut and remove the rear wheel. Undo the sprocket nuts, take the sprocket off and clean the hub mounting face of dirt and old grease with WD-40 Multi-Use and a clean cloth.
Fit the new sprocket with the markings facing out. Start the nuts in a cross pattern, then tighten them to the manufacturer's torque. Refit the wheel, preset the chain adjusters and fit the new front sprocket without fully tightening it yet.
Step 3
Fit and rivet the new chain
Route the chain around both sprockets. If it is too long, remove the extra links with the chain tool; if it is too short, move the wheel forward using the adjusters.
Grease the master link with the grease supplied in the kit, fit the O-rings on the pins, insert the link, add the remaining O-rings and the side plate. Press the plate on with the tool, checking the link width with a calliper: it must match the neighbouring links. Rivet the pins and measure again.
Step 4
Set the chain slack
Measure the vertical play of the lower chain run midway between the sprockets and adjust it to the figure in your manual. Usually you loosen the axle and turn the adjusters on both sides by the same amount so the wheel stays aligned with the marks.
Once the slack is right, torque the axle nut, then fully tighten the front sprocket and refit the cover.
Step 5
Lubricate the chain and test ride
Turning the wheel, apply WD-40 Specialist Motorcycle Chain Lube to the inner side of the chain, give it a few minutes to penetrate and wipe off the excess. Ride a short distance slowly, then recheck the slack.
Tip: Recheck the slack after the first 100-200 km: a new chain beds in and stretches slightly. In autumn and winter, with wet roads and de-icing salt, clean and lubricate the chain more often than in summer.
What next
From here, regular care is enough: clean off dirt and lubricate every 500-800 km and after every ride in the rain. To protect the adjuster bolts and axle from corrosion during storage, use WD-40 Multi-Use.
These uses come from the experience of WD-40 users in many countries. Always follow the instructions and warnings on the product label.
More guides in «How to use».