Brake discs gradually lose thickness, become scored and rusty, and braking weakens. Front discs are typically replaced about every 60,000 km, but city driving, mountain roads and salty winters can bring that forward. Warning signs include grinding or squealing under braking, judder through the wheel or pedal, and a noticeable lip at the edge of the disc.
The job can be done in a garage with a jack, axle stands and a torque wrench. If you are not confident, leave it to a workshop: incorrectly assembled brakes are life-threatening.
What you will need
- new brake discs and pads (always replaced in axle pairs)
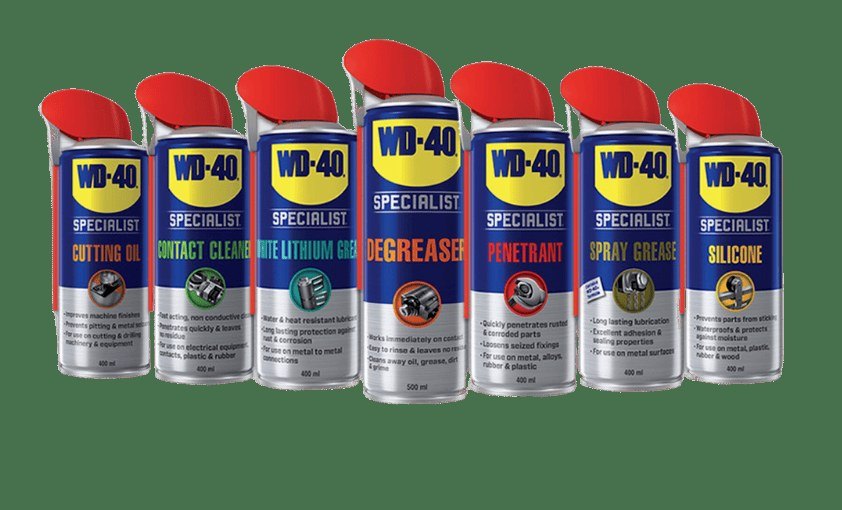
- WD-40 Specialist Penetrant for seized bolts and discs
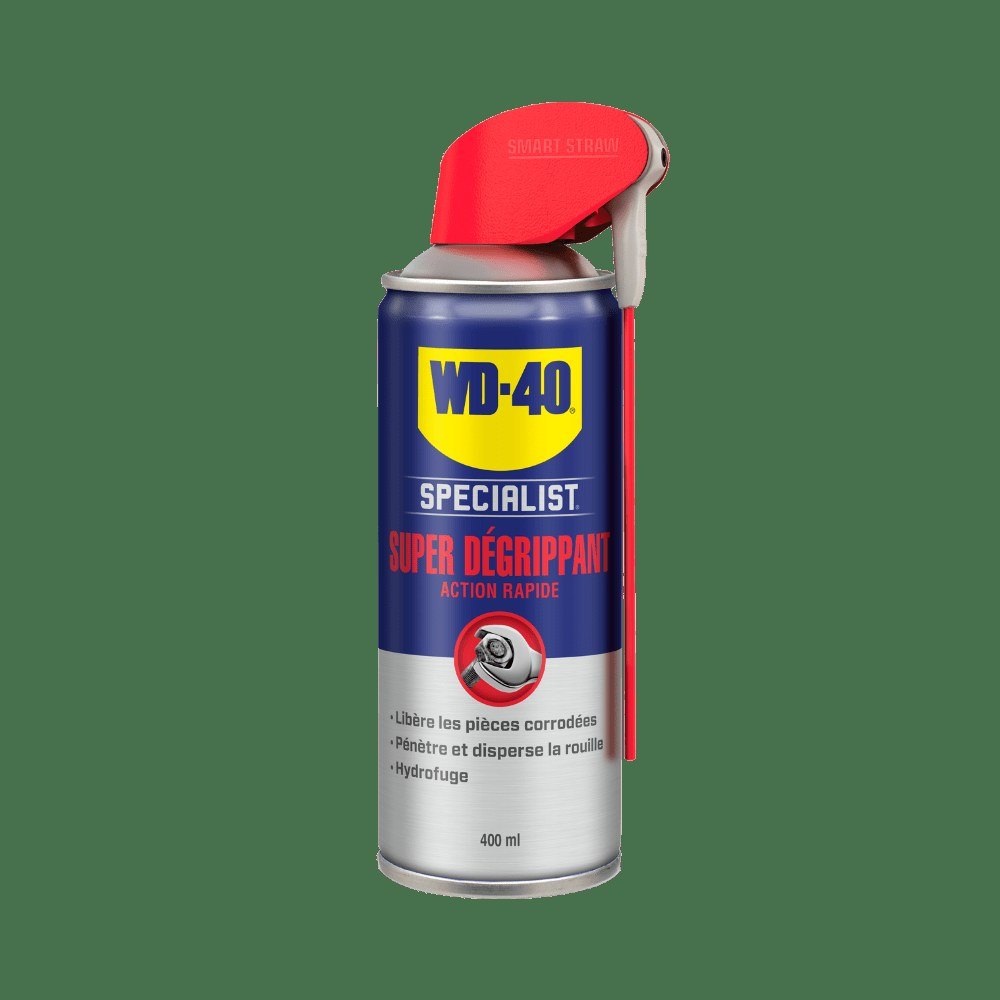
- WD-40 Smart Straw for precise application on threads
- jack, axle stands, wheel brace
- sockets, Torx and Allen keys, torque wrench
- G-clamp or piston tool, rubber mallet, wire brush
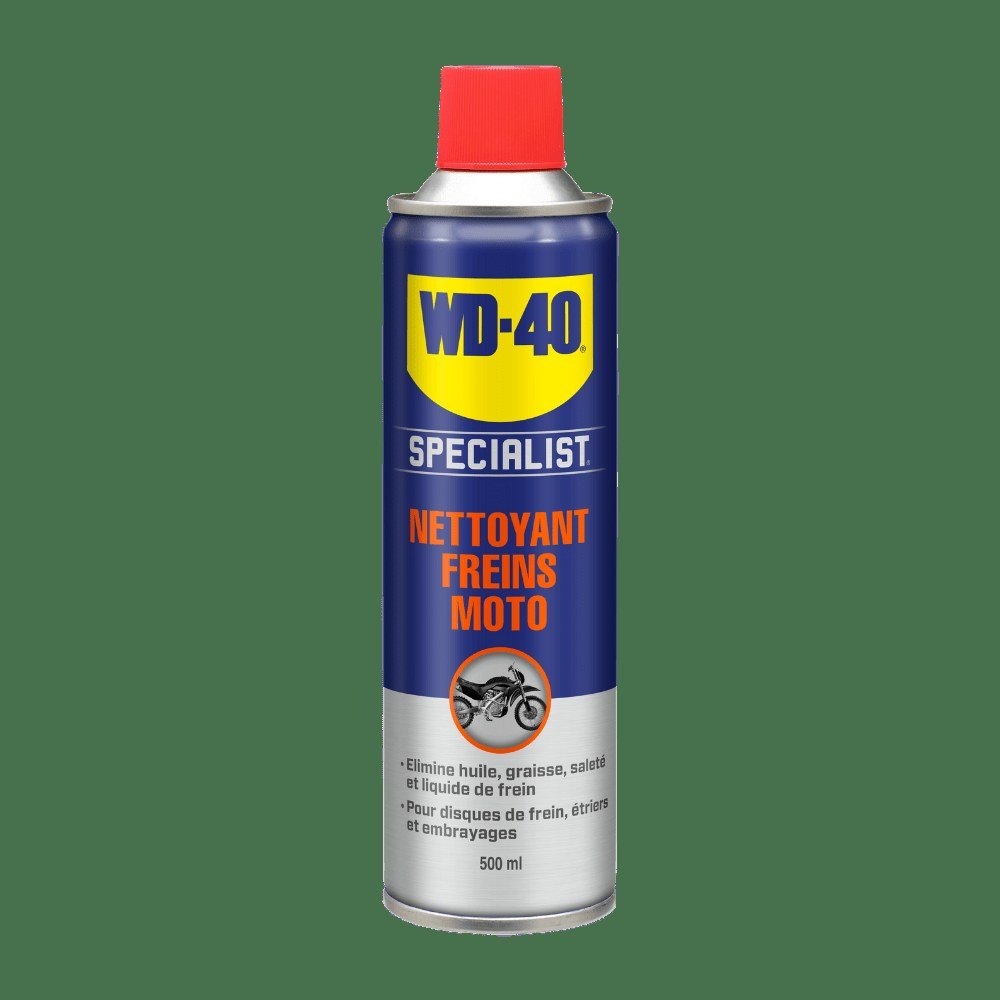
- brake cleaner, rags, thread locker, gloves
Important: Never work under a car supported only by a jack. Apply penetrants and lubricants only to threads and the disc-to-hub joint, and wash everything off the disc friction surface and pads with brake cleaner.
Step 1
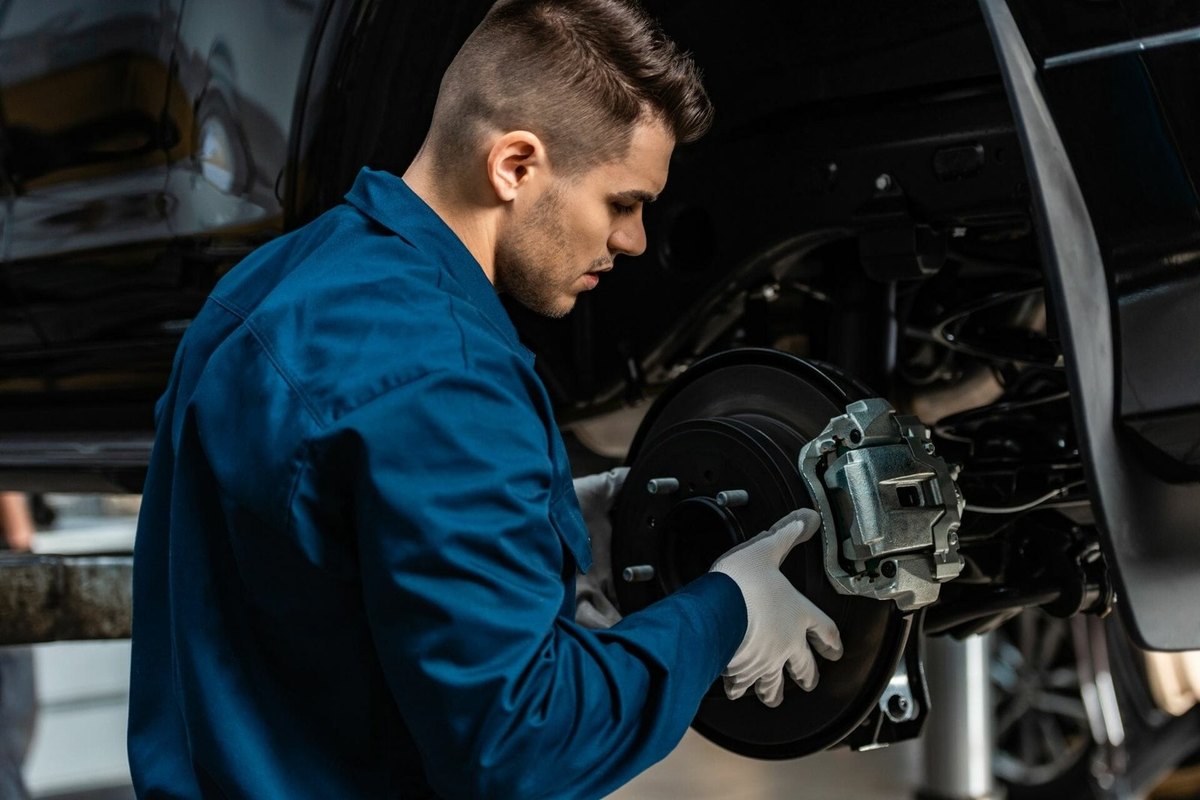
Lift the car and remove the wheel
Park on level ground, apply the handbrake, engage a gear and chock the wheels on the other axle. Loosen the wheel bolts a quarter turn, raise the car at the correct jacking point and lower it onto an axle stand. If the bolts are seized, apply a little WD-40 Smart Straw to the threads through the straw and wait a few minutes. Remove the wheel.
Step 2
Remove the calliper and carrier
First loosen the disc retaining screw while the calliper still holds the disc, otherwise the disc will spin. Remove the dust caps and undo the calliper guide bolts. If they are corroded by road salt, treat them with WD-40 Specialist Penetrant and give it 5 to 10 minutes.
Hang the calliper from the suspension spring with wire: it must not hang on the brake hose. Unbolt the pad carrier.
Step 3
Take off the old disc
Remove the Torx screw or screws holding the disc. Discs often seize to the hub. Apply WD-40 Specialist Penetrant all round the joint between disc and hub, wait, then tap the non-friction area with a rubber mallet. Once it is off, clean rust from the hub face and carrier with a wire brush: any unevenness will cause the new disc to run out of true.
Step 4
Fit the new disc and pads
Check the new disc is identical to the old one. Wash off the factory anti-corrosion coating with brake cleaner and do not touch the friction surface again. Fit the disc to the hub and refit the screw.
Always fit new pads with new discs. Use a G-clamp or piston tool to push the piston slowly back into the calliper, making sure the fluid reservoir does not overflow. Insert the pads without stretching the hose.
Step 5
Reassemble and test the brakes
Refit the carrier and calliper. Clean the bolts, apply thread locker and tighten to the torque in the vehicle manual. Refit the dust caps. Fit the wheel, lower the car and torque the wheel bolts in a cross pattern. Repeat on the other side of the axle.
Before driving, pump the brake pedal until it feels firm. For the first 200 to 300 km brake gently and avoid hard stops so the pads bed in to the discs.
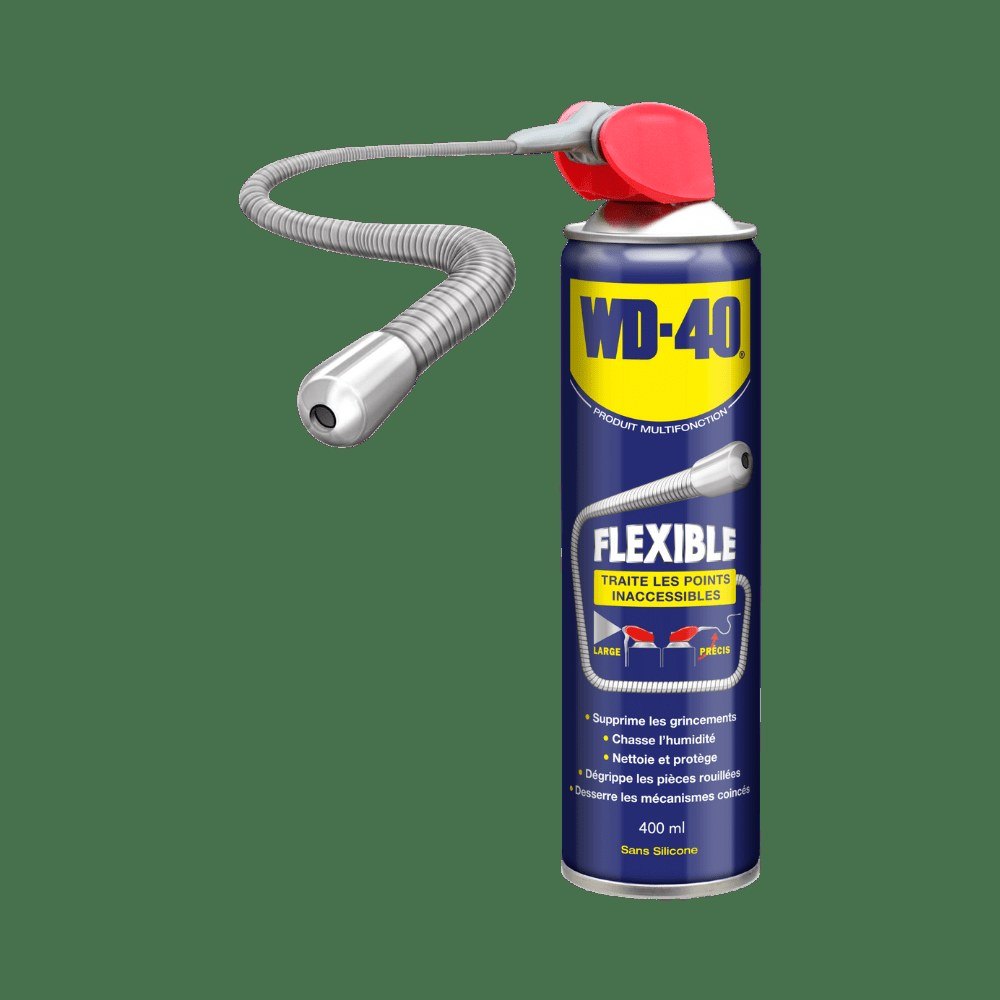
Tip: Winter road salt quickly bonds the disc to the hub. Every time you change to seasonal tyres, treat the wheel bolts and disc screw with
WD-40 Smart Straw and wipe off the excess: the next disc change will take half the time.
What next
Check disc and pad thickness at every service. Rear discs do not have to be replaced at the same time as the fronts, but discs on the same axle are always replaced as a pair.
These uses come from the experience of WD-40 users in many countries. Always follow the instructions and warnings on the product label.
More guides in «How to use».