The carburettor prepares the fuel and air mixture for your generator's engine. When a generator sits unused for months, petrol in the float bowl evaporates and leaves varnish that clogs the jets. The result is familiar after a long break between power cuts: you pull the starter again and again, and the engine will not catch or runs unevenly and stalls.
Typical signs are an engine that will not start despite a good spark plug, hunting revs, stumbling under load, or running only with the choke partly closed. A thorough clean of about an hour usually solves the problem.
What you will need
- WD-40 Smart Straw 420 ml with the thin straw for passages
- WD-40 Specialist Penetrant for seized screws
- Screwdrivers, spanners and a spark plug socket
- A container for draining fuel, clean lint-free rags
- A compressor or a can of compressed air
- Safety glasses and gloves
Important: Work only on a cold engine, outdoors or in a well-ventilated space, away from open flames. Disconnect all loads, close the fuel tap and remove the spark plug cap so the engine cannot start accidentally.
Step 1
Prepare the generator
Switch the generator off and let the engine cool. Unplug all loads, close the fuel tap and pull the cap off the spark plug. Stand the generator on a level surface over cardboard or a drip tray, as a little petrol will escape.
Step 2
Remove the air filter and carburettor
Unscrew the air filter cover and take out the element. Photograph the position of the choke and throttle linkages, springs and fuel hose to make reassembly easier. Drain the float bowl through the drain screw, disconnect the hose and slide the carburettor off its studs.
If the mounting nuts or drain screw have seized with moisture, apply WD-40 Specialist Penetrant, wait 5-10 minutes and undo them with steady force.
Step 3
Dismantle the float bowl
Undo the float bowl bolt and remove the bowl, then the float pin, float and needle valve. Unscrew the main jet and emulsion tube. Keep small parts in a container in order of removal. If the bowl gasket is hard or torn, have a new one ready.
Step 4
Treat the parts and passages
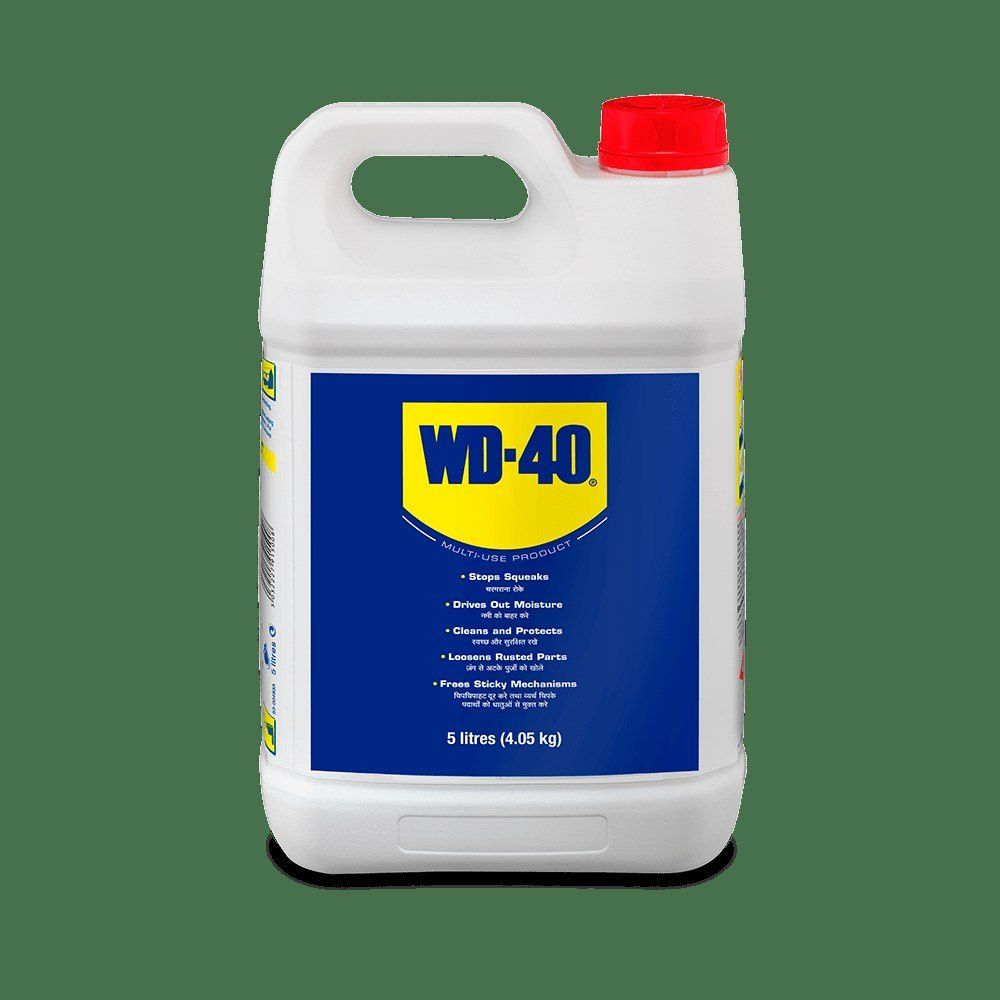
Spray WD-40 Smart Straw onto the carburettor body, the bottom of the bowl, the float and the jets. Use the thin straw to reach into the fuel and air passages. Give it a few minutes to work: it softens varnish and dirt and displaces the moisture that causes corrosion in the bottom of the bowl.
Do not overdo it; evenly wetting the surfaces is enough. Small parts are easiest to soak in a little container.
Step 5
Clear the jets and blow through
Wipe off the softened deposits with a lint-free rag. Never drill out jets or clean them with steel wire, as an enlarged hole upsets the mixture. Treat a blocked jet again and blow it through with compressed air, then blow through every passage in both directions. Do not rinse with water: it stays in the passages and causes corrosion.
Step 6
Reassemble and test
Make sure all parts are dry and the bowl is free of debris. Refit the jets, needle valve, float and bowl with its gasket. Mount the carburettor, reconnect the linkages using your photos, the fuel hose and air filter. Open the fuel tap, refit the plug cap and start the generator. Run it briefly without load, then check it under load.
Tip: If the generator will stand for more than a month, close the fuel tap and let the engine run until it stalls, using up the petrol in the bowl. No varnish forms in the carburettor and it will start easily after the break.
What next
Do a preventive clean once a season or after a long period of storage. Treat the generator's external metal parts, linkages and threaded fasteners with WD-40 Multi-Use from time to time to protect them from moisture and rust. If the generator still will not run after cleaning, check the spark plug and fuel filter, and take it to a service centre.
These uses come from the experience of WD-40 users in many countries. Always follow the instructions and warnings on the product label.
More guides in «How to use».