Pruning shears work on living plants, so every cut leaves sap on the blades. It dries into a sticky film that collects dust and bacteria. A dirty blade can easily carry disease from one shrub to the next, and the shears start crushing stems instead of cutting them.
Regular cleaning, lubrication and sharpening bring back a smooth action and a clean cut. It matters most before winter storage: in a damp shed or cellar bare steel rusts very quickly.
What you will need
- WD-40 Smart Straw with precision straw
- WD-40 Multi-Use to protect the blades
- turpentine or white spirit, 70-90% alcohol, cotton pads, a cloth
- soft brush, fine abrasive paper
- Phillips screwdriver, 11 mm spanner or small adjustable spanner
- sharpening stone
Important: Wear sturdy gloves: the blades are sharp even when the shears cut poorly. Keep alcohol and solvent away from open flames.
Step 1
Take the shears apart (if needed)
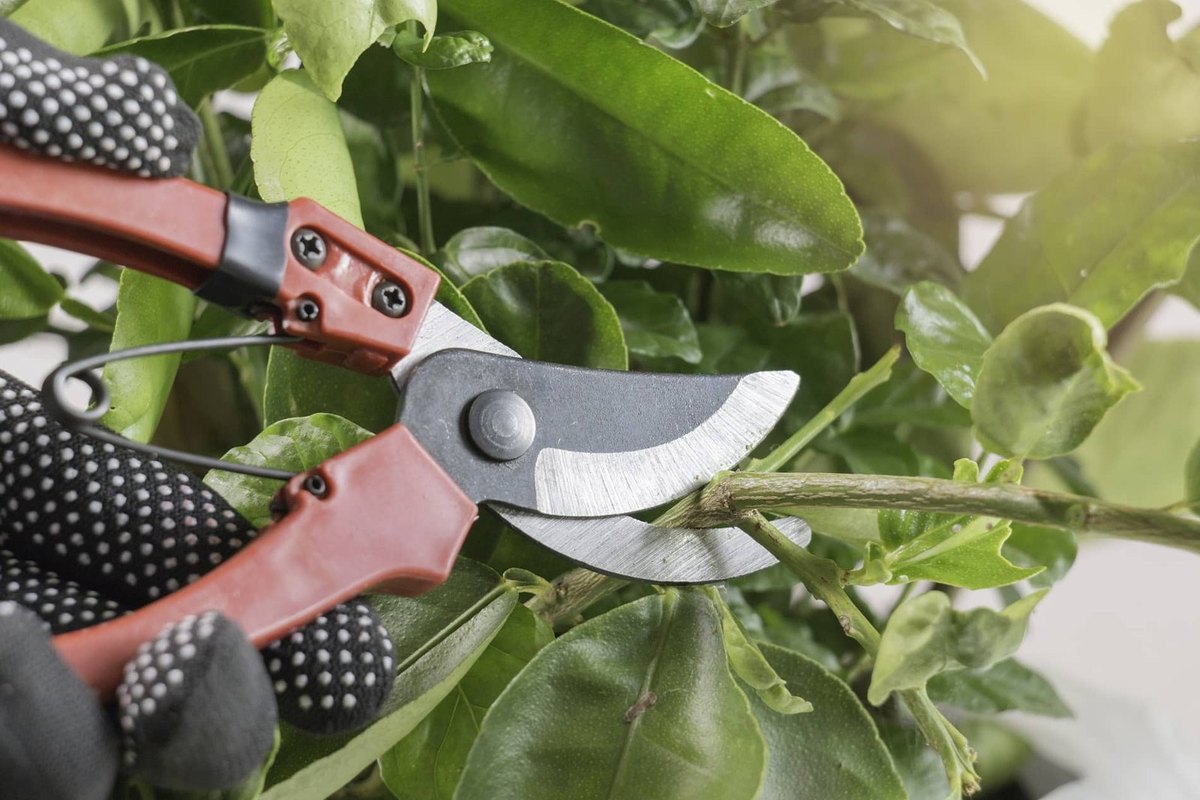
Whether you need to dismantle them depends on the model and condition. Remove the spring first, then the screws in the handles. Hold the central nut with an adjustable spanner on one side and undo it with the 11 mm spanner on the other. The shears now separate into two halves for deep cleaning or blade replacement.
If the central bolt has rusted, apply WD-40 Smart Straw through the precision straw and wait a few minutes. For stubborn cases use WD-40 Specialist Penetrant.
Step 2
Remove sap and resin
Moisten a cloth with turpentine and rub the areas caked with resin. Brush away dry dirt, especially around the pivot. Lightly sand rust spots with fine abrasive paper, rinse off the residue with water and dry the parts completely.
Step 3
Disinfect the blade
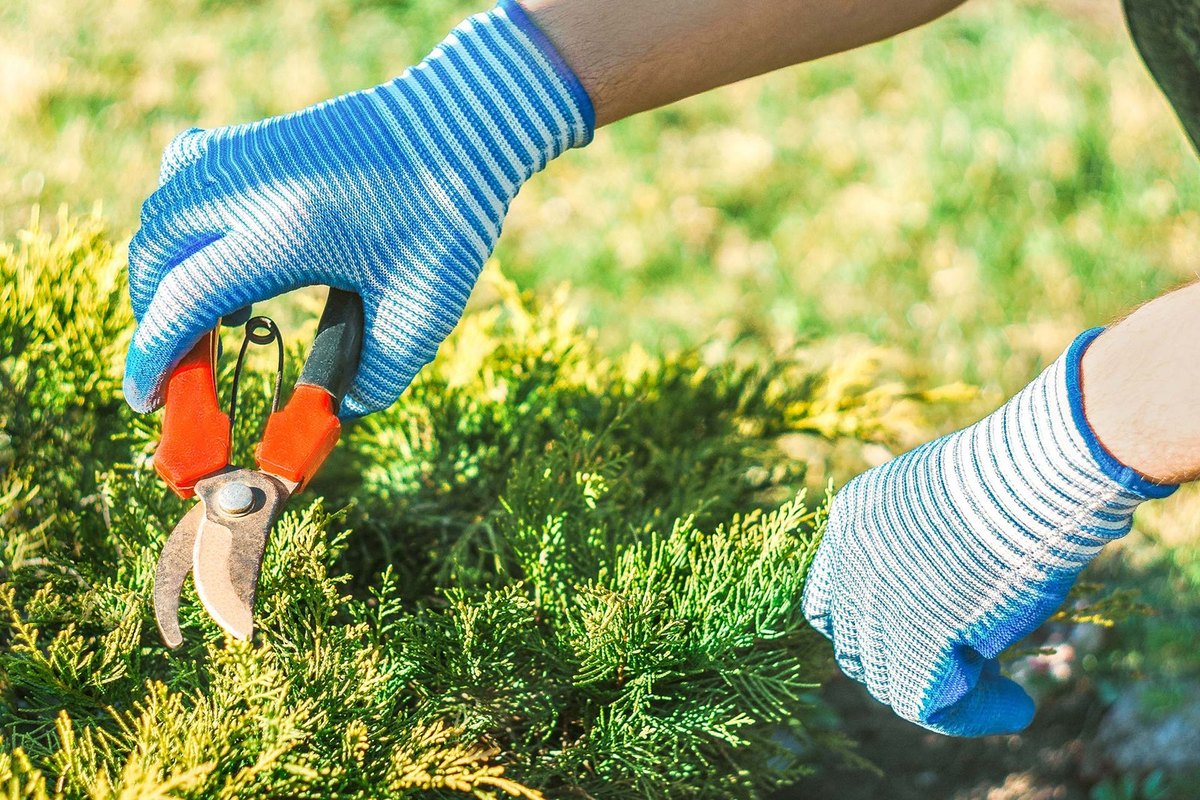
Soak a cotton pad in alcohol and wipe both sides of the blade. When pruning diseased plants, repeat this after every shrub so you do not spread infection around the garden.
Step 4
Lubricate the mechanism
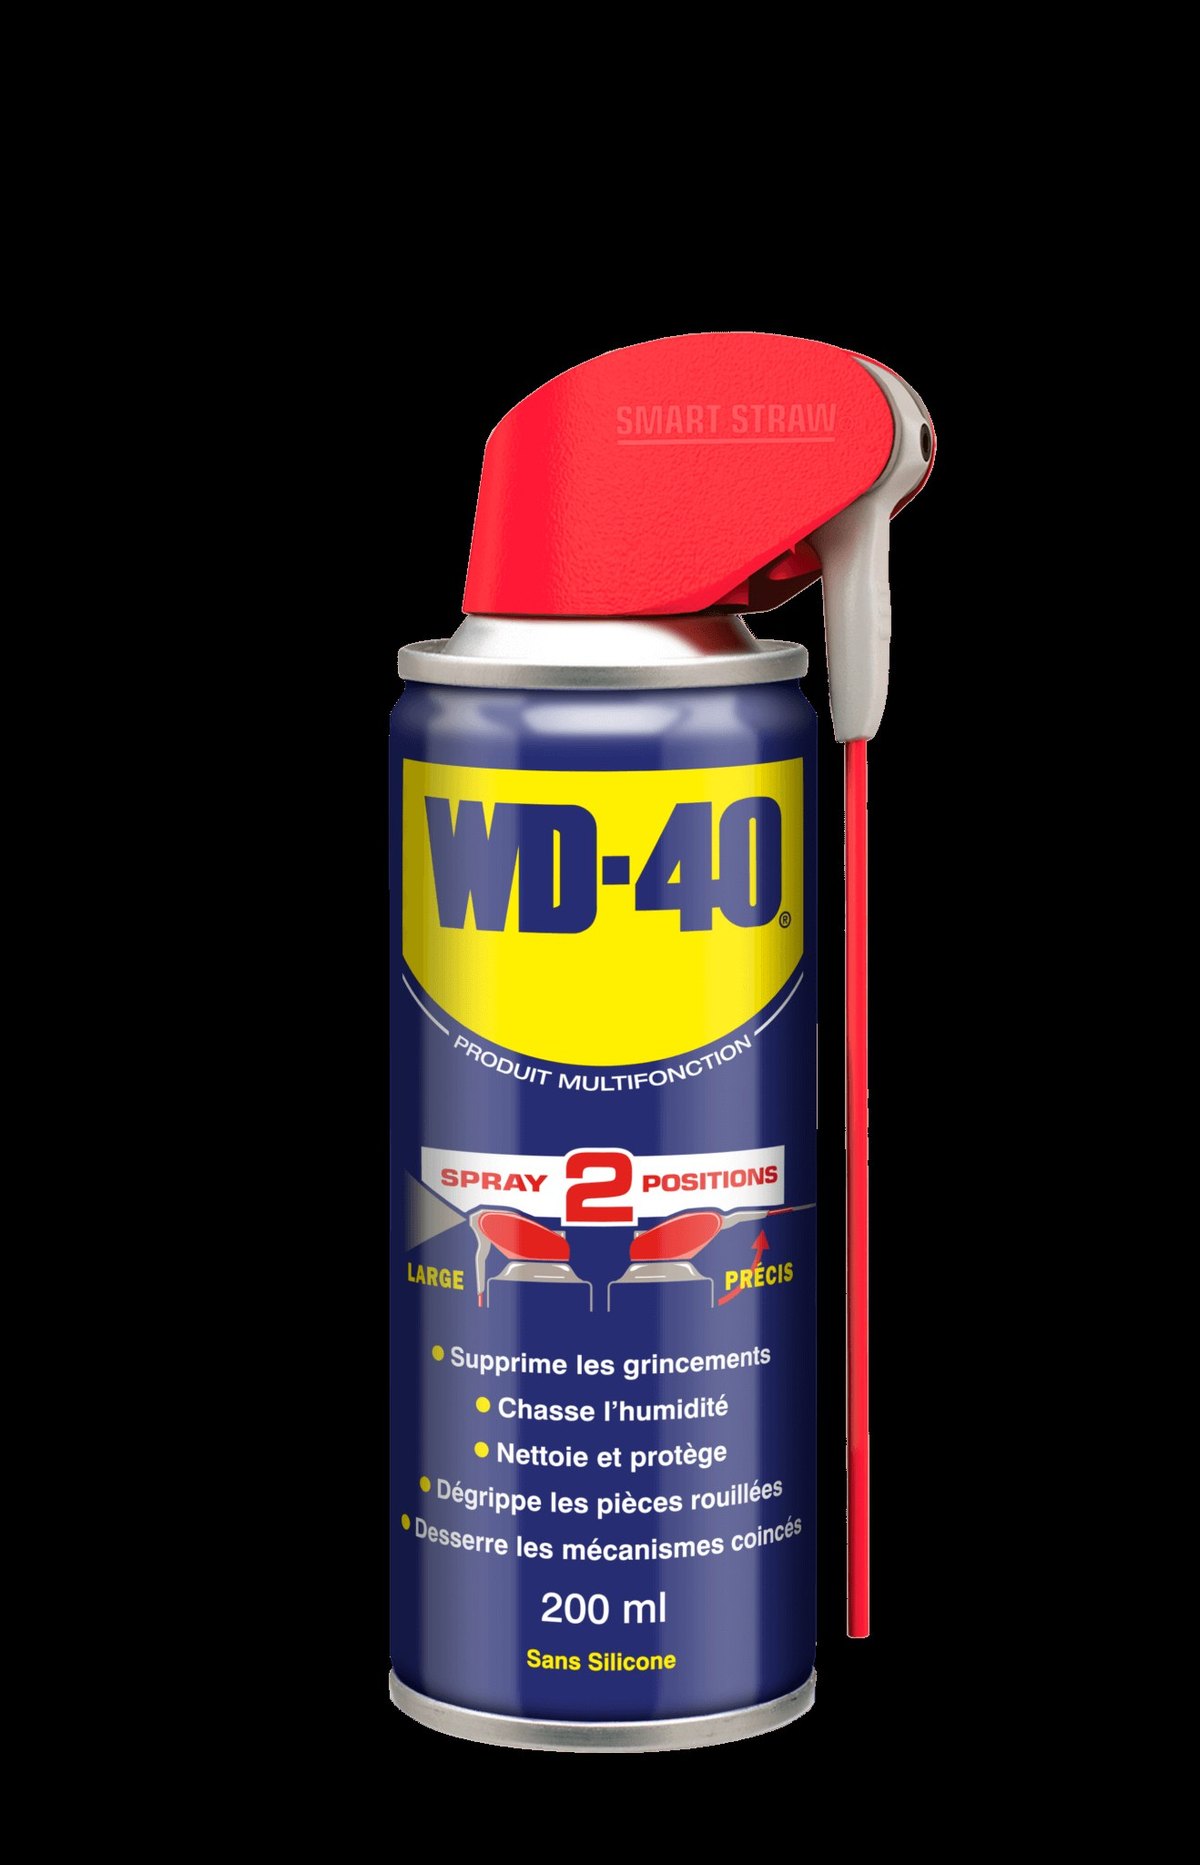
Shake the can and use the straw to apply WD-40 Smart Straw to the pivot, spring and catch. Open and close the handles several times to work it in. It frees the mechanism, displaces moisture and protects the metal from corrosion. Wipe off the excess.
Step 5
Prepare the sharpening stone
Check the cutting edge: if the shears crushed a branch, the blade needs honing. Some stones are soaked in water before use, others are wetted with oil. The instructions for your stone tell you which.
Step 6
Sharpen the blade
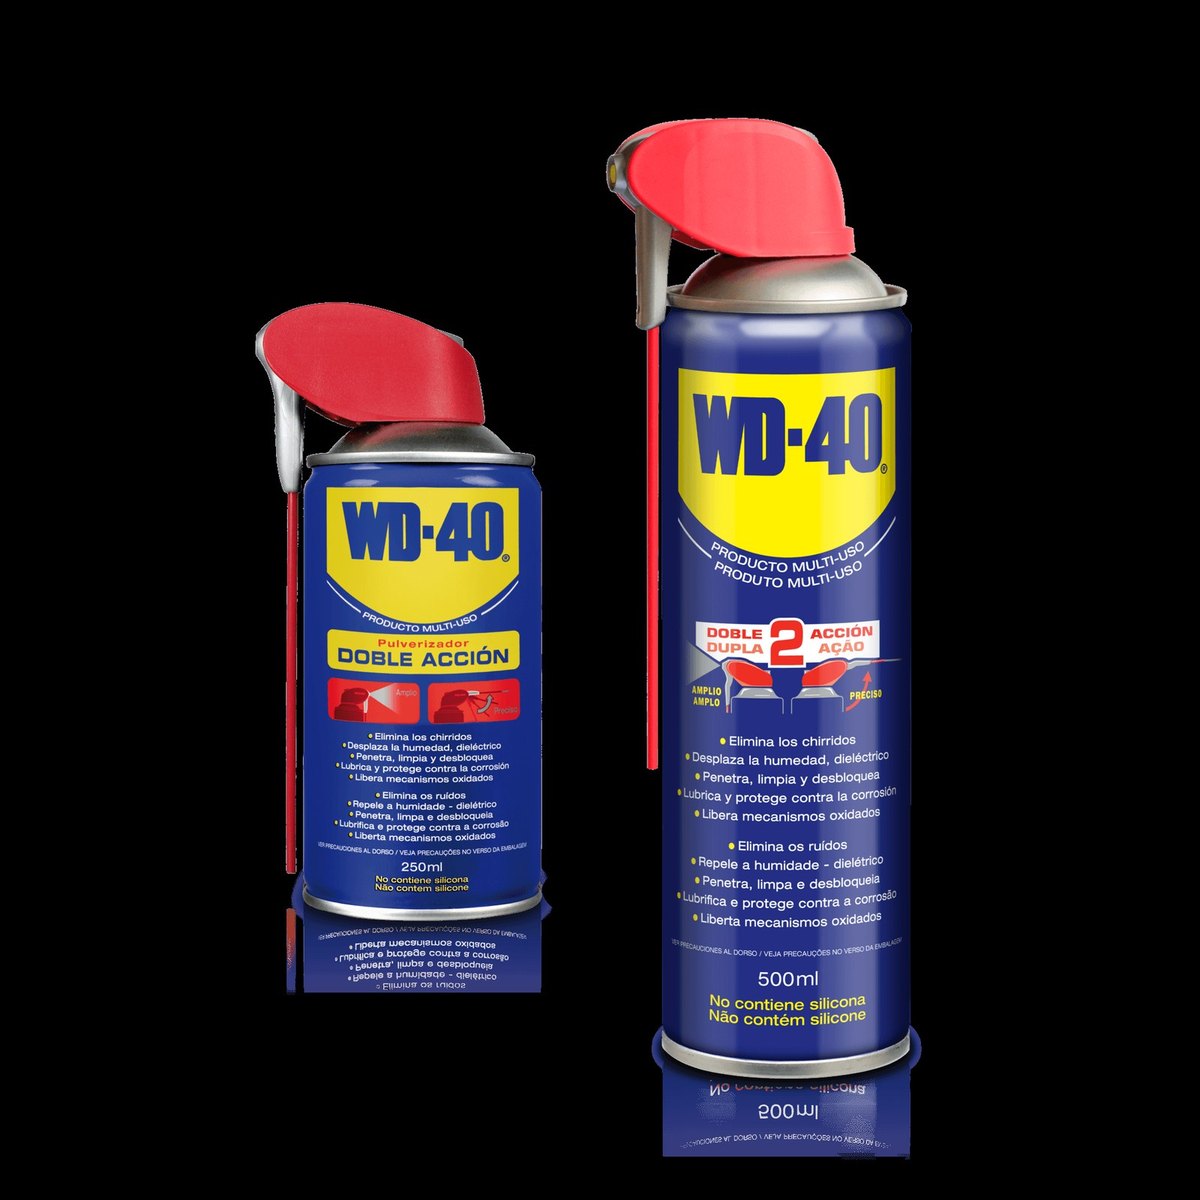
Place the stone against the bevel of the cutting blade and find the factory angle. Draw the stone along the edge in one direction without pressing, holding the angle steady. The anvil or counter blade is usually left alone. Finish with a thin film of WD-40 Multi-Use on the metal and reassemble.

Tip: Keep a small can of WD-40 and a few alcohol pads in your garden bag. A quick wipe after work takes a minute, and then deep cleaning is needed only once or twice a season.
What next
Do a full service in spring before pruning and in autumn before storage. The same steps suit loppers and garden scissors, and WD-40 Multi-Use is handy for the rest of your garden tools too.
These uses come from the experience of WD-40 users in many countries. Always follow the instructions and warnings on the product label.
More guides in «How to use».