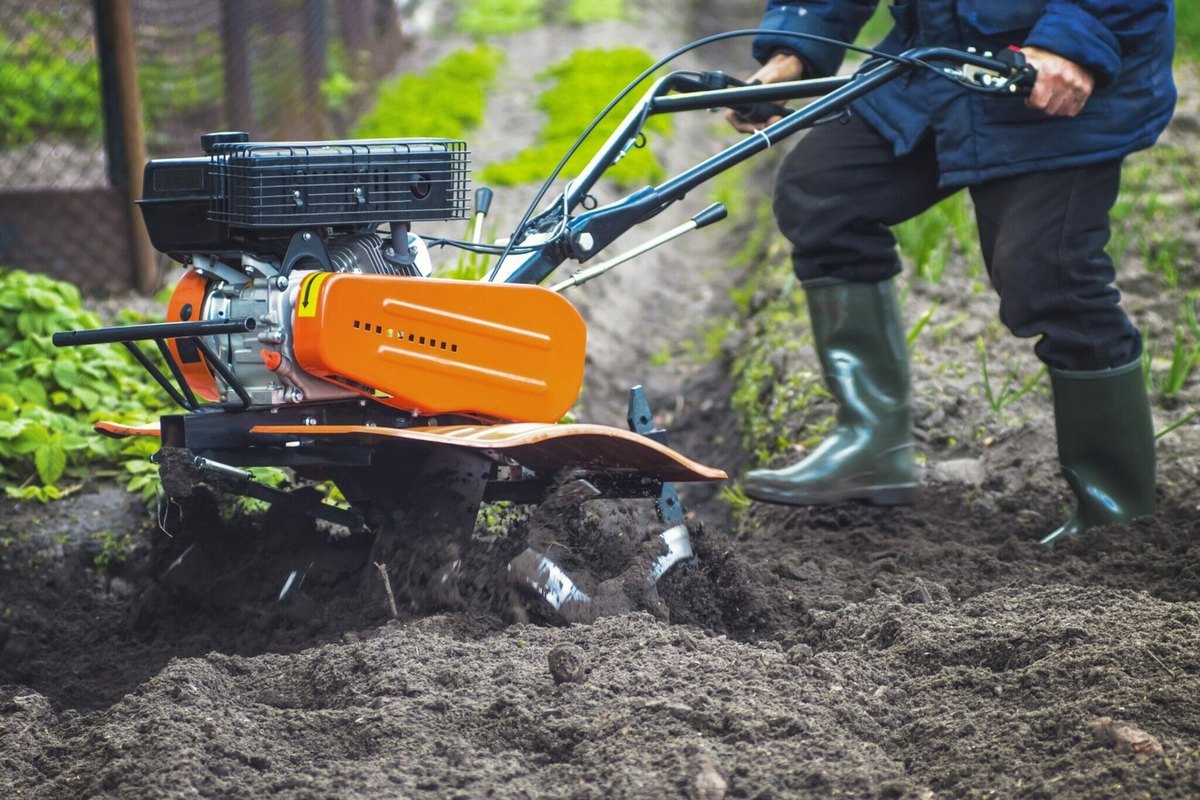
Garden tillers and cultivators share a common layout: two adjustable handlebars control forward travel and tine rotation, a combustion engine drives a shaft fitted with blades, guard discs sit at the ends, and a drag bar at the back acts as a brake. On a front-tine tiller the tines replace the wheels; on a cultivator the machine rides on wheels and the tines are mounted separately.
These machines do heavy work in wet soil, clay and stones, so without regular care the tines rust, shafts seize and cables stick, especially after spring tilling in muddy ground.
What you will need
Important: Never wash a hot engine: the sudden temperature change can damage it. Switch off and pull the spark plug cap before working on the tines. The blades are sharp, so wear gloves.
Step 1
Wash the machine after every job
Clean every part thoroughly at the end of each session. Wash the tines and drag bar area with a pressure washer and the rest with water and car shampoo.
Wait until the engine has cooled before you start. Blow residual water out of the engine and joints with compressed air.
Step 2
Service the tines and shafts
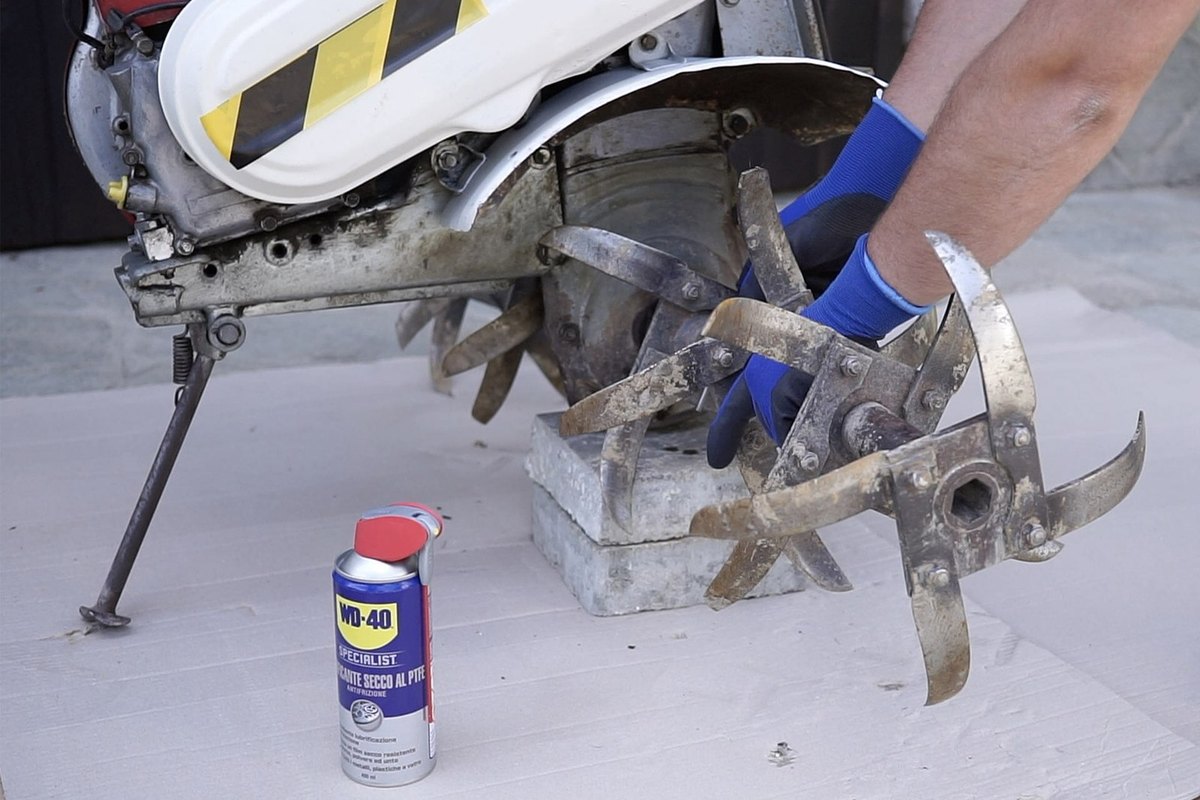
Once the machine is dry, remove the tines. Pay special attention to the hexagonal shaft seats: soil packs into them and the tines seize. If bolts will not shift, apply WD-40 Specialist Penetrant and wait a few minutes.
During the season, treat the shafts with WD-40 Multi-Use; before winter, apply WD-40 Specialist White Lithium Grease, which lasts longer. Check the blades and guard discs: straighten any bent by stones and touch up blunt edges with a grinder or sander.
Step 3
Lubricate the controls
Treat every moving part: the drag bar mounting and adjuster, the handlebar height pivots, the drive lever pins and the gear lever pivot.
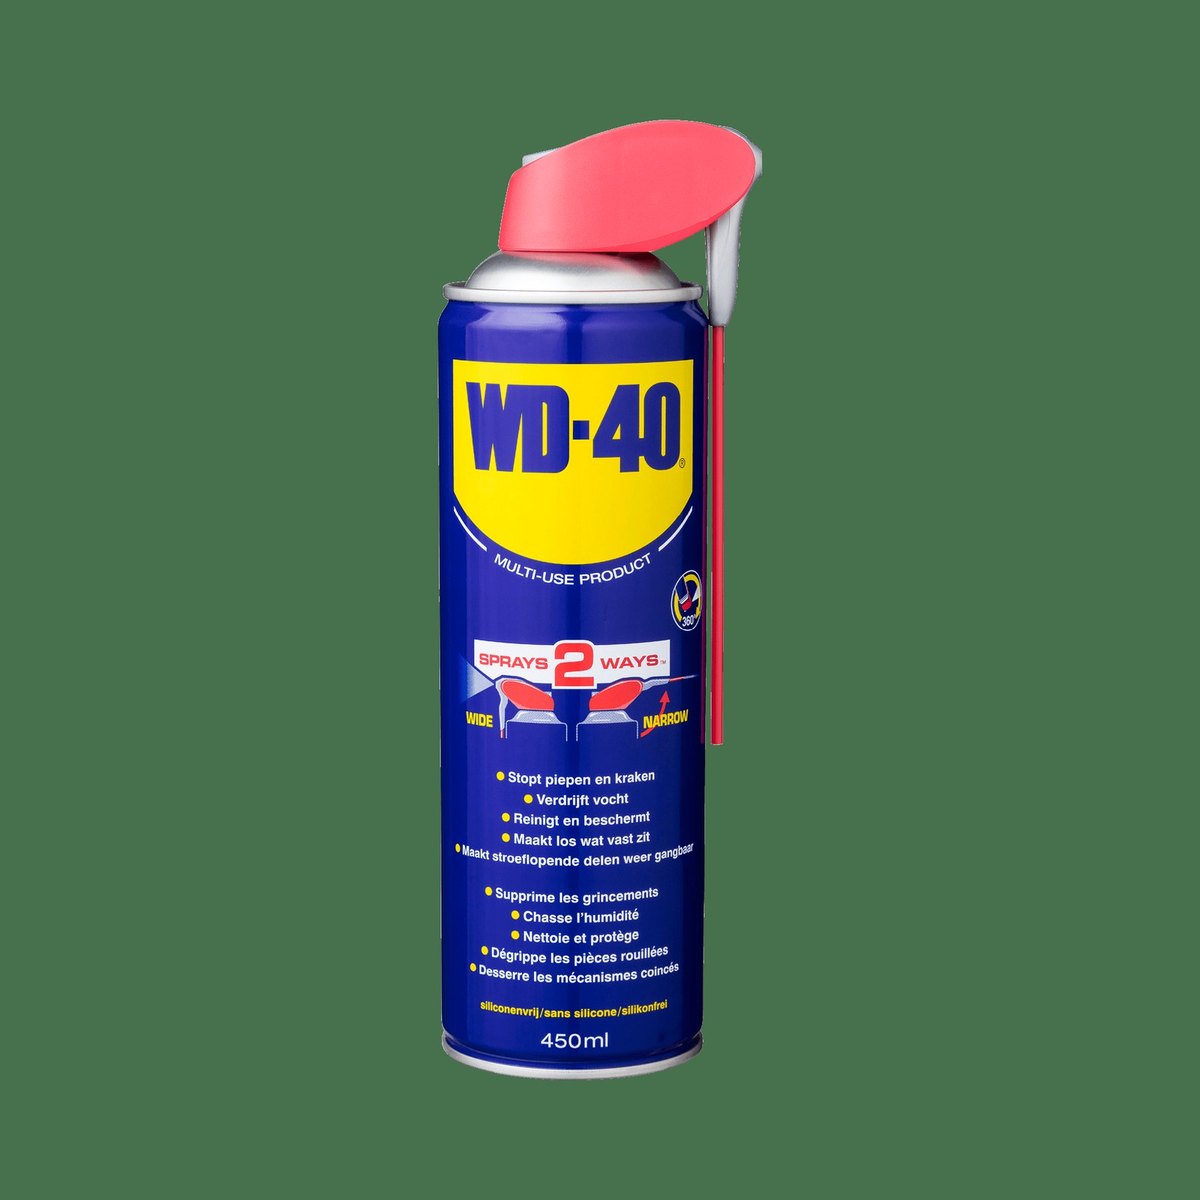
Spray the throttle and clutch cables with WD-40 Smart Straw into the sleeve through the thin straw and work the levers a few times so it spreads along their full length.
Step 4
Look after the engine
Clean the dust off the engine after every job. Blow out the air filter with compressed air; if it sits in an oil bath, rinse it in diesel and renew the oil.
Change the engine oil every 50 hours or as the manual says. Clean the spark plug regularly and replace it when the electrodes are worn. Before winter, close the fuel tap and let the engine run until the carburettor is empty.
Step 5
Check the belt, tyres and corrosion
Replace a cracked or frayed drive belt straight away. Check tyre condition and pressure if your machine has wheels.
Treat any rust spots immediately so they do not spread, and protect them with WD-40 Multi-Use, repeating several times through the season. Store the machine somewhere dry with moderate ventilation.
Tip: After tilling clay, do not leave the washing until morning: dried clay on the tines holds moisture and the first rust marks appear overnight.
What next
Wash and lubricate after every job, service the engine by running hours and do a full winter preparation in autumn. Your tiller will then start easily in spring and keep going for many seasons.
These uses come from the experience of WD-40 users in many countries. Always follow the instructions and warnings on the product label.
More guides in «How to use».