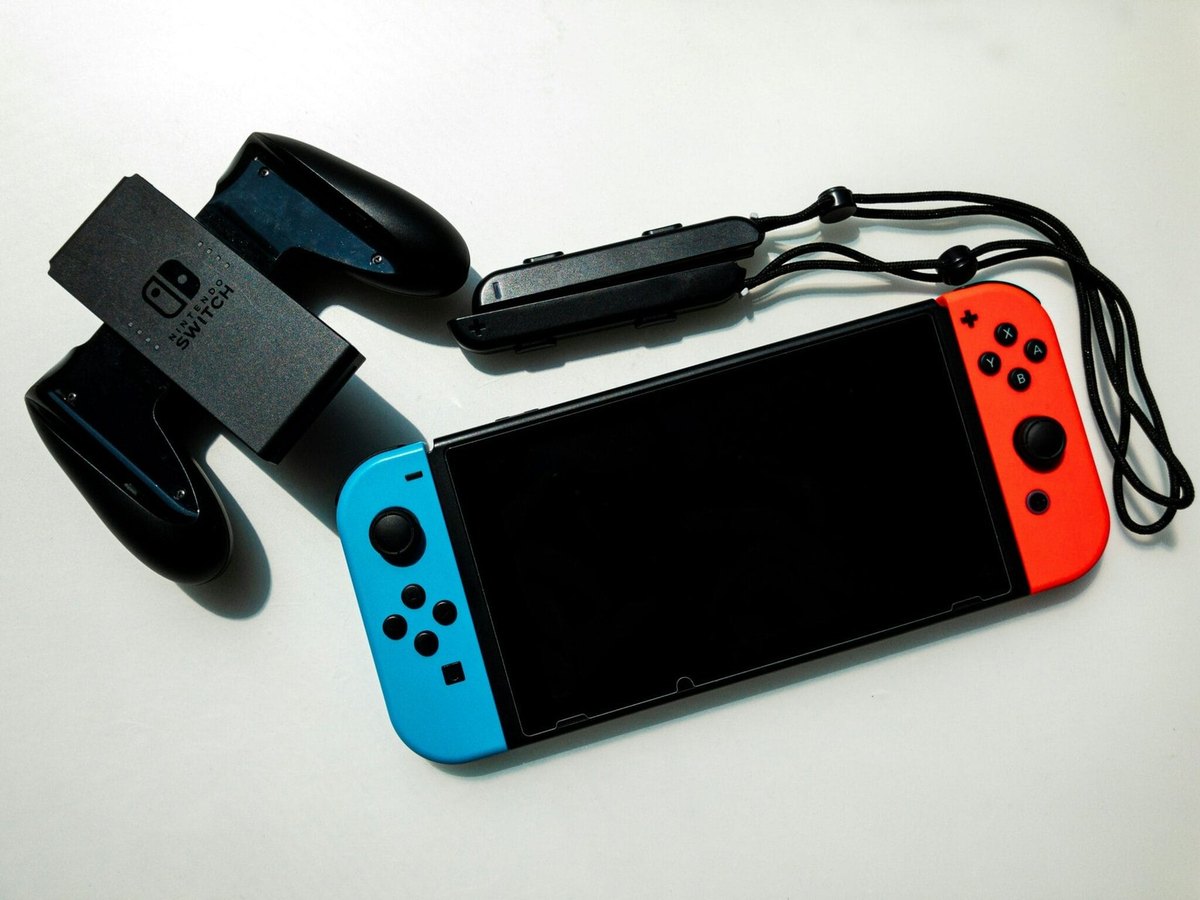
The Nintendo Switch is a great console for gaming at home and on the go, but after hundreds of hours a Joy-Con can start to misbehave: the stick moves the character on its own and buttons only work some of the time. Dust, dirt and condensation on the contacts are usually to blame.
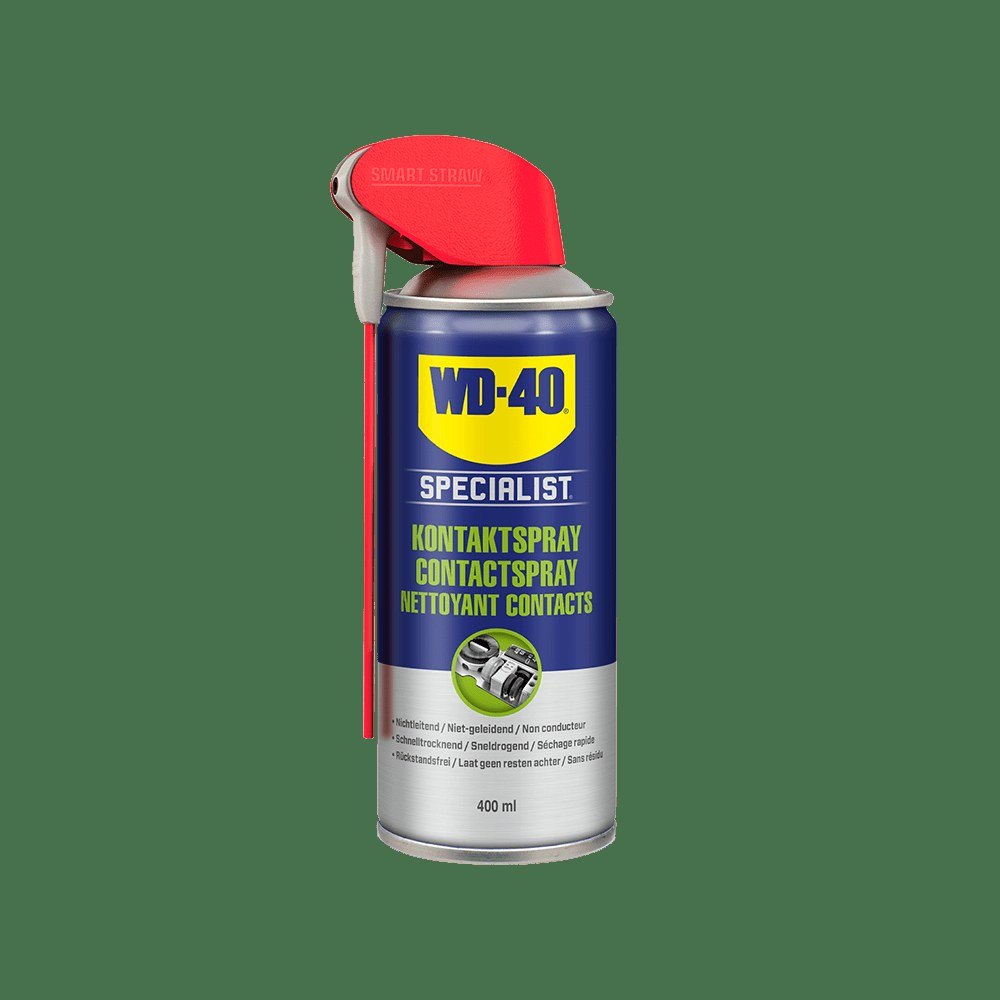
WD-40 Specialist Contact Cleaner helps fix this: it is non-conductive, safe on sensitive electronics, removes dust and moisture and evaporates quickly. The job calls for precision and patience, so set aside a quiet hour.
What you will need
Important: Opening a Joy-Con may void the warranty, so if it is still covered, contact a service centre first. Use only plastic tools near the board, never pull on wires and never spray the product directly into the housing.
Step 1
Switch off and prepare
Turn off the console and detach the Joy-Con. Wipe the outside with a microfibre cloth.
Photograph every stage of disassembly: the photos will be your guide when reassembling. Have a small tray ready for the tiny screws.
Step 2
Disconnect the battery
Lay the Joy-Con face down on a firm surface and remove the four screws. Open the casing carefully with an opening pick.
Before touching the battery wires, use the spudger to ease the battery connector out of its socket on the board. Then slide a pick between the battery and the housing and lift it out: it is lightly glued in place.
Step 3
Disconnect the antenna
Note how the grey antenna cable is routed. Lift its upper section out of the battery recess and use the tip of the spudger to pop the coaxial connector off the board.
Then remove the three mid-frame screws, but do not lift the frame yet: the fragile ZR button ribbon runs underneath.
Step 4
Remove the mid-frame
Lift the frame gently without straining the short ZR ribbon cable. Use tweezers to flip open the locking tab on its connector and slide the ribbon out.
This ribbon is very short and tricky to reconnect. If you are unsure, skip this step and work with the frame still attached.
Step 5
Remove the stick and clean the contacts
Use tweezers to lift the locking flap on the stick's ribbon connector and free the cable. Undo the stick screws and lift it out carefully without disturbing the thin black gasket around the opening.
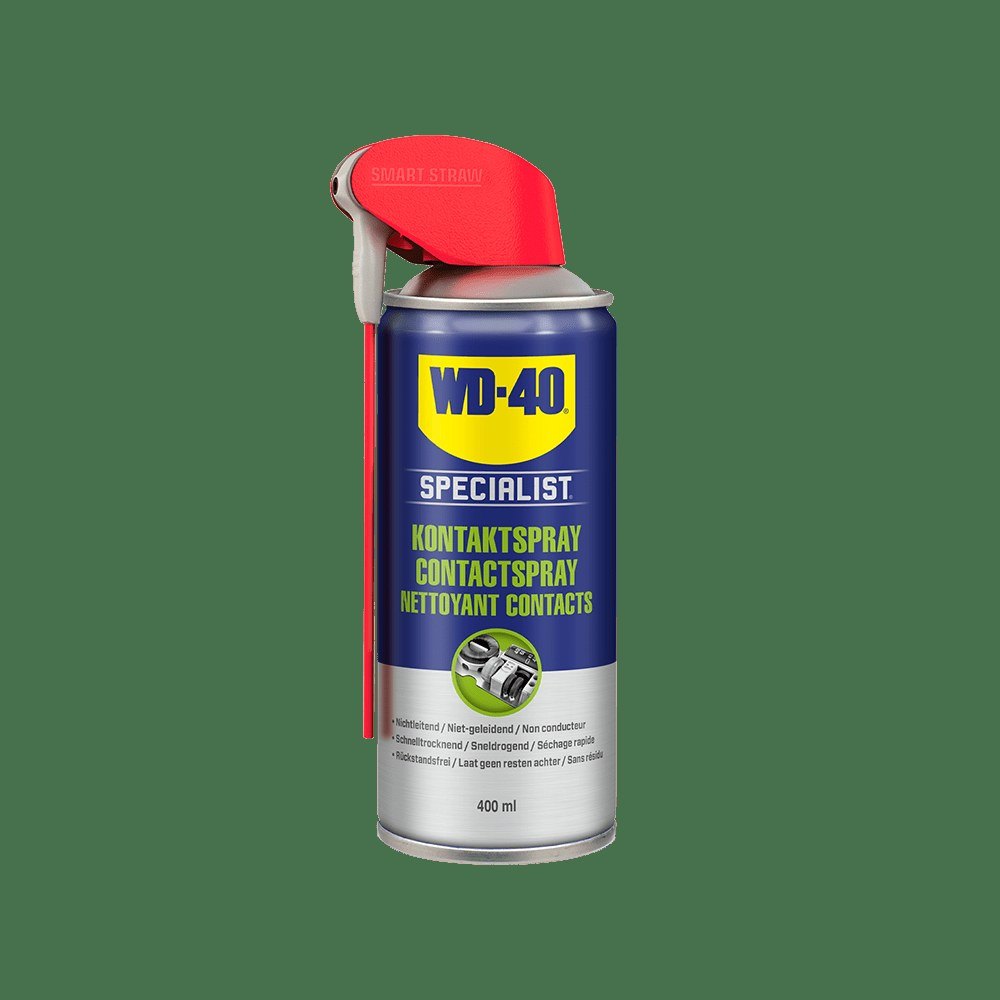
Apply Contact Cleaner to a cotton bud, not to the board, and lightly wipe the contacts of the ribbon, connector and stick. The product is meant for contact points only, not as a general cleaner. Let it dry for a few minutes.
Step 6
Reassemble everything
Put it back together in reverse order using your photos: stick, ribbons, frame, antenna, battery, casing. Take your time and make sure every ribbon sits straight and locked in its connector.
Attach the Joy-Con to the console, calibrate the stick in the system settings and test all the buttons.
Tip: If only the buttons are sticking and the stick works fine, it is often enough to switch the controller off and treat the button edges with a cotton bud dampened with
WD-40 Specialist Contact Cleaner, without opening it up.
What next
Keep your Joy-Cons in a case, do not play with dirty hands and do not leave the console in a cold car where condensation can form. Then you will rarely need a clean-up with contact cleaner.
These uses come from the experience of WD-40 users in many countries. Always follow the instructions and warnings on the product label.
More guides in «How to use».