Light switches are touched every day by dirty, wet or greasy hands, so grey marks appear around the rockers and dust builds up in the gaps. In kitchens and bathrooms there is soot and moisture too. Sometimes the rocker starts to stick, crackle or not work first time, and the switch seems broken when it is often just dirty.
Cleaning a switch is simple, but it is electrical work, so there is one golden rule: isolate the power first. Here is how to do it safely and neatly.
What you will need
- access to the consumer unit
- a voltage tester or test screwdriver
- a thin flat screwdriver or plastic spudger
- a soft dry cloth and cotton buds
- a mild cleaner suitable for plastic
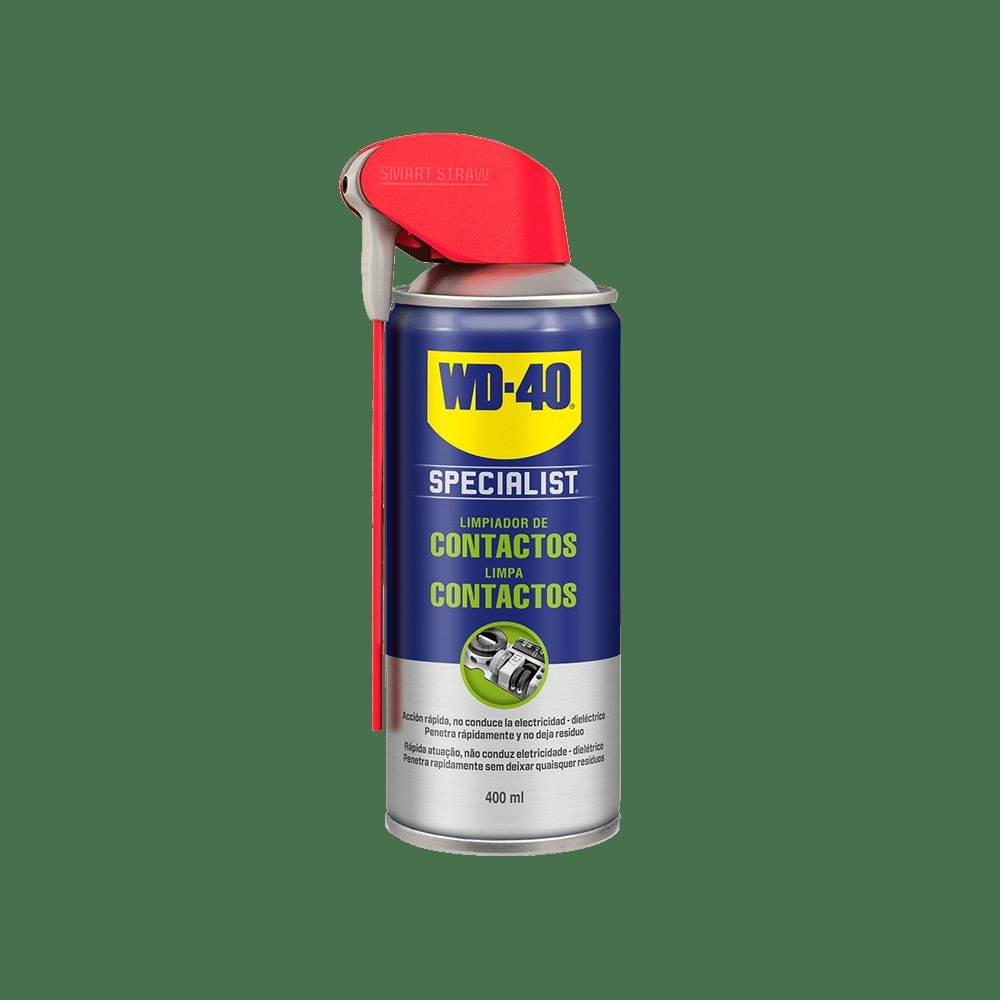
- WD-40 Specialist Contact Cleaner
Important: Work only with the circuit breaker switched off and confirm there is no voltage with a tester. Never pour water or cleaning products onto the switch mechanism. If you see scorch marks, melted plastic or the switch feels warm, call an electrician.
Step 1
Switch off the power
Switch off the breaker for the circuit the switch is on, or the main switch. Flick the light switch to make sure the light stays off, and check the terminals with a tester once the plate is off. Tell everyone at home so nobody turns the breaker back on while you work.
Step 2
Remove the rocker and plate
Carefully prise the rocker off from the edge with a thin screwdriver or plastic spudger. Then remove the faceplate: depending on the model it is held by clips or screws. Do not force anything, as old plastic breaks easily.
Step 3
Wash the rocker and plate
The removed plastic parts can be washed in warm water with a mild cleaner, brushed in the gaps and dried completely. Avoid abrasives, solvents and alcohol-based cleaners on glossy plastic, as they scratch and leave dull patches.
Wipe the wall around the switch with a barely damp cloth, without letting water run into the back box.
Step 4
Clean the mechanism and contacts
Remove dry dust from the mechanism with a soft brush or cotton bud. If the switch crackles, clicks vaguely or the contacts look dark, use the straw to apply short bursts of WD-40 Specialist Contact Cleaner to the contacts and moving parts. It dissolves dirt and oxidation, does not conduct electricity and evaporates quickly without leaving a film.
Operate the mechanism several times to spread the cleaner and let it evaporate fully, usually a few minutes.
Step 5
Reassemble and test
Once everything is dry, clip the plate and rocker back in place. Switch the breaker back on and test the switch: it should operate cleanly, without crackling or sparking.
Tip: For everyday hygiene there is no need to take it apart: once a week wipe the rockers with a cloth barely dampened in soapy water and dry them straight away. Dismantling and cleaning the contacts once a year, or whenever the switch starts to crackle, is enough.
What next
With the power isolated, the same WD-40 Specialist Contact Cleaner can be used on sockets, extension leads and the contacts of remote controls and battery compartments. Any wiring faults, however, should be left to a qualified electrician.
These uses come from the experience of WD-40 users in many countries. Always follow the instructions and warnings on the product label.
More guides in «How to use».