A remote control passes through dozens of hands every day, sits on the sofa next to food and drinks, and goes through swings in humidity in summer and during the heating season. Over time the buttons start to stick, the signal only gets through now and then, and the battery contacts turn green with corrosion.
Regular cleaning extends the life of the remote for your TV, air conditioner, gate, shutters or smart home. Below is how to do it carefully without damaging the circuit board or the rubber keypad.
What you will need
- small Phillips or flat screwdriver, plastic pry tool
- soft dry microfibre cloth
- cotton buds
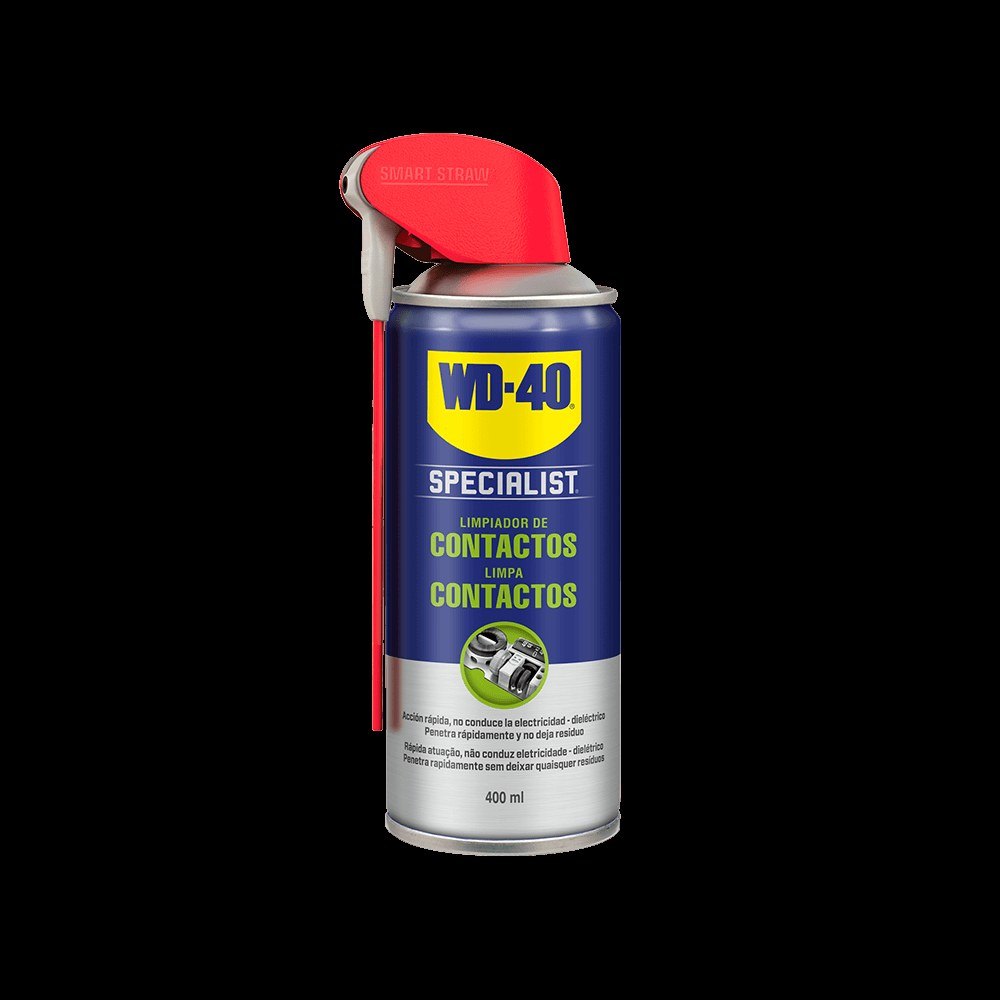
- WD-40 Specialist Contact Cleaner for the contacts and board
- fresh batteries if needed
Important: Always remove the batteries before cleaning. Never soak the remote in water or spray products onto a device that is switched on.
Step 1
Inspect the remote and remove the batteries
First check the casing: if there are cracks or signs of liquid inside, keep that in mind when taking it apart. Open the compartment and take out the batteries. Look at the springs and contact plates: white deposits or green spots mean the batteries have leaked.
Even if the cells still work, weak batteries are a common cause of an unreliable remote. Have new ones ready if needed.
Step 2
Clean the buttons and outer case
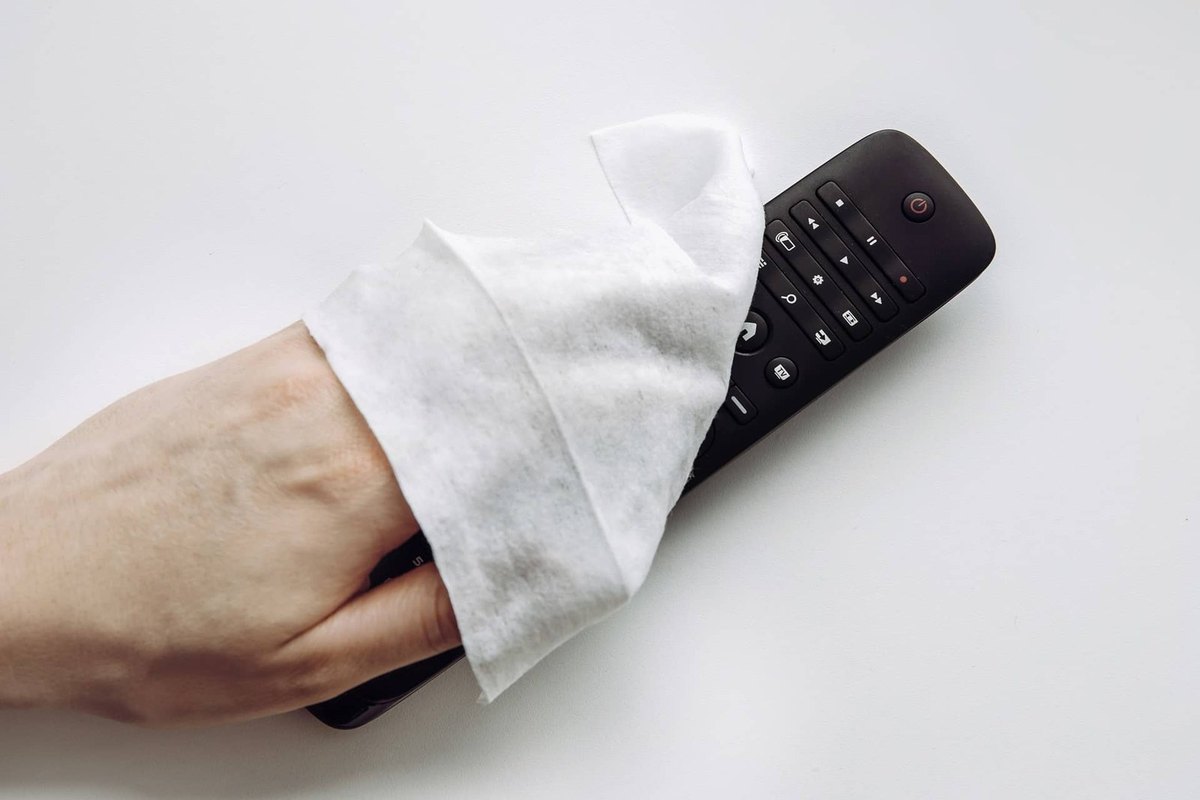
Lightly dampen a cloth (it should be just damp, not wet) and wipe the front panel, the gaps between the buttons and the back cover. This removes sticky food traces, finger grease and dust.
A cotton bud helps in narrow gaps. Do not press hard, so no moisture gets under the buttons.
Step 3
Clean the battery contacts
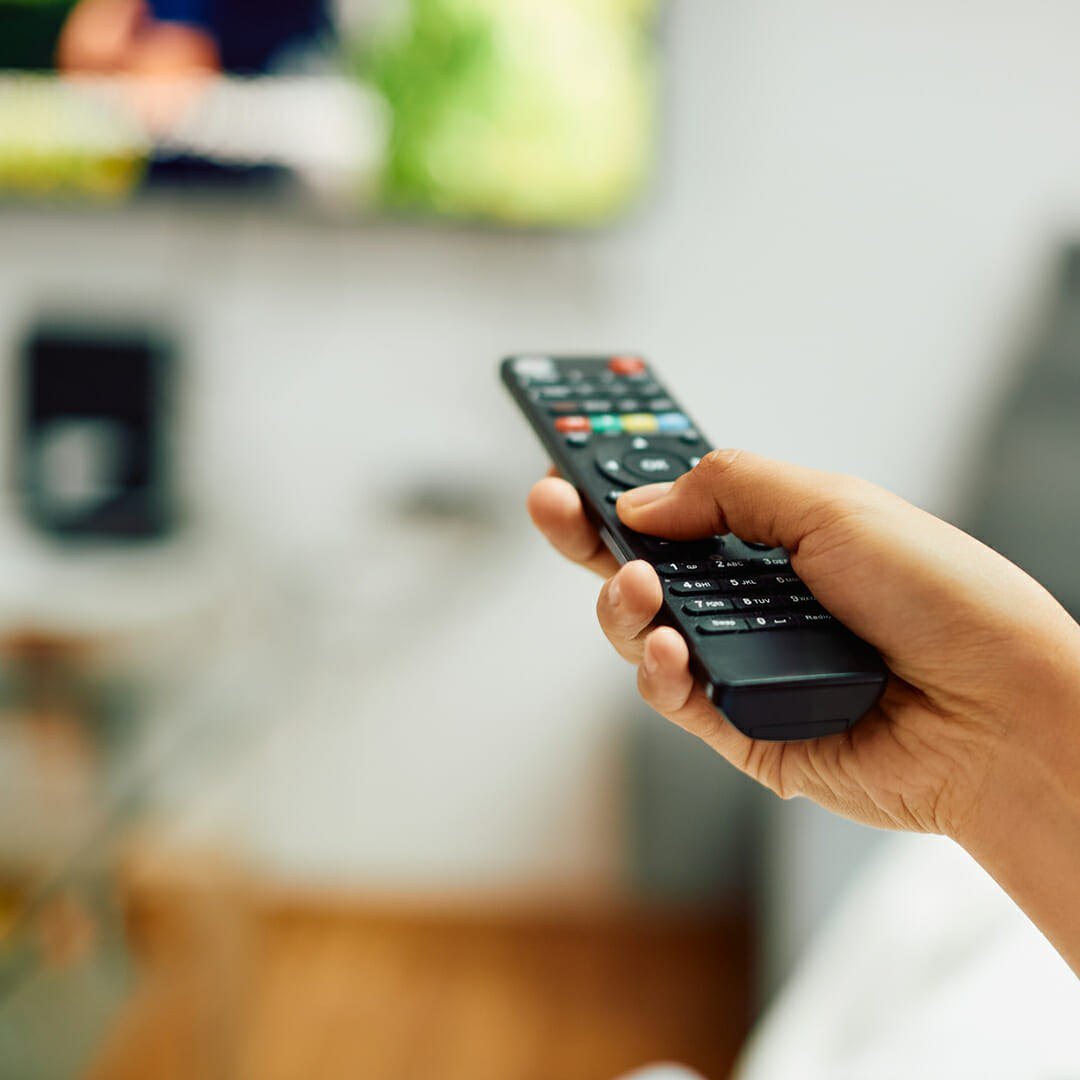
Apply a little WD-40 Specialist Contact Cleaner to a cotton bud, or give the compartment contacts a short spray. The cleaner dissolves dirt and oxide, evaporates quickly and leaves no residue.
Rub the springs and plates with the bud until the metal is clean. If the deposits are heavy, repeat.
Step 4
Open the case and treat the circuit board
If buttons stick or only work sometimes, undo the screws and gently split the case along the seam with a plastic pry tool. Lift out the rubber keypad.
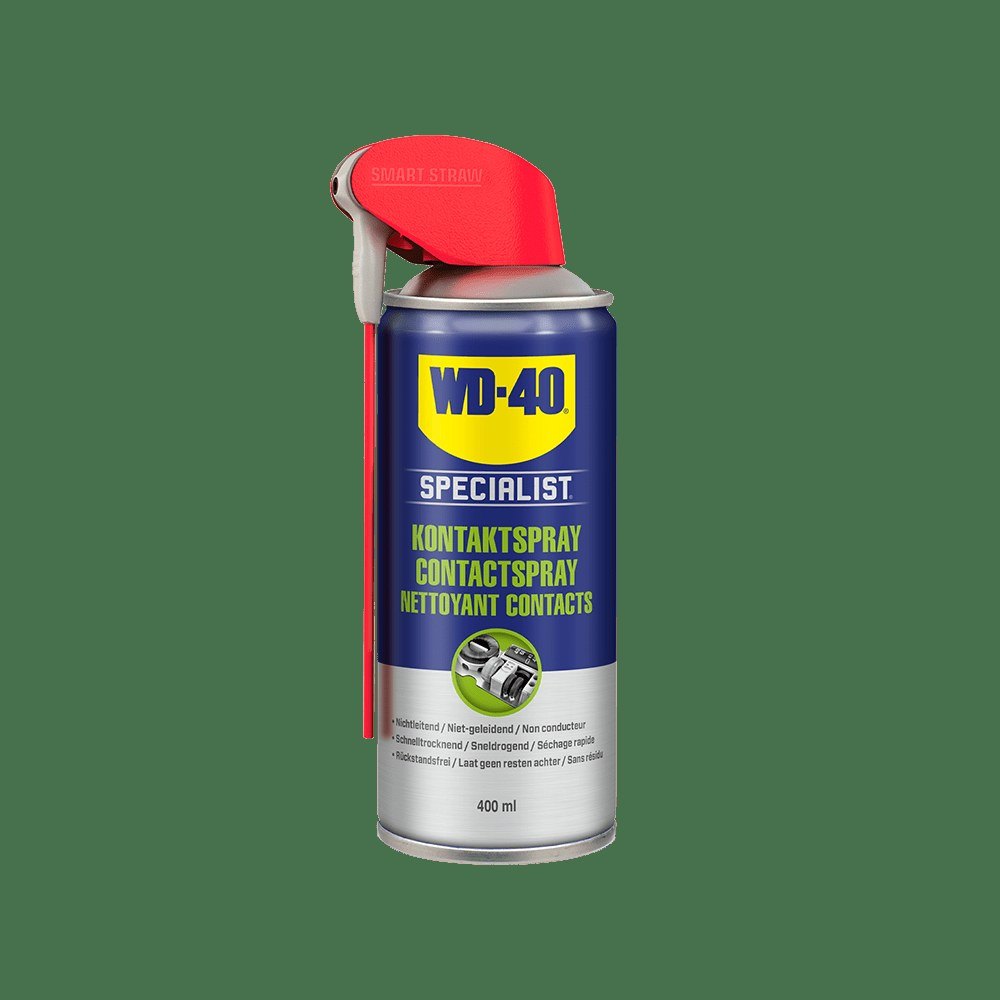
Spray contact cleaner onto the board with its contact tracks and onto the underside of the rubber keys with their conductive pads. Let it dry for a minute or two and wipe with a cotton bud if needed. The rubber keypad can also be wiped with a slightly damp cloth and dried thoroughly.
Step 5
Reassemble and test
Make sure everything is dry, refit the keypad, close the case and tighten the screws. Insert the batteries the right way round and test every button.
You can check whether the infrared LED works with a smartphone camera: when you press a button, flashes are visible on the screen.
Tip: If a remote will not be used for a long time, such as the air conditioner remote in winter, take the batteries out. It is the simplest way to protect the contacts from leaks and corrosion.
What next
Wipe the outside of the remote every week or two and check the contacts every few months or at the first sign of trouble. Remotes for gates, shutters and audio systems can be cared for the same way. To protect metal parts from moisture in the garage or at the summer house, keep WD-40 Multi-Use to hand.
These uses come from the experience of WD-40 users in many countries. Always follow the instructions and warnings on the product label.
More guides in «How to use».