The parts inside a toilet cistern sit in water all the time, so limescale builds up on them and metal pins and screws rust. The results are familiar: water keeps trickling into the bowl, the cistern fills slowly or will not shut off, and the flush button sticks.
The float and the fill valve are usually to blame. Most internal parts are plastic, so a careful clean and the right lubrication are enough to get everything working like new.
What you will need
Important: Before starting, turn off the cistern supply valve and drain the water. Do not force plastic nuts and clips: they crack easily. Apply nothing but silicone to the rubber of the flush valve.
Step 1
Remove the lid and the float
Turn off the water, flush, and lift off the cistern lid, unscrewing the button first if it holds the lid in place.
Carefully loosen the float ring or clip without forcing it, usually by hand. Lift the float and see how it is connected to the valve: screws, rods or clips. Take a photo so you can reassemble it correctly.
Step 2
Clean limescale and rust off the float
Soak the float and the removable valve parts in a bowl of water and vinegar for a few hours to soften the deposits.
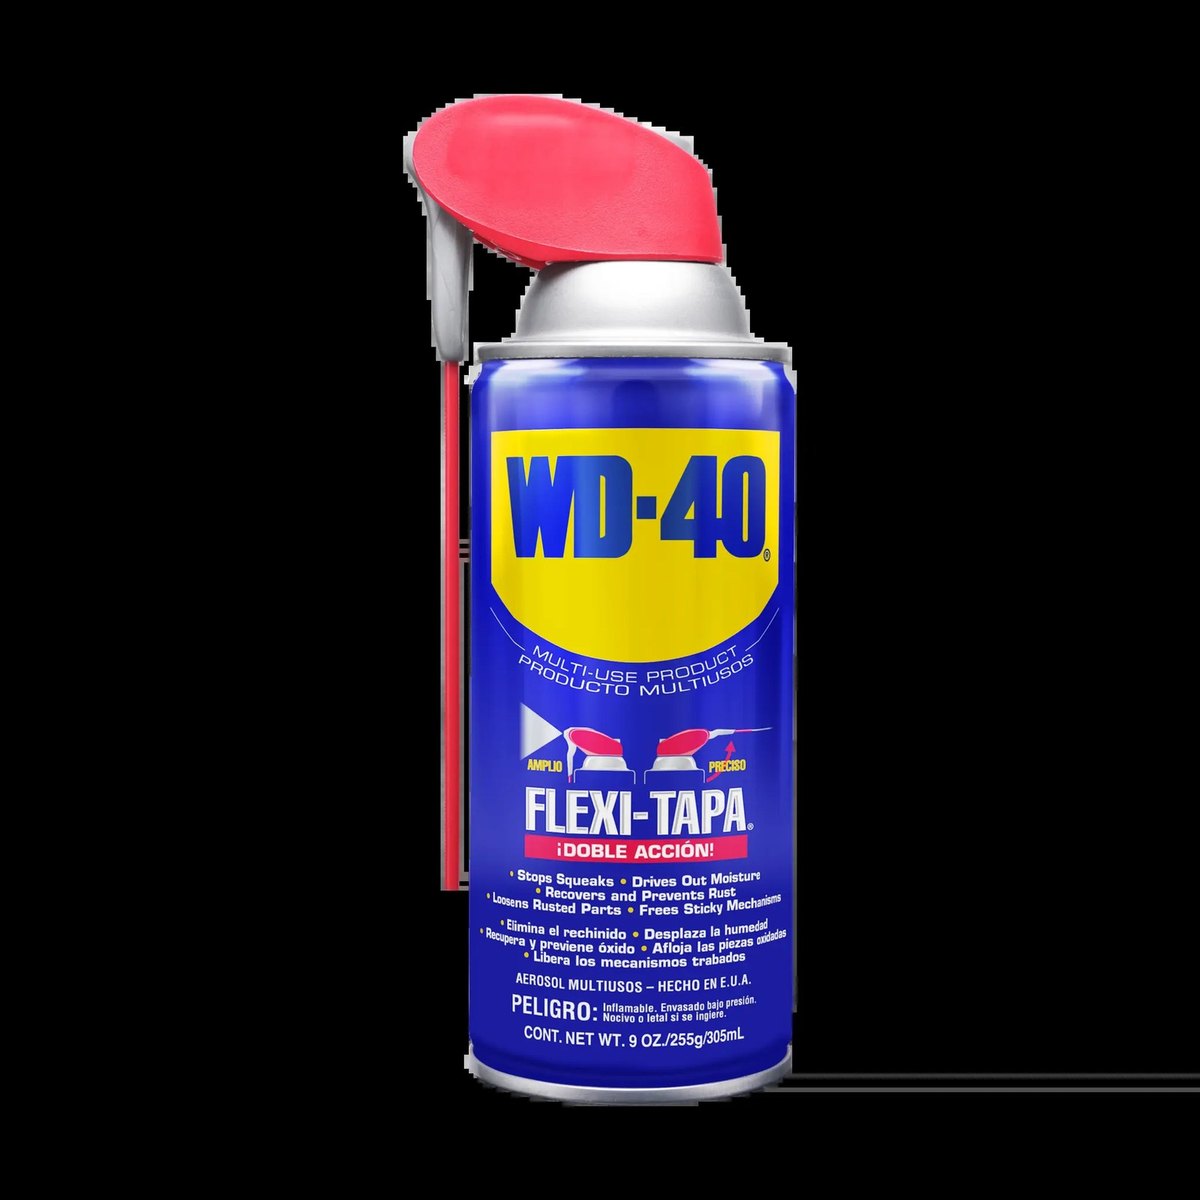
After soaking, apply a little WD-40 Multi-Use to metal pins and screws and scrub with a brush or abrasive sponge: the remaining rust and dirt come off easily. Rinse the parts with water.
Step 3
Check the seals
Inspect the rubber seals on the fill valve and the flush valve. If the rubber has hardened, cracked or has a groove worn by the seat, replace it: this is exactly why water keeps running into the bowl.
Give new or sound seals a light coat of WD-40 Specialist Silicone. Silicone is safe on rubber, stops it sticking to the seat and keeps it supple for longer.
Step 4
Reassemble and lubricate the mechanism
Refit the float and reconnect it to the valve and supply pipe. Use the narrow straw of WD-40 Smart Straw to apply it to every pivot, the lever pin and the button mechanism, so it goes exactly where needed even in a cramped cistern.
Press the button a few times to spread the lubricant and make sure nothing sticks.
Step 5
Turn the water on and set the level
Refit the lid, open the supply valve and let the cistern fill. When it is full, the float should shut the water off completely.
If water runs into the overflow, lower the float level with the adjusting screw or arm. After an hour, check that there is no thin trickle into the bowl.
Tip: The isolation valve under the cistern also seizes over the years. Turn it once a year and treat it with
WD-40 Multi-Use, so in an emergency you can shut off the water in a second.
What next
Inspect the cistern mechanism once a year, or every six months with hard water. For the outside of the toilet, follow our guide to removing limescale, and keep WD-40 Multi-Use to hand for the metal parts.
These uses come from the experience of WD-40 users in many countries. Always follow the instructions and warnings on the product label.
More guides in «How to use».