Over time the cistern mechanism scales up: the valve stops sealing properly, water trickles constantly into the bowl and the cistern keeps refilling. This leak is easy to miss but adds noticeably to your water bill.
You can replace the mechanism yourself without a plumber. If you keep the old cistern, buy a compatible kit: check the diameter of the button hole in the lid and whether the water supply enters from the side or the bottom. The hardest part is usually undoing old fixings seized by rust and limescale.
What you will need
- new cistern kit (flush valve and fill valve)
- adjustable spanner or water pump pliers, screwdriver
- WD-40 Multi-Use
- white vinegar, sponge, microfibre cloths
- a bowl for residual water
Important: Ceramic cisterns and pans crack easily: tighten the fixing nuts gradually and evenly, without excessive force. Always turn off the isolation valve on the cistern supply before you start.
Step 1
Turn off the water and empty the cistern
Close the isolation valve on the cistern supply and flush to empty it. Unscrew the button or handle on the lid and lift the lid off. If the button is tight, apply a little WD-40 Multi-Use to the thread: it makes unscrewing easier and protects the part from rust.
Step 2
Disconnect the supply and remove the cistern
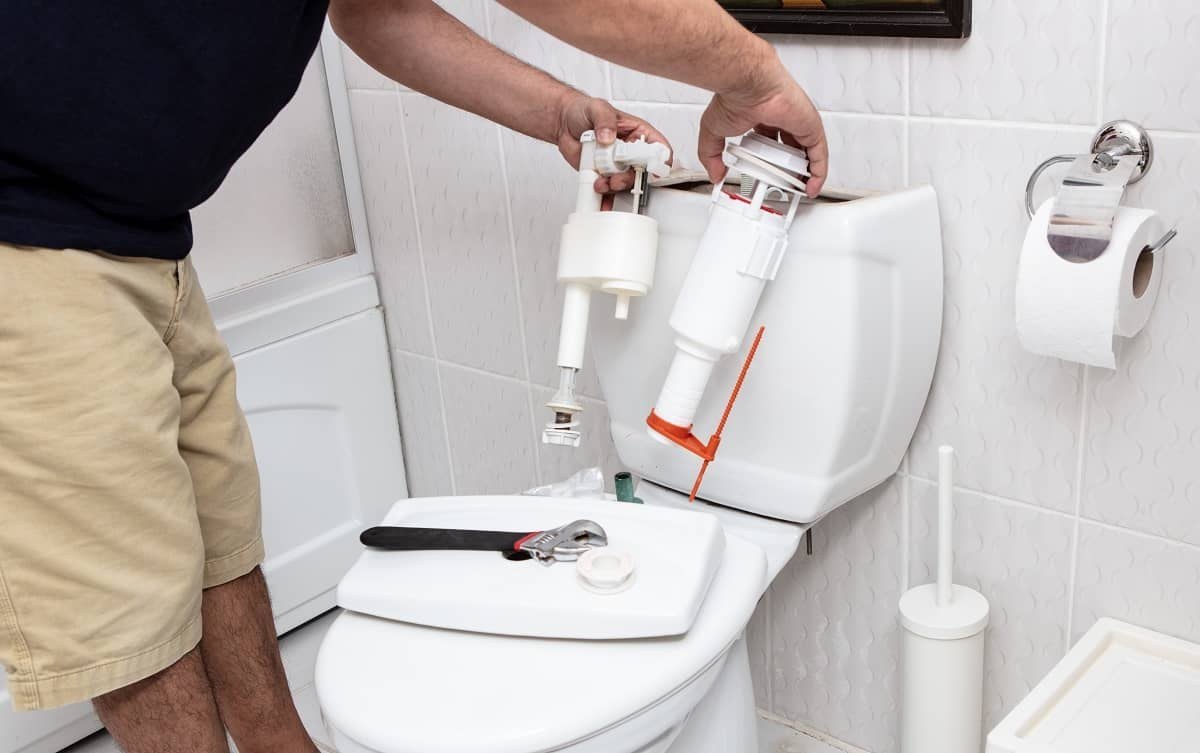
Use a spanner to undo the flexible supply hose nut from the fill valve. If the nut is seized, treat it with WD-40 Multi-Use and wait a few minutes.
The cistern is fixed to the pan with two long bolts, washers and nuts. Undo them, using lubricant if needed, lift the cistern off and loosen the flush valve backnut underneath. Remove the old flush valve and fill valve.
Step 3
Descale the cistern
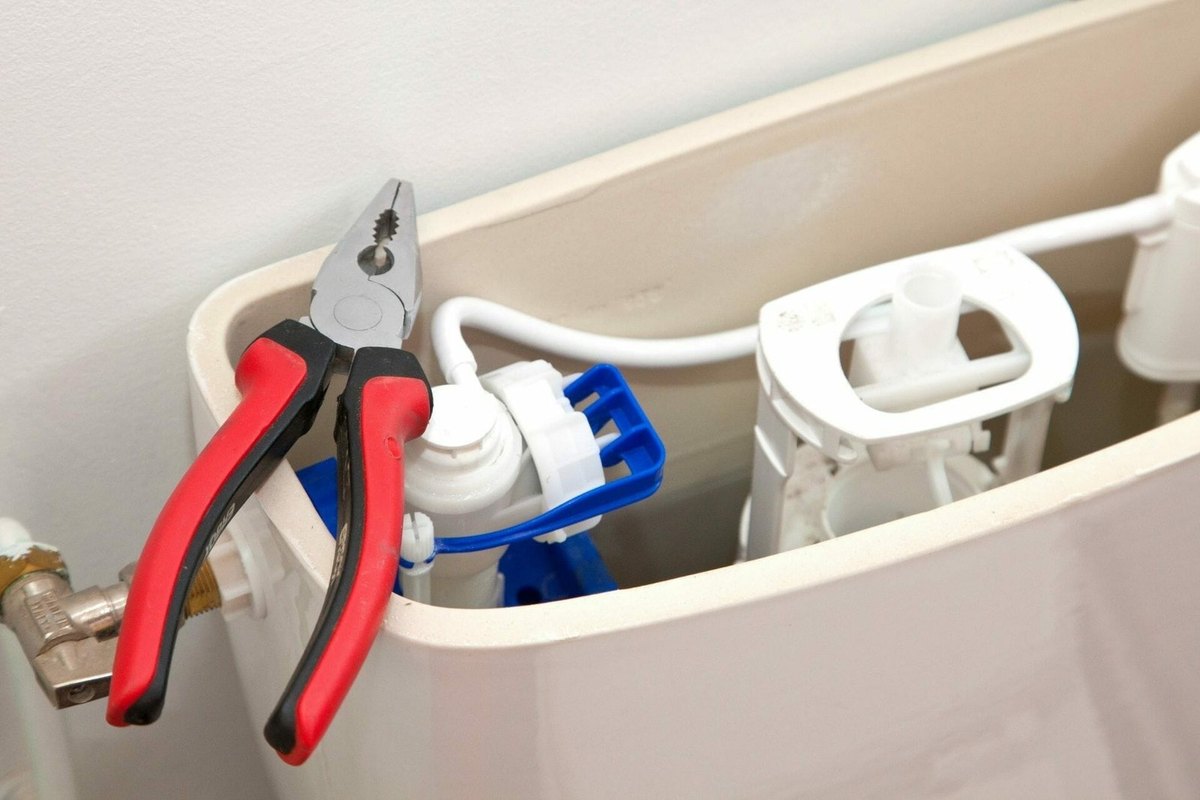
Take the opportunity to clean the cistern thoroughly. Dissolve limescale on the walls with vinegar, then rinse with water. Also clean the outside of the cistern and the pan platform it sits on: the seal contact surfaces must be free of dirt and scale.
Step 4
Fit the flush valve
Place the new flush valve in the central hole of the cistern, checking that the new seal is in position. Turn the float away from the water inlet so it does not foul the fill valve. Tighten the backnut underneath with the spanner usually supplied in the kit.
Insert the fixing bolts in the holes on either side, place the doughnut seal between cistern and pan, set the cistern in place and tighten the nuts evenly to compress the seal.
Step 5
Fit the fill valve
Slide the seal onto the threaded part of the fill valve and insert it through the side or bottom hole of the cistern. Tighten the outer nut and reconnect the water supply. Set the water level according to the manufacturer's instructions.

Step 6
Test and fit the button
Open the valve and let the cistern fill. Check for drips under the cistern and at the supply connection. Flush a few times and adjust the float height with the screw on top if needed.
Refit the lid and screw the button onto the flush valve. Depending on the kit, this may be a single or dual push button or a lever.
Tip: Give the rubber seals of the new mechanism a light coat of
WD-40 Specialist Silicone before fitting: they seat more evenly and stay supple longer. For cistern fixings that are hard to reach,
WD-40 Smart Straw with its precise straw is handy.
What next
The mechanism is renewed and the water no longer runs. Once a year, lift the cistern lid, check the valve and float and remove any deposits, especially if you have hard water.
These uses come from the experience of WD-40 users in many countries. Always follow the instructions and warnings on the product label.
More guides in «How to use».