Engine oil is usually changed every 10,000-15,000 km or once a year, and more often in city driving, on short winter trips or in dusty conditions. Topping up for years without a full change is a mistake: fresh oil does not restore the properties of the old.
Every few years on high-mileage cars it is worth flushing the lubrication system. A flush product dissolves deposits, sludge and condensation residue that build up in the oil galleries and stops them contaminating the new oil. The job takes about an hour.
What you will need
- an engine oil flush product (follow its instructions)
- new engine oil and a new oil filter to the car's specification
- a filter wrench and a drain plug spanner
- a new drain plug washer
- a low, wide drain pan, a funnel and rags
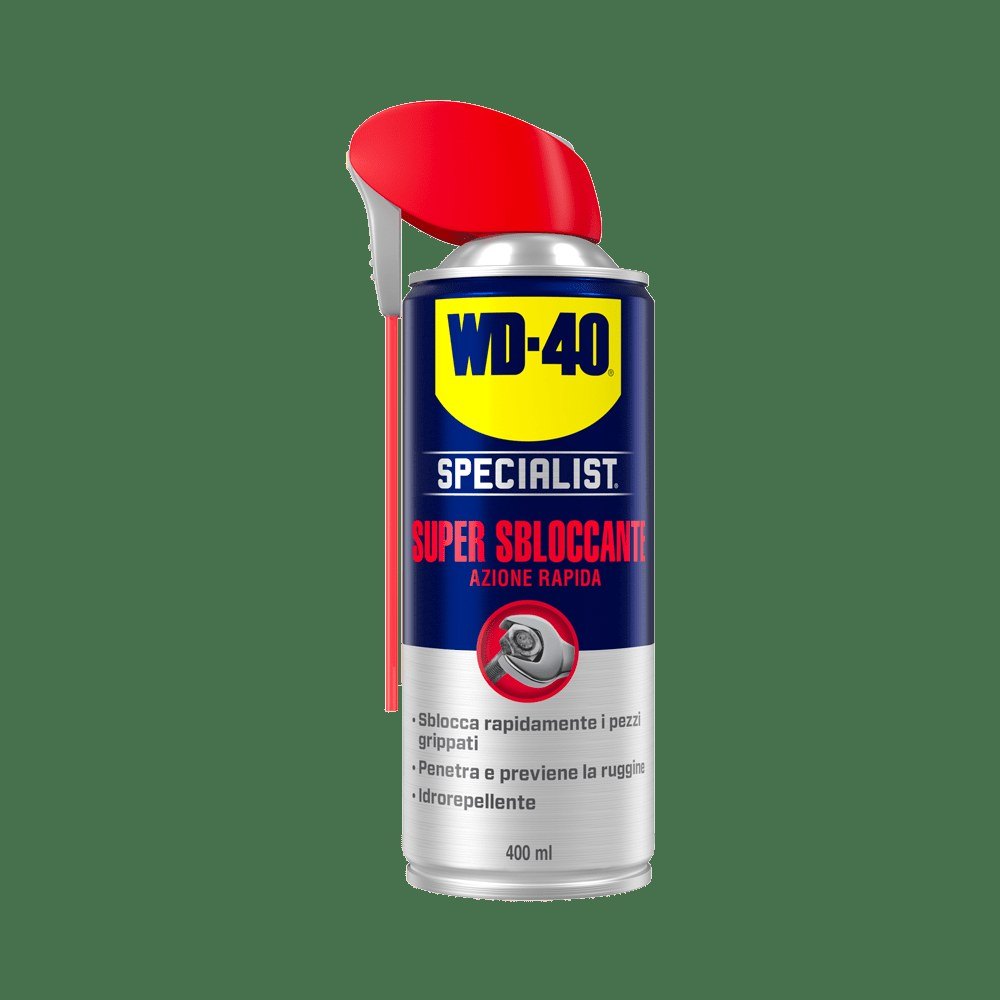
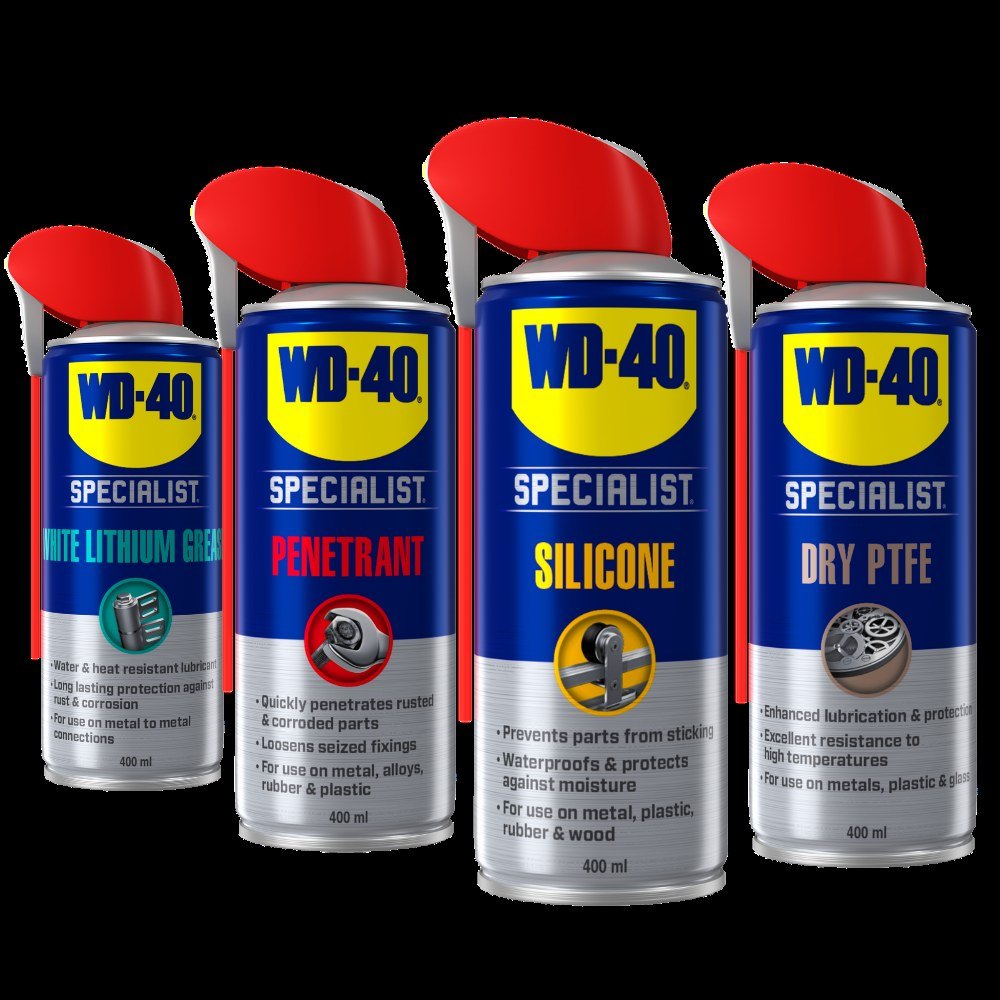
- WD-40 Specialist Penetrant for a seized plug or filter
- WD-40 Multi-Use for cleaning and protection
Important: Hot oil causes burns: wear gloves and safety glasses. The car must be on level ground, in gear with the handbrake on; never work under a car supported only by a jack. Take used oil to a collection point and never pour it into the ground or drains.
Step 1
Add the flush product
Before the oil change, with the engine cold, pour the flush product in through the filler neck. Use the amount stated on the pack for your engine's oil capacity. Start the engine and let it idle for 10-20 minutes (check the exact time in the product instructions). Do not drive with the flush in.
Step 2
Drain the old oil
Switch off the engine. The oil should be warm, not hot. Place the pan under the sump, remove the filler cap and pull out the dipstick to help the flow. Undo the drain plug. If it will not budge, apply WD-40 Specialist Penetrant to the thread, wait a few minutes and try again.
Step 3
Remove the old filter
Grip the filter with the wrench and turn it anticlockwise. If the filter is stuck, treat the seal area with WD-40 Specialist Penetrant. Once it is off, wipe the mounting face with a clean rag so no dirt or bits of the old seal remain.
Step 4
Fit the new filter
The new filter must be the same type and size. Coat its rubber seal with a thin film of fresh oil, screw it on by hand until it touches, then tighten as stated on the filter body. Do not overtighten, or you may damage the seal or the casing.
Step 5
Fill with new oil
Clean the drain plug. If it has a magnet, wipe off the metal particles. Fit a new washer and tighten the plug with moderate force. Using a funnel, pour in oil of the type and viscosity given in the manual. Use exactly the quantity given.
Step 6
Check the level and tidy up
Check the level with the dipstick, run the engine for a few minutes and make sure the oil pressure light goes out and nothing leaks from the plug or filter. Switch off, wait a few minutes and check the level again, topping up if needed. Wipe any drips off the engine with a rag and WD-40 Multi-Use, then treat the filler cap, drain plug and filter area with it: the thin film protects metal from moisture and road salt.
Tip: Record the date, mileage and the oil and filter you used. For fleets and workshops doing this daily,
WD-40 5 l with sprayer is more practical and covers many vehicles.
What next
Flush the system every few oil changes or when you buy a used car and check the dipstick weekly.
These uses come from the experience of WD-40 users in many countries. Always follow the instructions and warnings on the product label.
More guides in «How to use».