A shovel works almost all year round: digging beds in spring, planting in summer, clearing leaves in autumn and snow from the gate in winter. With that workload it rusts and blunts faster than most garden tools.
A clean, sharp spade goes into the ground more easily, which means less strain on your back and arms. Care takes a few minutes after each use and a little longer twice a year.
What you will need
- garden hose or a bucket of water
- stiff brush, rag or old towel
- sandpaper and a flat file
- WD-40 Multi-Use or WD-40 Smart Straw
- linseed oil or wood sealer (optional)
- work gloves
Important: Wear gloves when sharpening and always push the file away from you. Do not leave a shovel lying blade up: it is easy to step on the sharp edge.
Step 1
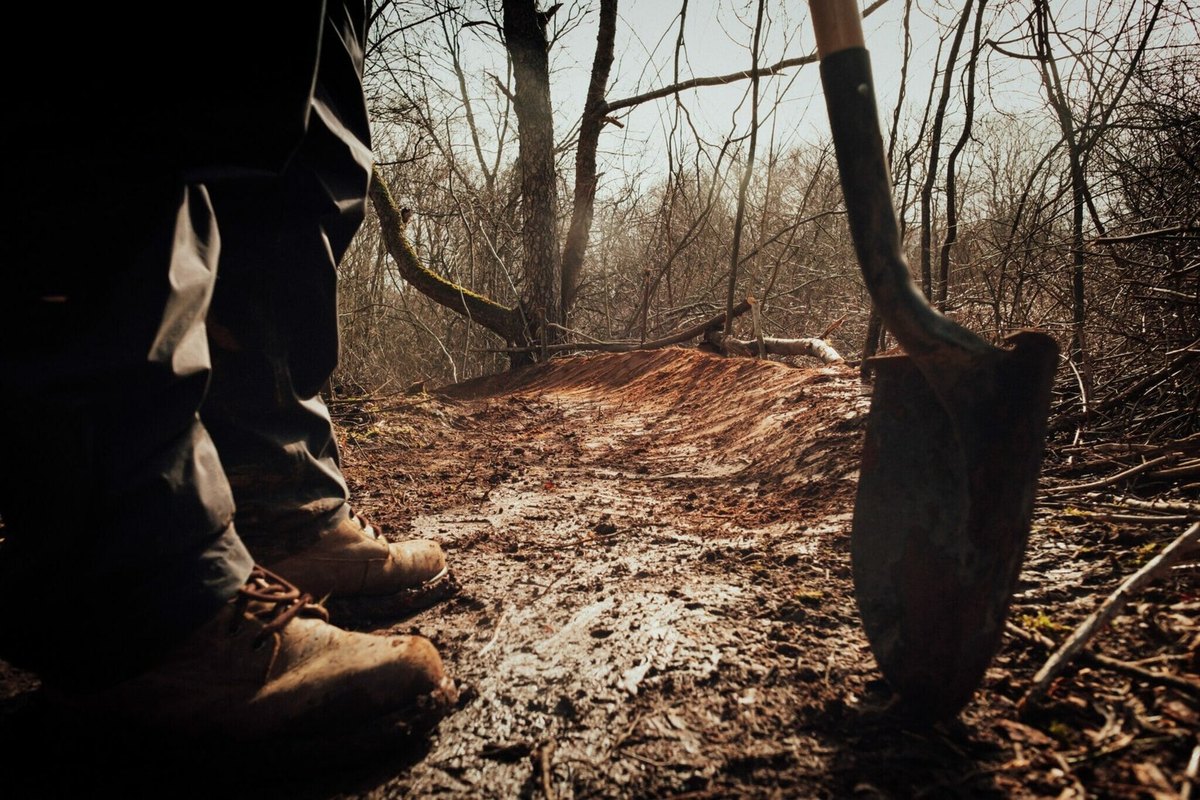
Wash the soil off the blade
Hose the shovel down after every use to remove most of the soil and clay. Scrub off dried mud and stuck-on clay with a stiff brush, as they hold moisture and make the tool less effective.
If dirt is stubborn, spray the blade with WD-40 Multi-Use, leave it for a few minutes and brush again: it softens the residue. Always dry the shovel with a rag after washing.
Step 2
Remove rust
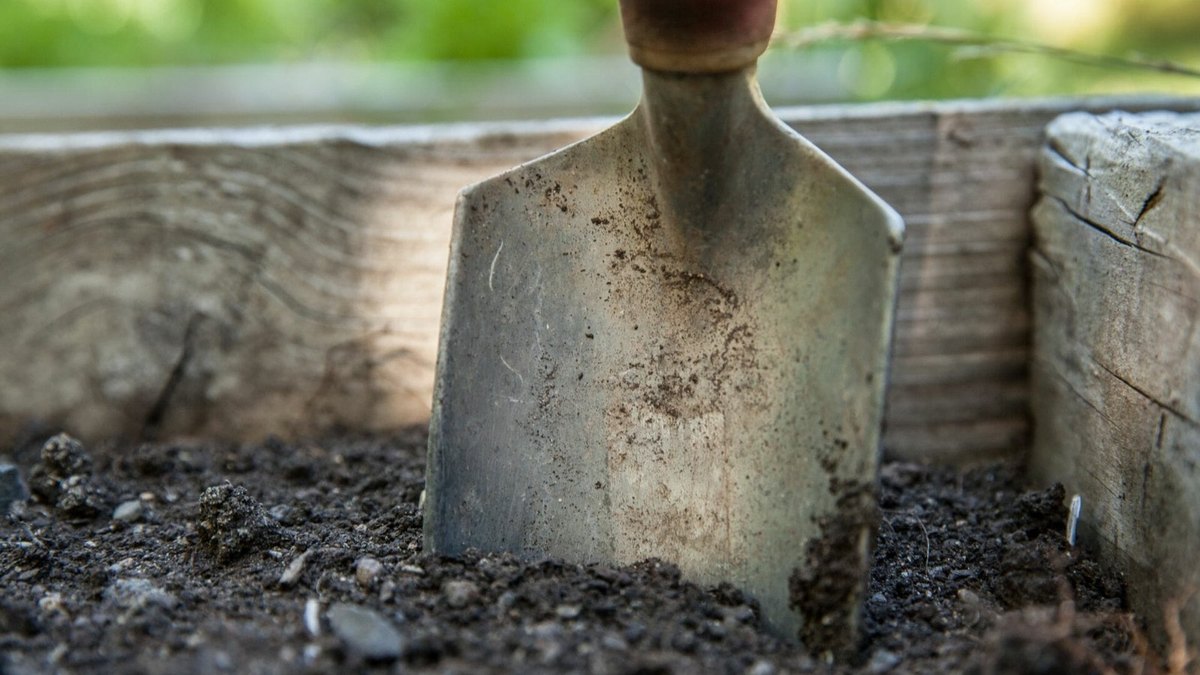
Rub down rusty areas with sandpaper. Do not press too hard or you may damage the metal. Check the blade regularly, as fresh rust is far easier to remove than rust that has taken hold.
After sanding, rinse the shovel again and leave it to air dry.
Step 3
Sharpen the edge
When the working edge is worn and the shovel no longer bites into the ground, sharpen it with a flat file. Keep the original bevel angle and push the file away from you in one direction.
Sharpen only the working edge and just deburr the sides. Do not oil the metal while sharpening, or the file will clog.
Step 4
Care for the handle
Wash a wooden handle with water and a cloth and let it dry. Sand off any splinters with fine paper, then rub in linseed oil or a wood sealer to protect it from moisture and cracking.
Check a metal handle for rust, sand any problem areas and wipe it with a cloth and WD-40 Multi-Use. Also check that the blade sits firmly on the handle and the fixing nail or screw has not worked loose.

Step 5
Protect the metal
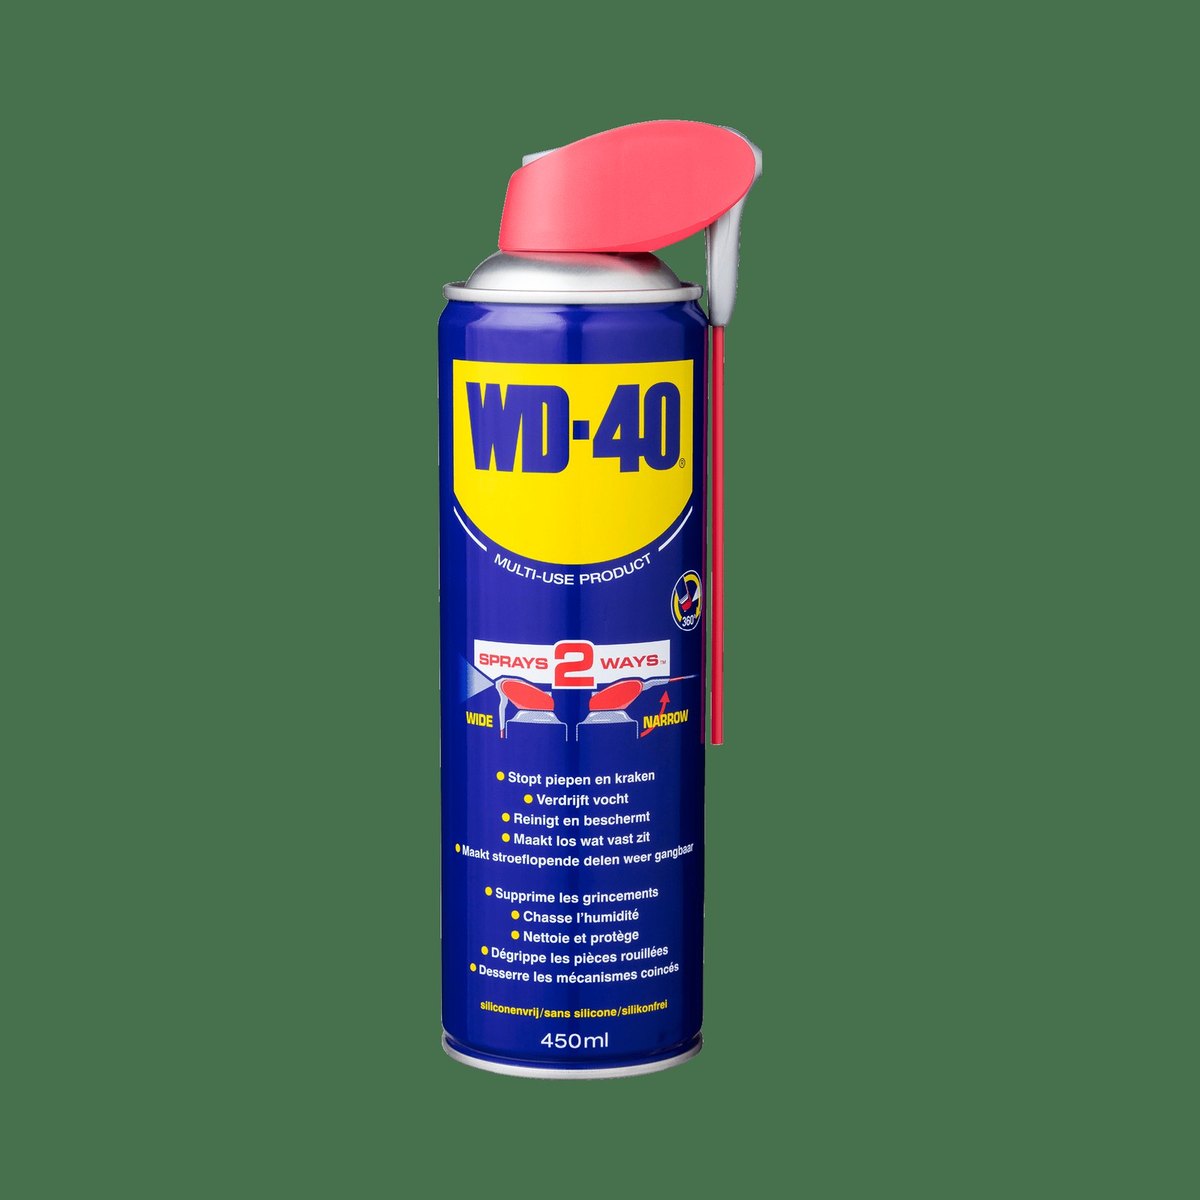
Spray WD-40 Multi-Use over the whole blade, leave it for a few minutes and wipe off the excess along with any remaining dirt. It displaces moisture, lifts light surface rust and leaves a thin protective film.
WD-40 Smart Straw has a handy flip-up straw for reaching the joint between blade and handle, where water lingers longest. For lots of tools, WD-40 Trigger Pro is quicker.

Step 6
Store it properly
Keep the shovel in a dry shed rather than outdoors or in a damp cellar. Hang it on a hook so the blade does not stand on soil or concrete.
Before winter or a long break, treat the blade with WD-40 Multi-Use, leave it to work and wipe off the excess. Always rinse a snow shovel with clean water and dry it after contact with de-icing salt: salt eats into metal very quickly.
Tip: A thin coat of
WD-40 Multi-Use on the blade before digging clay or shifting wet snow reduces sticking. The work goes faster and cleaning up afterwards is easier.
What next
Wash the shovel after each use and sand, sharpen and protect it against rust in spring and autumn. The same routine works for rakes, forks and hoes; see our guide to garden tool care for more. Keep a can of WD-40 Multi-Use in the shed so protection is always to hand.
These uses come from the experience of WD-40 users in many countries. Always follow the instructions and warnings on the product label.
More guides in «How to use».