3D printers are no longer just professional tools: people buy them for home, the workshop and model making. They are precise machines, and print quality depends directly on the state of the mechanics. Dry guide rods, a loose frame or a clogged nozzle mean layer shifts, blobs on parts and wasted filament.
The rule is simple: check the printer before every print, tidy it after, and every few weeks or after 50-100 hours of printing give it a full service. Here is how in five steps.
What you will need
Important: Unplug the printer before working on the mechanics. When heated, the nozzle runs above 200 degrees and the bed above 60: use tweezers and gloves and never touch the hot end with your fingers.
Step 1
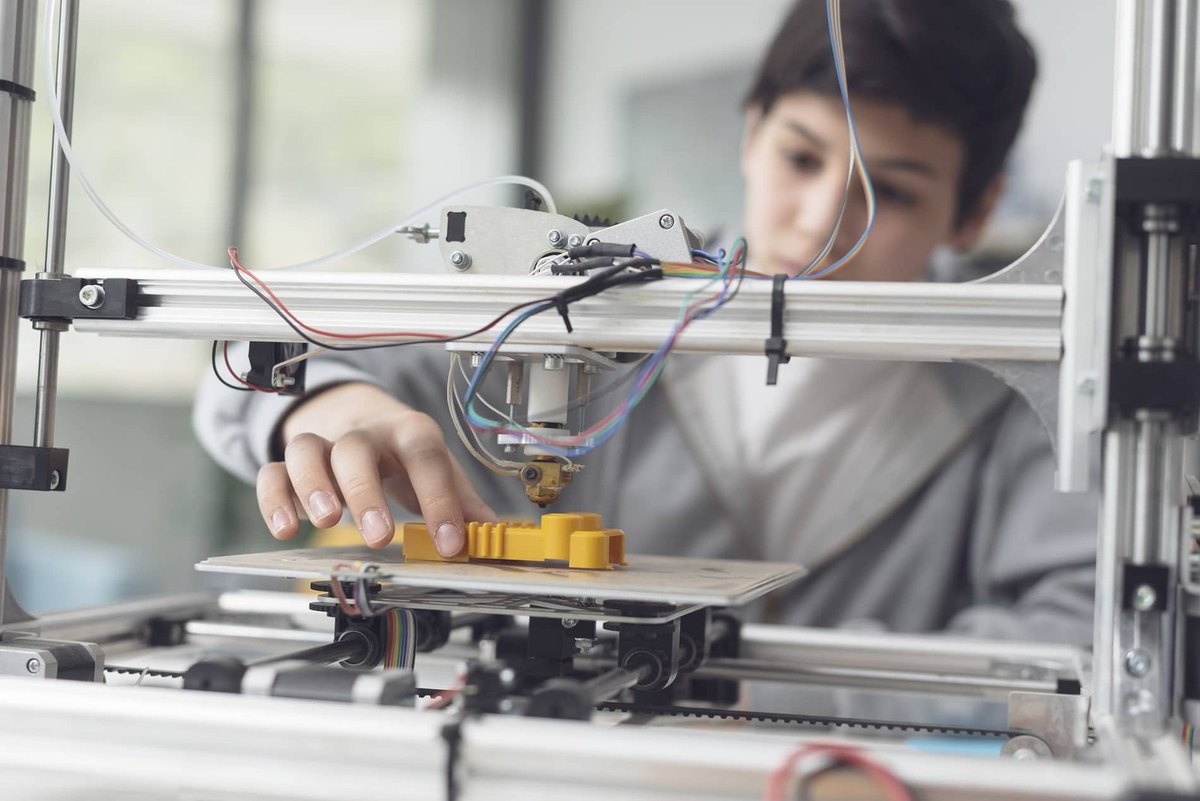
Lubricate the guide rods
Start with the smooth rods the carriages run on. Wipe off dust and old lubricant with a cloth, placing a rag underneath so nothing drips onto the bed or the board.
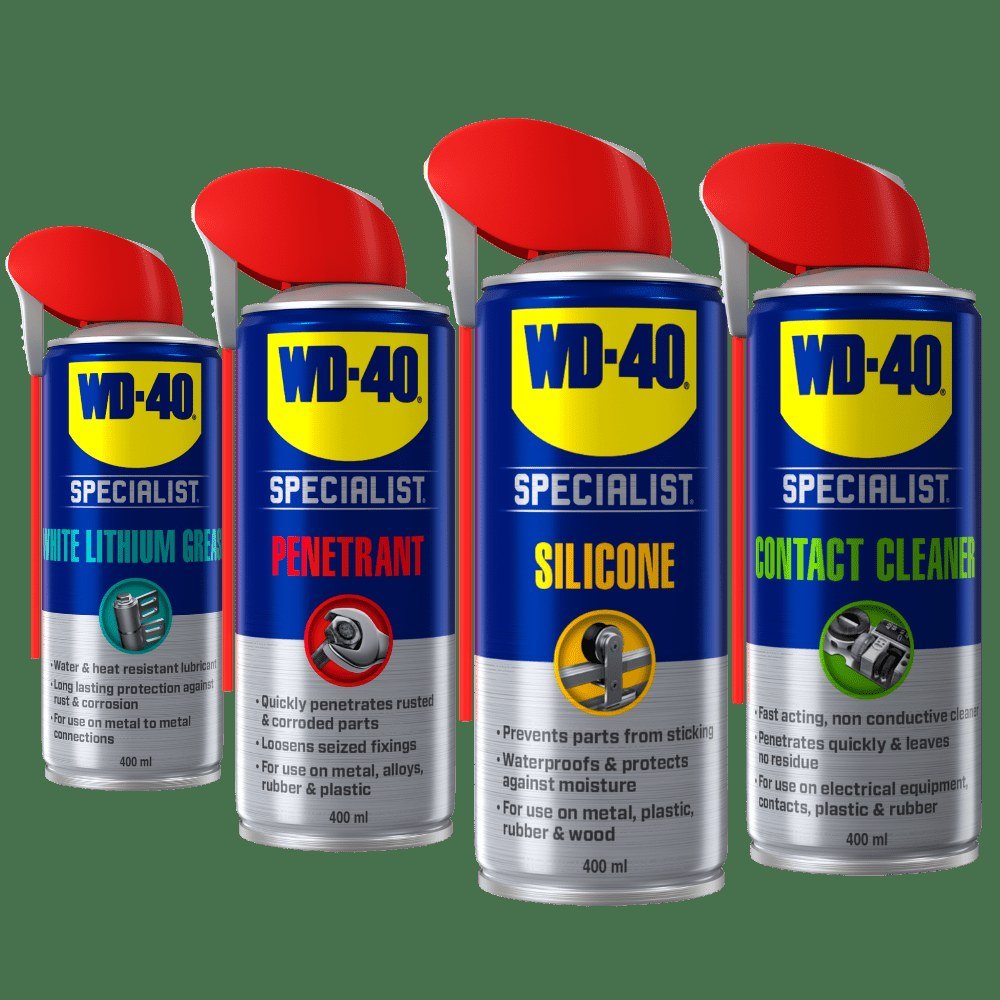
Apply WD-40 Specialist Silicone thinly to a cloth or with a short burst through the straw and spread it along the full length of each rod. Silicone leaves a smooth, non-greasy film that attracts less dust. Push the carriage by hand from end to end several times.
Step 2
Check the overall condition
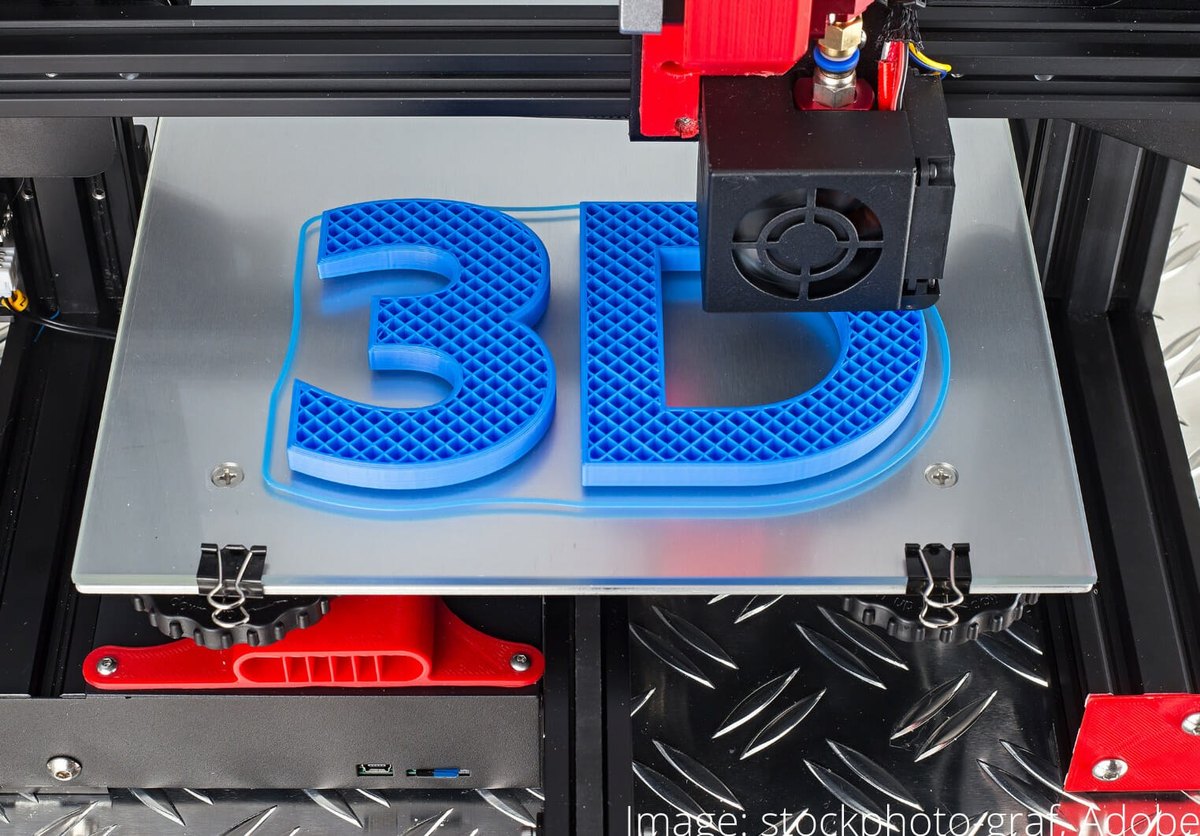
Vibration slowly loosens the frame screws. Go round every joint with the keys and nip them up without overtightening. Check belt tension: a belt should neither sag nor ring like a guitar string.
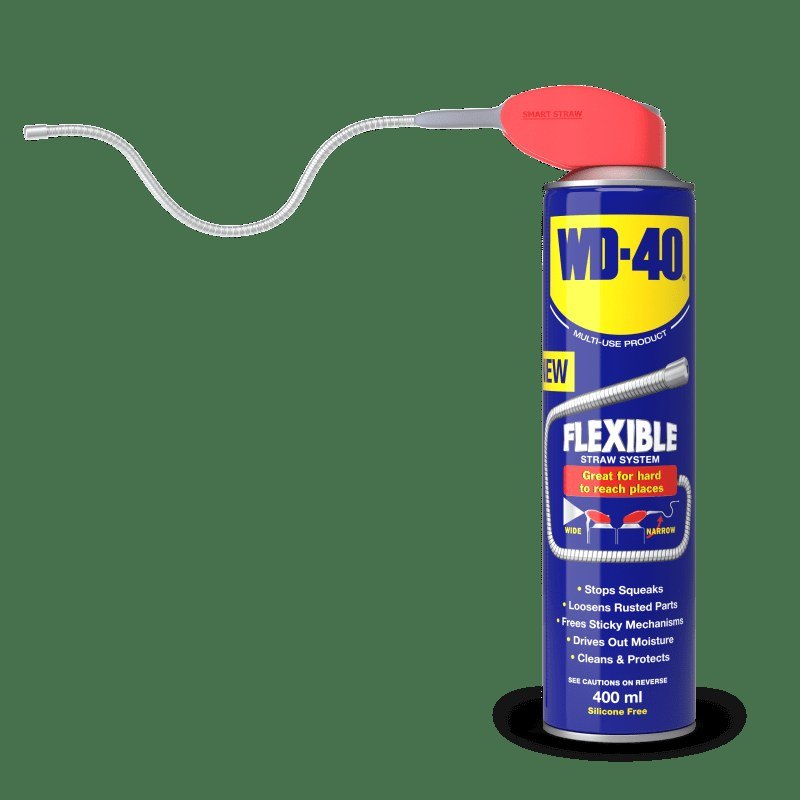
Inspect cables and connectors too: they can work loose and must not snag the moving carriages. Clean any oxidised contacts with WD-40 Specialist Contact Cleaner with the printer switched off.
Step 3
Clean the extruder
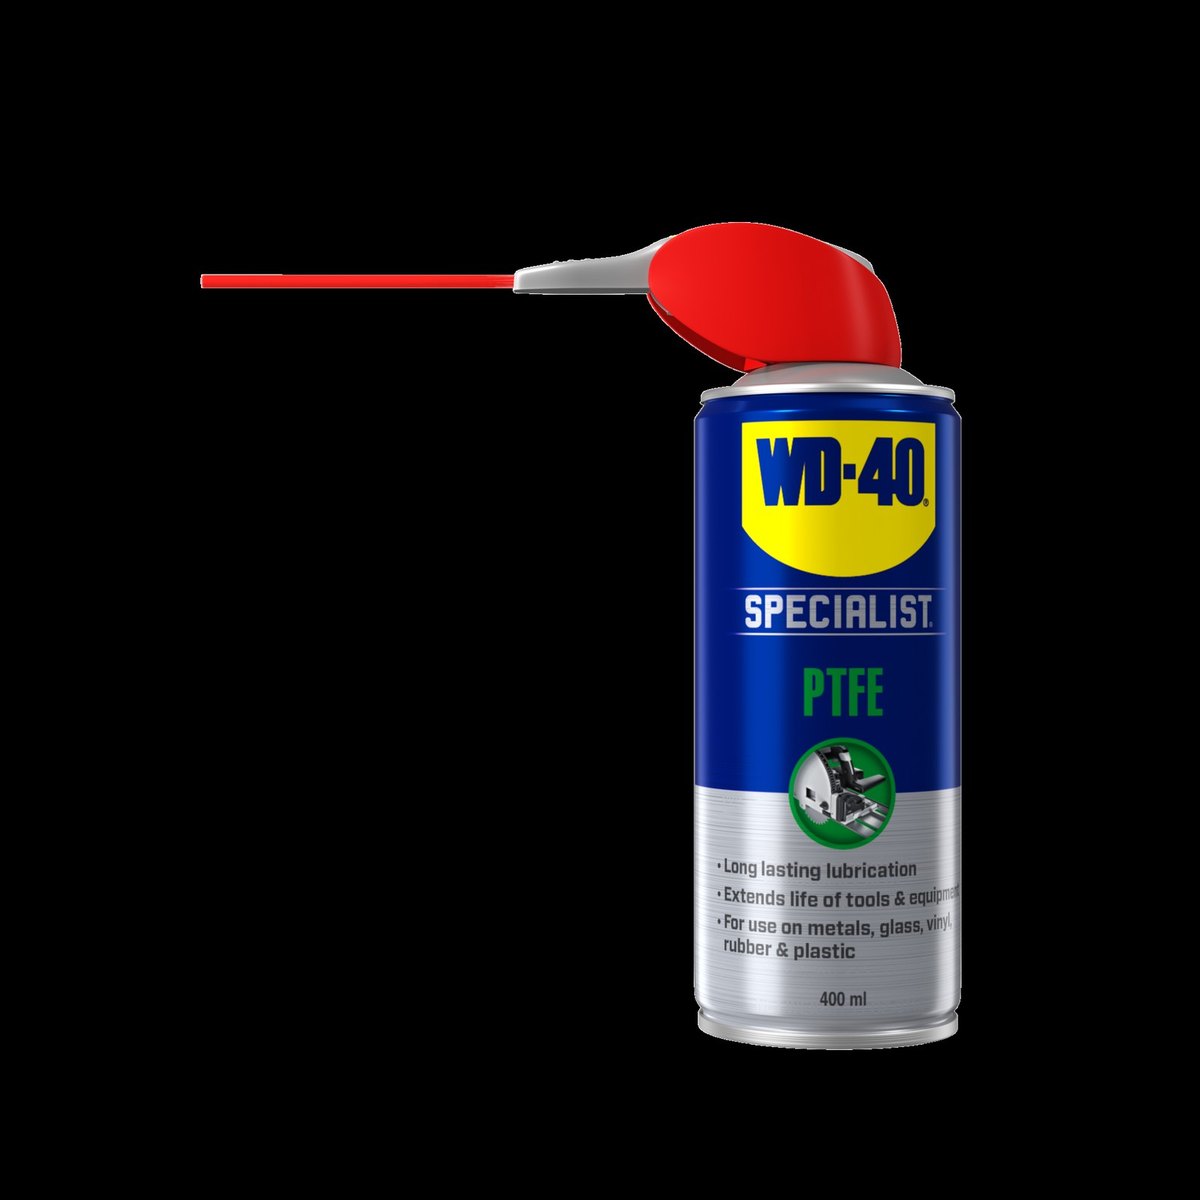
Heat the nozzle to the working temperature for your filament and pull the filament out completely. Turning the extruder gear by hand, pick plastic shavings out of its teeth with tweezers. Finally blow out the feed mechanism with compressed air to clear dust and small debris.
Step 4
Clear the nozzle
Heat the nozzle again and push through a little filament. It should come out straight down. If it curls or comes out unevenly, the nozzle is partly blocked: carefully clear the bore with a fine cleaning needle.
If that does not help, remove the nozzle (only while hot, with the correct spanner) and soak it in a solvent suited to your filament type, or simply replace it. To avoid the problem, brush the still-warm nozzle with a brass brush after every print.
Step 5
Clean and level the bed
On a metal bed with a coating or masking tape, check the surface is intact and replace the tape if needed. Wash a glass bed with glass cleaner and a lint-free cloth, as fingerprints spoil first-layer adhesion. Never put lubricant on the print surface.
Finally level the bed to the nozzle following your model's instructions and run a test print.
Tip: Keep a simple log: date, print hours, what was lubricated and cleaned. It makes it easy to see that layer shifts began when the rods dried out rather than because of a slicer setting.
What next
A pre-print check takes a minute, a full service about half an hour. In dry heated rooms in winter dust builds up faster, so wipe and lubricate the rods more often. To protect metal tools and spare parts in the workshop from moisture, keep WD-40 Multi-Use to hand.
These uses come from the experience of WD-40 users in many countries. Always follow the instructions and warnings on the product label.
More guides in «How to use».