An inkjet printer can suddenly stop printing even though the cartridges still have ink. Almost always the reason is the same: ink has dried in the head nozzles. It usually happens after a long idle spell, especially in sunlight or near a radiator.
Some printers have the head built into the cartridge, others have it installed in the printer. Check your manual to see which you have, as they are cleaned differently.
What you will need
Important: Unplug the printer before opening it up. Do not touch the nozzles or the copper contacts of the cartridge. No lubricant must reach the print head, the encoder strip, the paper feed rollers or the ribbon cables.
Step 1
Prevention and automatic cleaning
Keep the printer out of direct sun and away from heaters. Switch it off with its own power button rather than at the socket: the head then parks and caps, and the printer can run a cleaning cycle. Do not leave it unused for more than a few days; print a colour page at least once a week.
If prints are already streaky, run head cleaning from the printer menu or the driver on your computer. The printer pushes ink through the nozzles and the solvents in it often dissolve the blockage. After 2-3 cycles, leave it for a few hours.
Step 2
Soak a cartridge with a built-in head
If the head is part of the cartridge, take it out and stand it head down in a bowl of warm water so only the head is submerged. Leave it for a few hours for the dried ink to dissolve. Then dry the cartridge thoroughly, blotting the nozzles with a cloth rather than rubbing.
Step 3
Look after the carriage mechanism
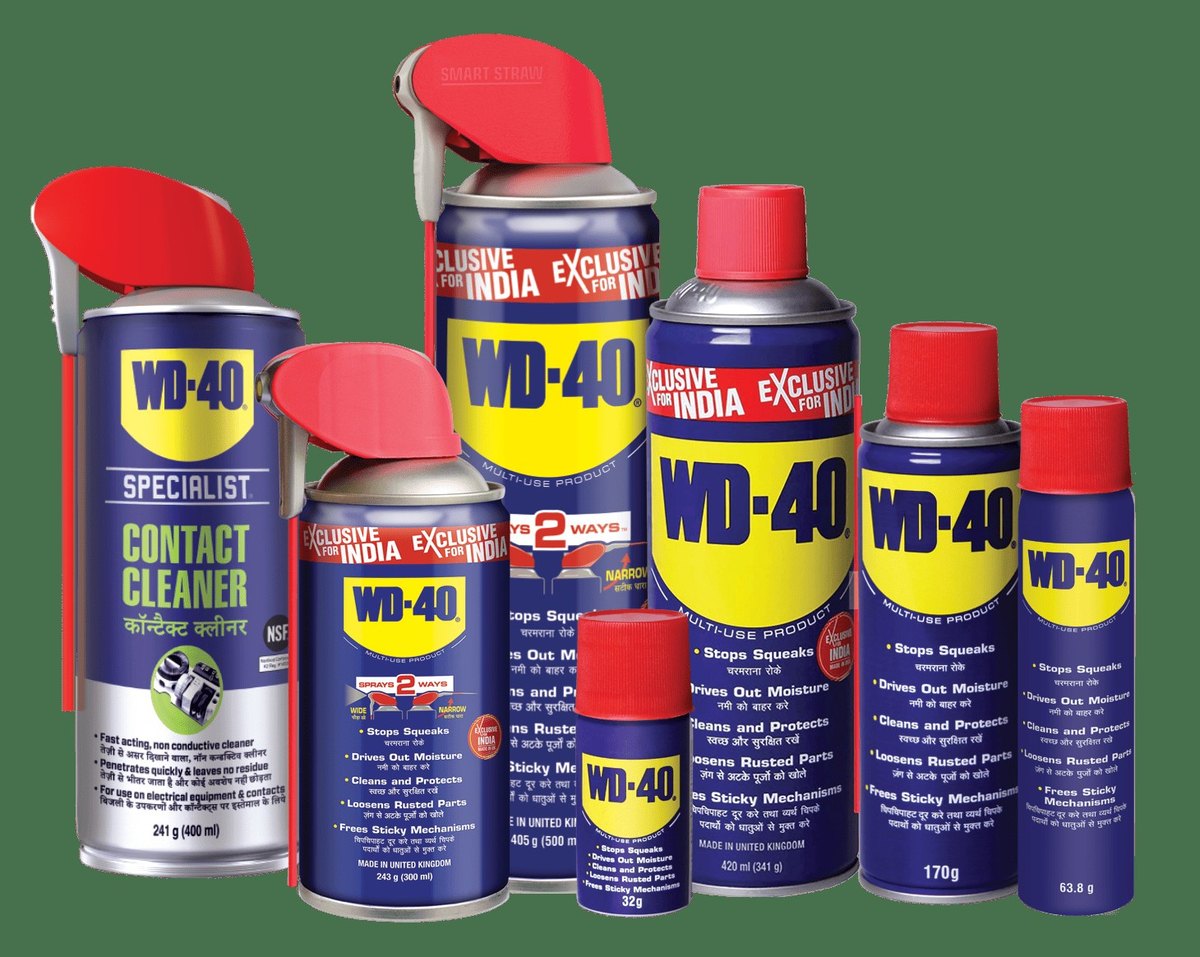
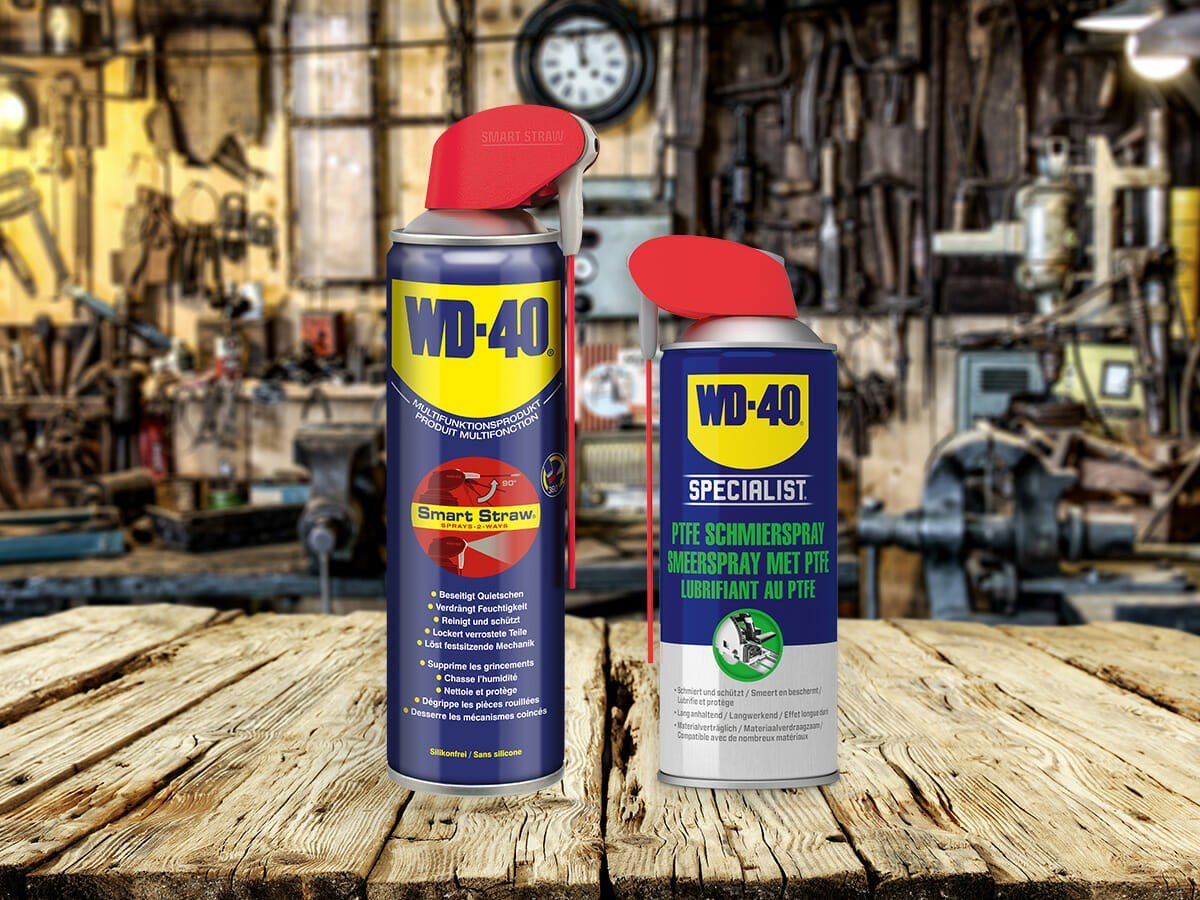
With the cartridges out, wipe the metal rail the carriage slides on. Put a drop or two of WD-40 Smart Straw onto a cloth through the thin straw and wipe it along the rail and the cartridge latches, removing any excess at once. Never spray inside the printer.
Refit the cartridges and run automatic cleaning again. If printing still does not return, replace the cartridge, which also replaces the head.
Step 4
Get access to an installed head
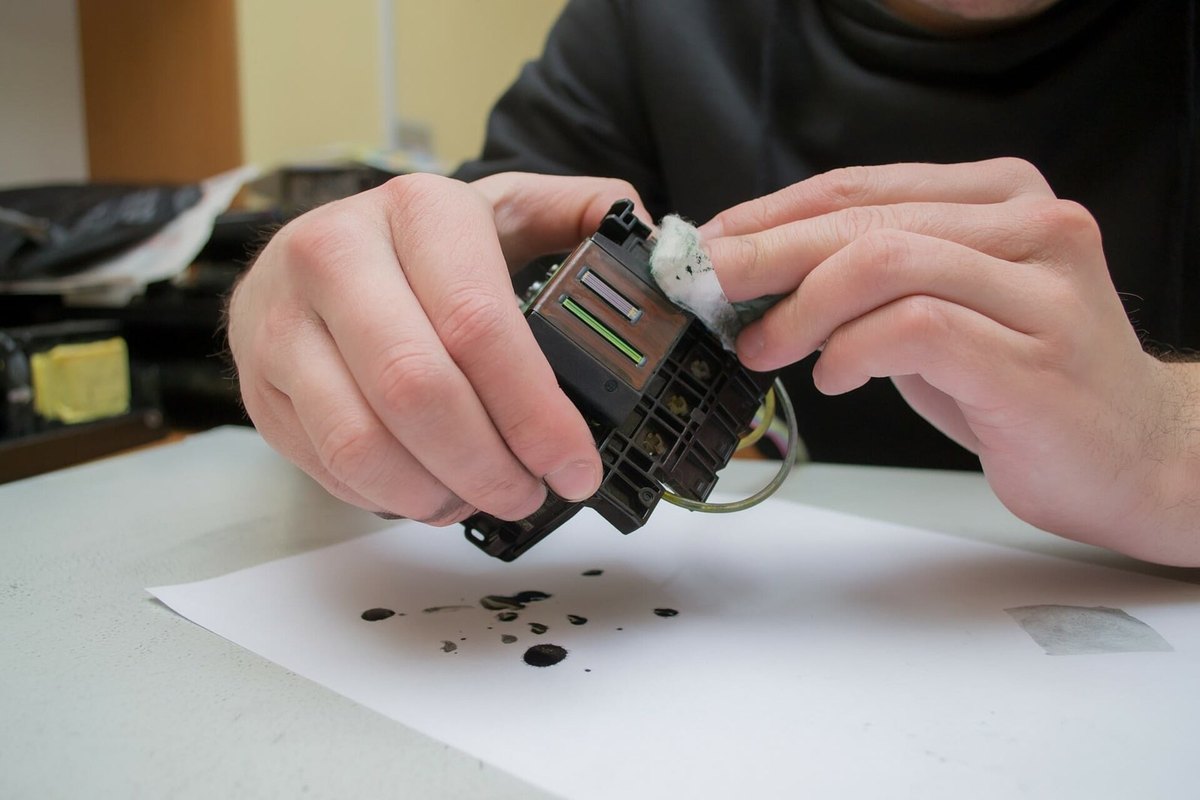
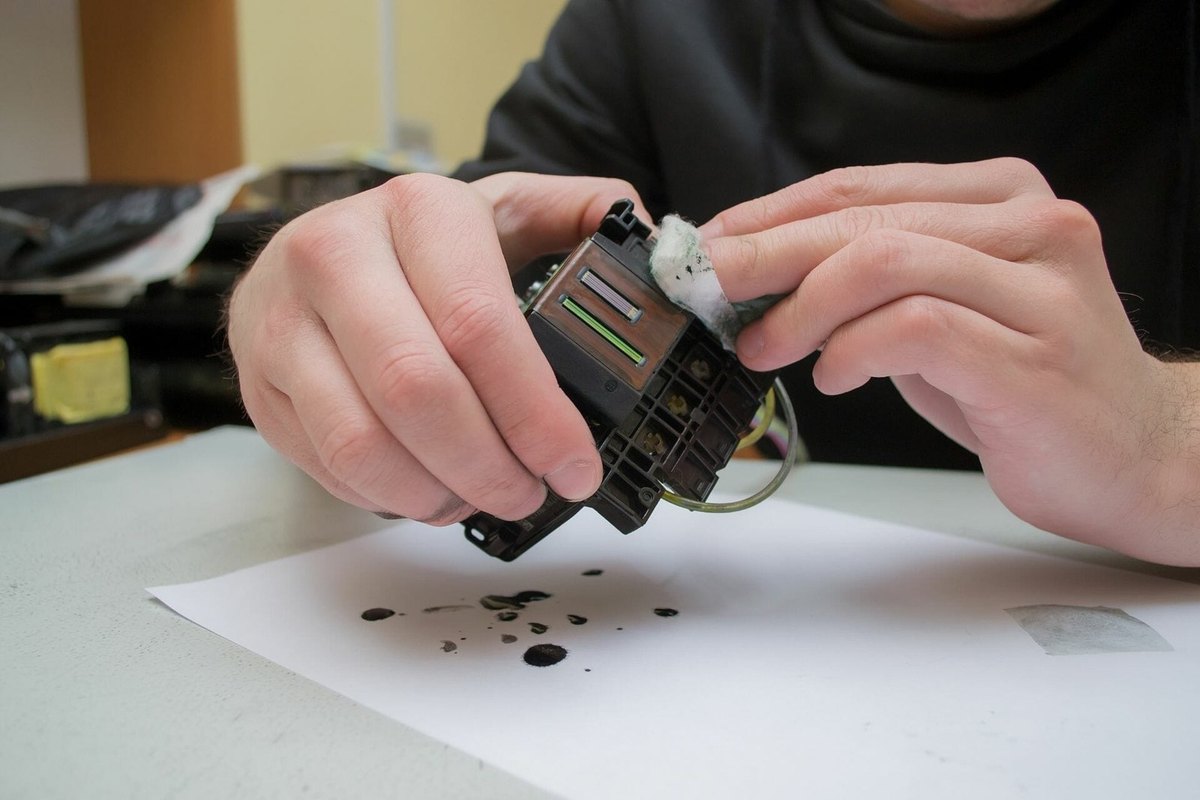
On printers with an installed head, always try automatic cleaning first. If that fails, open the cover, wait for the carriage to move to the change position, switch off the power and remove the cartridges. The head is now visible.
Step 5
Clean the head by hand
Moisten a cotton bud or foam with isopropyl alcohol and gently wipe the head surface without leaving lint behind. Warm water also works, but keep it away from the electronics.
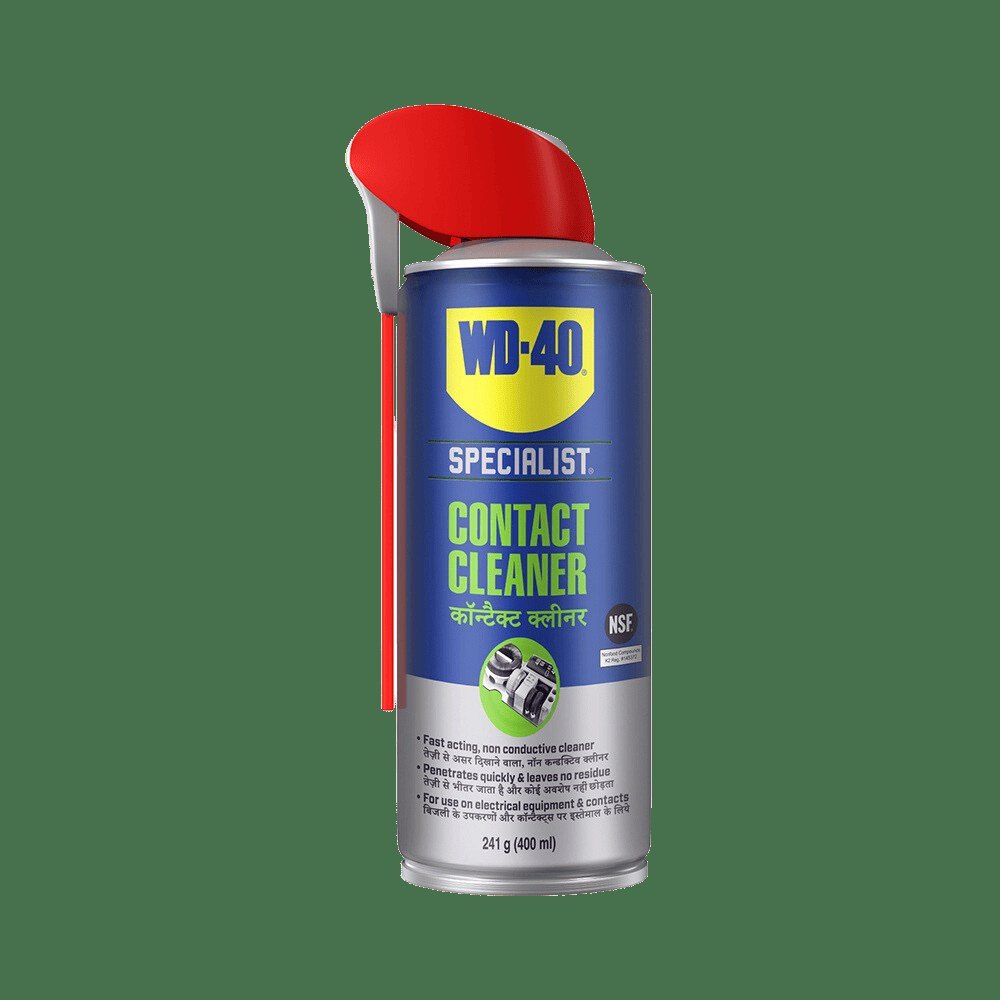
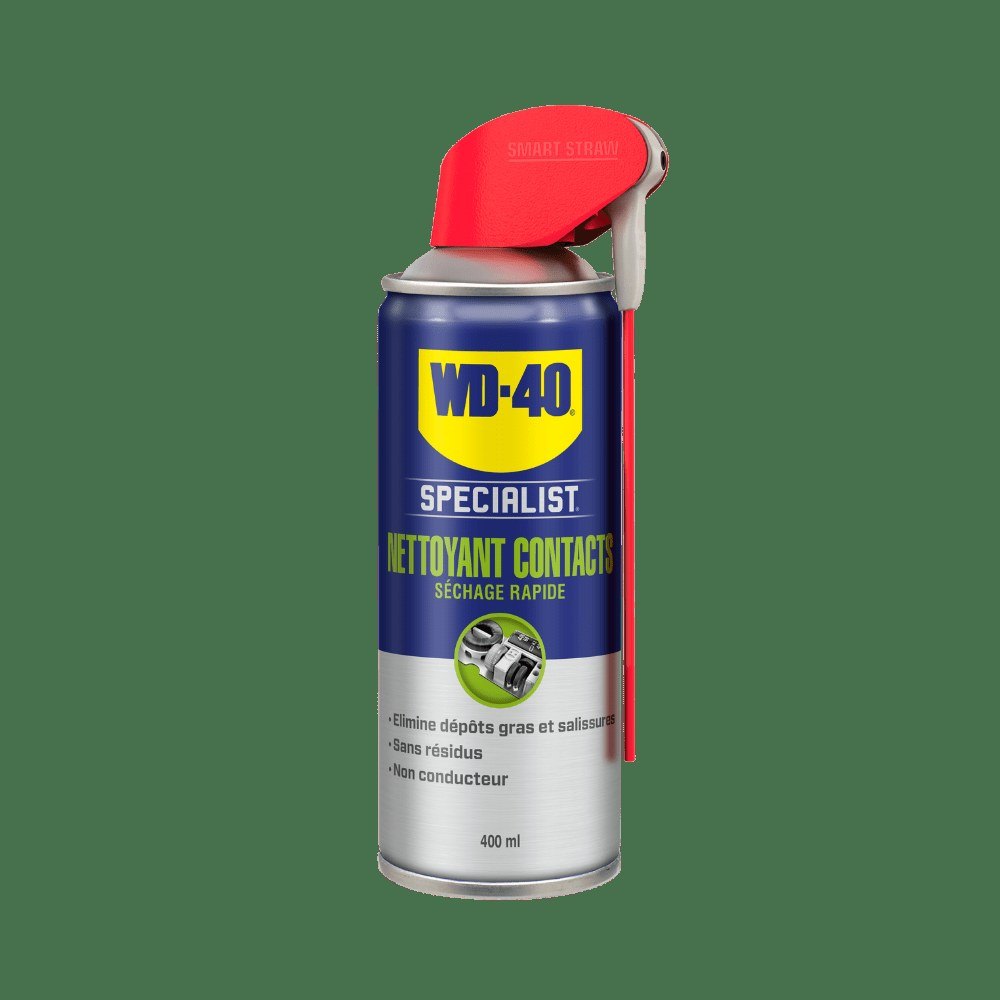
Then give the reachable carriage contacts a short burst of WD-40 Specialist Contact Cleaner: it evaporates quickly and carries away any remaining liquid. Leave the printer open for a few hours to dry completely, then refit the cartridges and run a cleaning cycle.
Step 6
Replace the head if cleaning fails
Some models have a removable head. If it still will not print after all of the above, replace it following the manufacturer's instructions.
Tip: Before leaving the printer idle for weeks, print a test page and switch it off with its button. In hot weather ink dries faster, so print more often.
What next
For other office jobs such as squeaky chairs, cabinet catches and locks, use WD-40 Multi-Use, and for keyboards and computer connectors the same contact cleaner.
These uses come from the experience of WD-40 users in many countries. Always follow the instructions and warnings on the product label.
More guides in «How to use».