A computer runs for hours every day, and its main enemies are not viruses but dust, moisture and grease from hands and breath. Together they degrade electrical contacts, make the mouse jumpy and keys sticky, and clogged fans push the processor into overheating.
Most of the maintenance can be done yourself, with no soldering iron or special skills. Below is a cleaning plan for the tower and all peripherals.
What you will need
Important: Clean everything only while it is switched off: unplug the power cord and all devices. Open the case only if you are confident doing so. Do not spray products onto the screen or scanner glass, and test on a hidden area of plastic first.
Step 1
The tower
Disconnect all devices and the power cord. Use a narrow vacuum nozzle to remove dust from the ventilation grilles. If the case opens, carefully vacuum the internal components without touching boards with metal.
Experienced users can remove the RAM modules and disconnect ribbon cables, treat the contacts with WD-40 Specialist Contact Cleaner and refit everything once dry.

Step 2
Keyboard
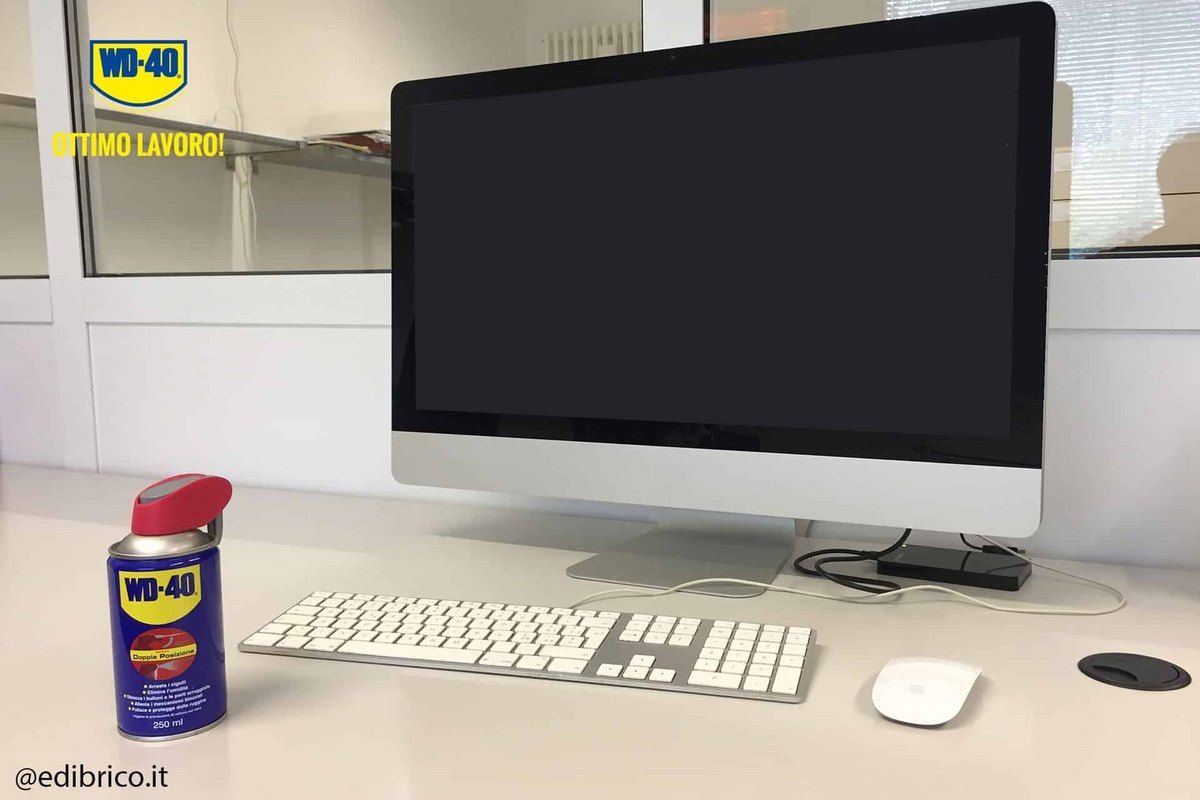
This is the hardest-working device: grease, crumbs and dust collect on it and between the keys. Disconnect it, turn it over and shake gently. Keeping it upside down, go over it with a soft brush, then with the vacuum. Shake a laptop very carefully, holding the whole body.
Moisten a microfibre cloth with keyboard cleaner or a drop of WD-40 Multi-Use and wipe the keys and casing several times. Use the minimum of liquid so nothing gets inside.
Step 3
Ports and cables
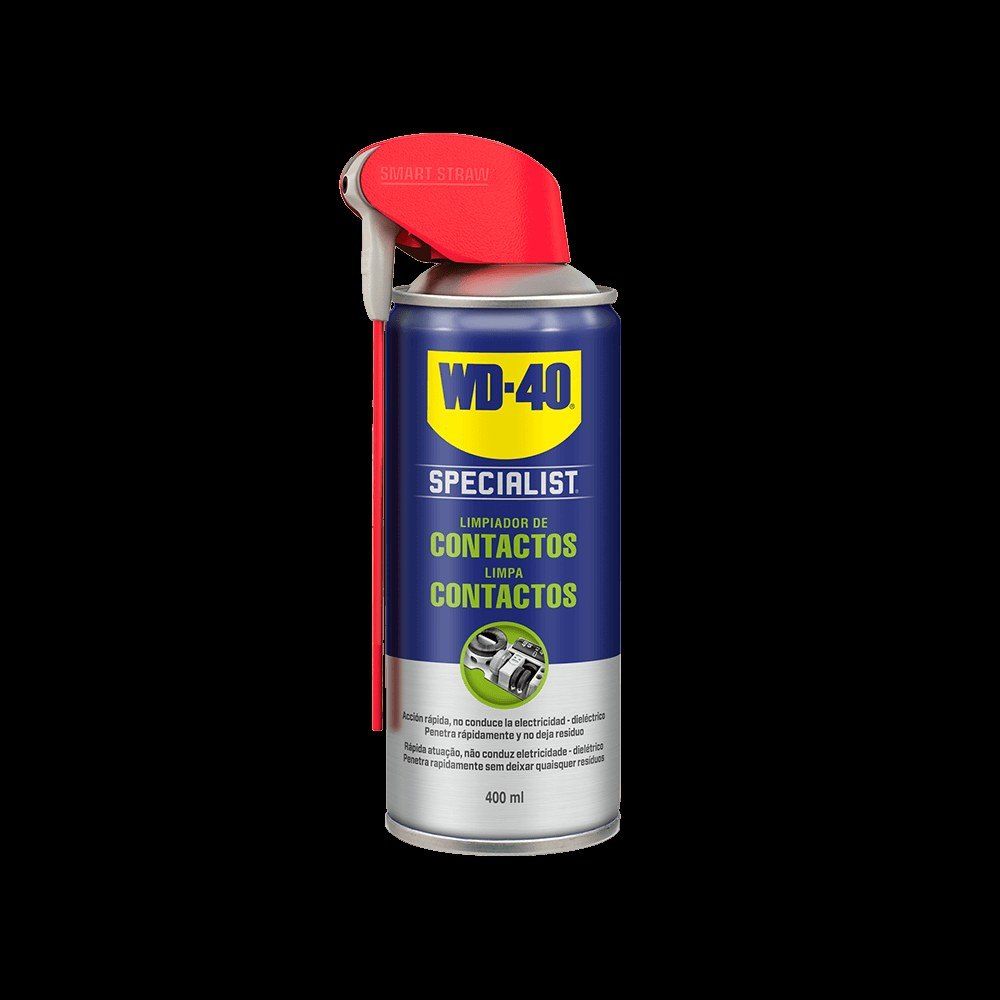
After vacuuming and brushing, give a short burst of WD-40 Specialist Contact Cleaner into the USB, HDMI and audio ports and onto cable plugs. It reaches awkward spots and dries without residue. Treat the connectors of external drives, the printer and scanner the same way.
While you are at it, tidy cables with ties or an organiser: tangled leads are easily yanked out, which damages sockets. Wipe the monitor while it is off with a screen cleaner.

Step 4
Mouse
Remove lint around the optical sensor and greasy deposits from the feet that slide on the desk; these are what spoil smooth movement. Wipe the body and scroll wheel with microfibre. Wash the mouse mat and desk with an ordinary degreasing cleaner.
On a wireless mouse check the batteries: weak power often causes the same cursor jumps as dirt.

Step 5
Scanner
On most scanners you can reach the rails along which the optical carriage travels. Without lubrication it sticks or moves jerkily and scan quality drops. Apply a little WD-40 Specialist Silicone with a cotton bud to the rails only.
Clean the scanner glass on both sides with glass cleaner.
Step 6
Printer
Open the covers, take out the cartridges and removable parts, and vacuum out dust and paper scraps. Put a drop of WD-40 Specialist Silicone on gears and slides with a cotton bud so nothing drips onto the paper.
Wipe the cartridge guides with a clean cloth and treat their electrical contacts with WD-40 Specialist Contact Cleaner.

Tip: Avoid metal vacuum nozzles and do not keep the computer on a carpet: both increase the risk of static discharge and dust build-up.
What next
Wipe the keyboard and mouse weekly, clean ports and grilles monthly, and give the tower and printer a full clean every six months. For more on protecting contacts, see our guide to removing dust from electronics.
These uses come from the experience of WD-40 users in many countries. Always follow the instructions and warnings on the product label.
More guides in «How to use».