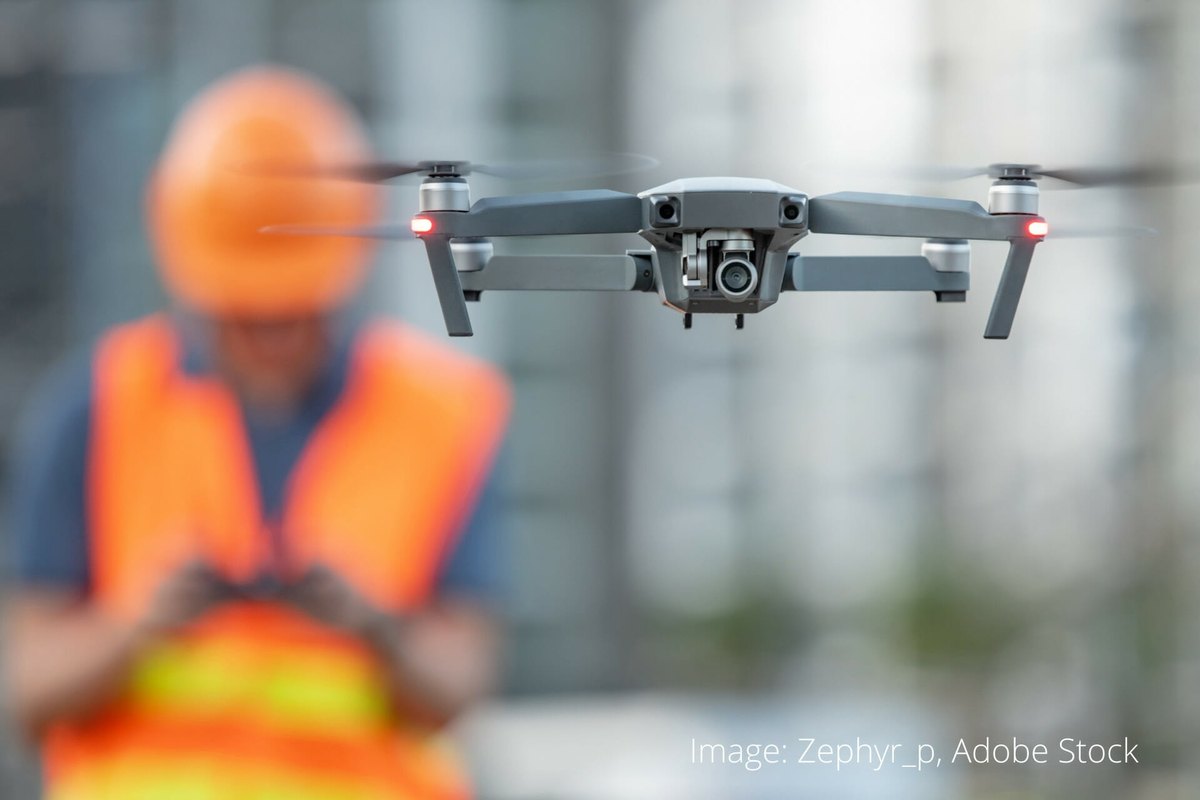
A drone is both tough and delicate: complex mechanics and electronics packed into a light airframe. Drones are classed as aircraft, so they should be maintained in line with the manufacturer's flight manual and maintenance schedule.
Regular care makes flights safer and noticeably extends the life of the aircraft. Remember that a falling drone can injure people or damage property. Dust, sand, grass and moisture from landing in fields, plus dew and temperature swings in autumn and winter, are especially hard on motors and contacts. The rules apply to every class, but for heavy and expensive drones they are critical.
What you will need
Important: Always work with the battery disconnected and the propellers removed or secured. Never apply any product to the propellers, camera lens or gimbal: a film changes the aerodynamics and spoils the image.
Step 1
Propellers
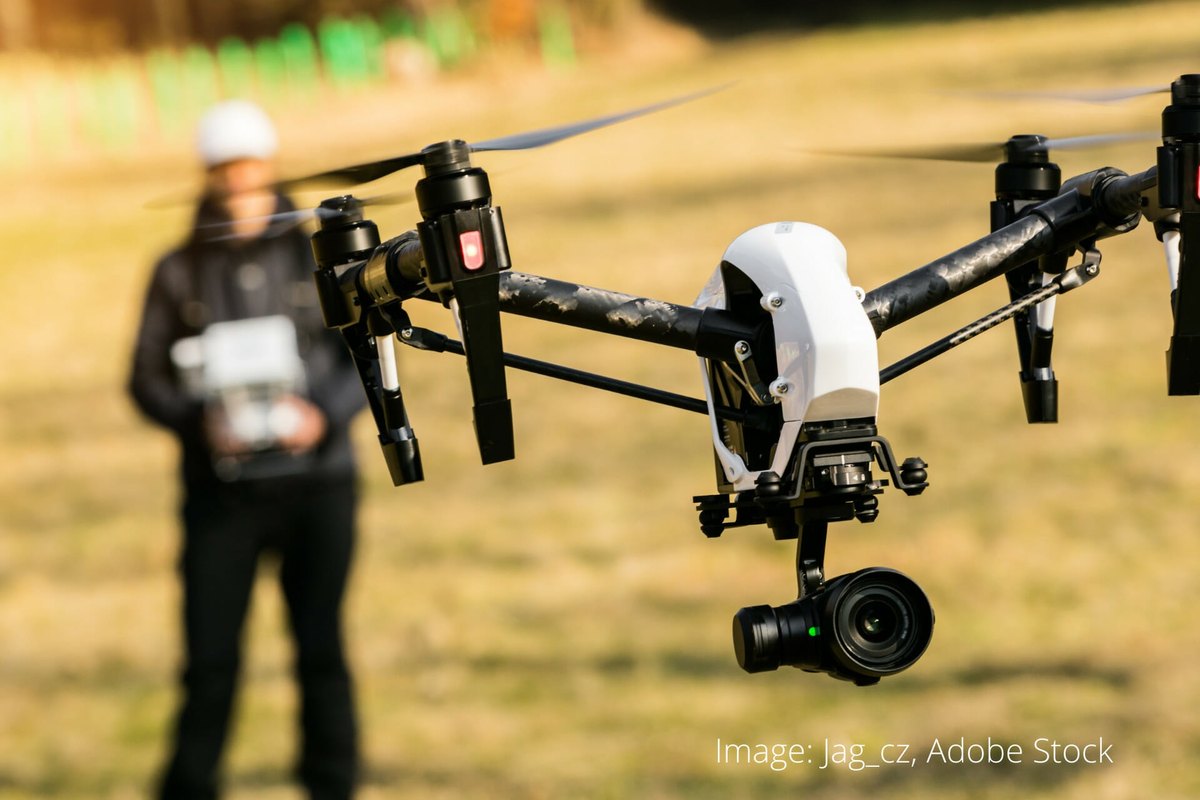
Propellers must be in perfect condition. Before and after every flight, check the blades and their adapters: scratches, cracks or deformation are not acceptable.
Keep the propellers clean. Dirt, sand and grass stick to them on landing, which changes the blade profile and reduces efficiency. Wipe them with a dry microfibre cloth. Replace a damaged propeller straight away and never fly with it.
Step 2
Frame arms
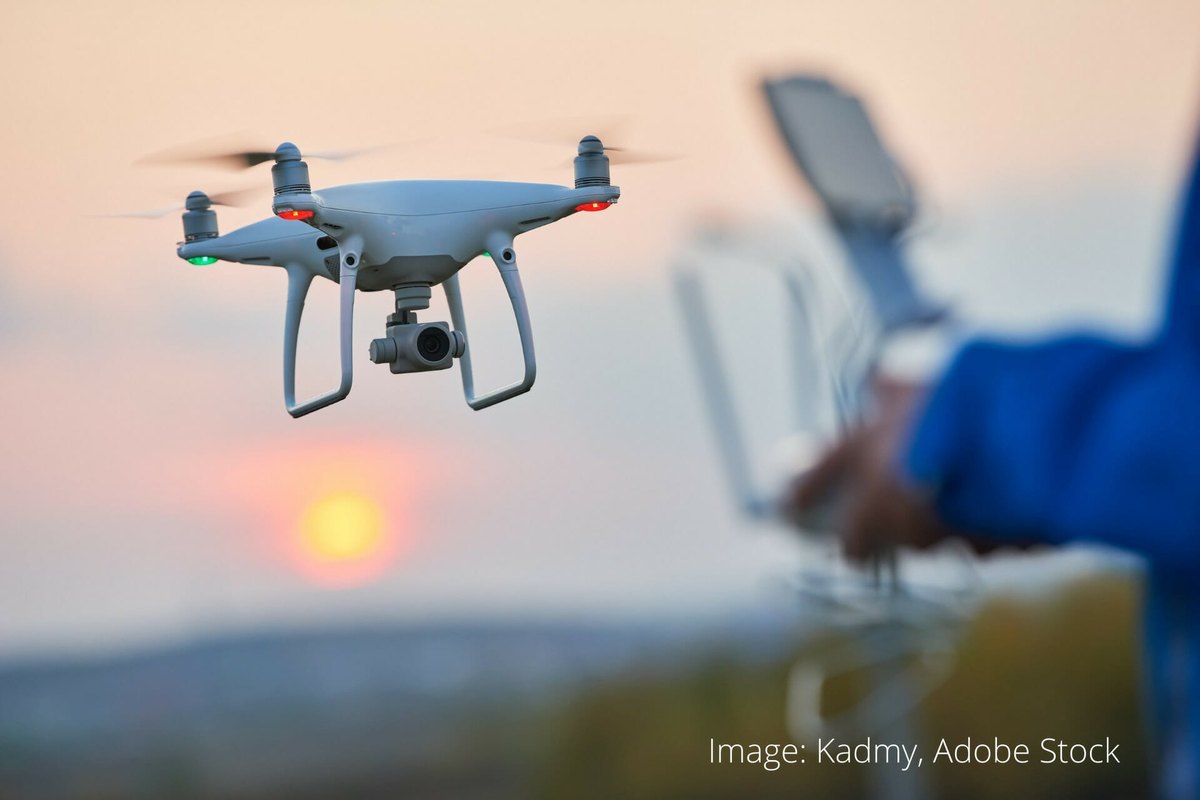
On many models the propellers sit at the ends of arms. Inspect the joints regularly for cracks and play. A simple test: hold each arm and shake it gently; it should feel secure.
Check the mounting screws and tighten them without excessive force, so you do not strip the thread or loosen the joint sleeve.
Step 3
Landing gear
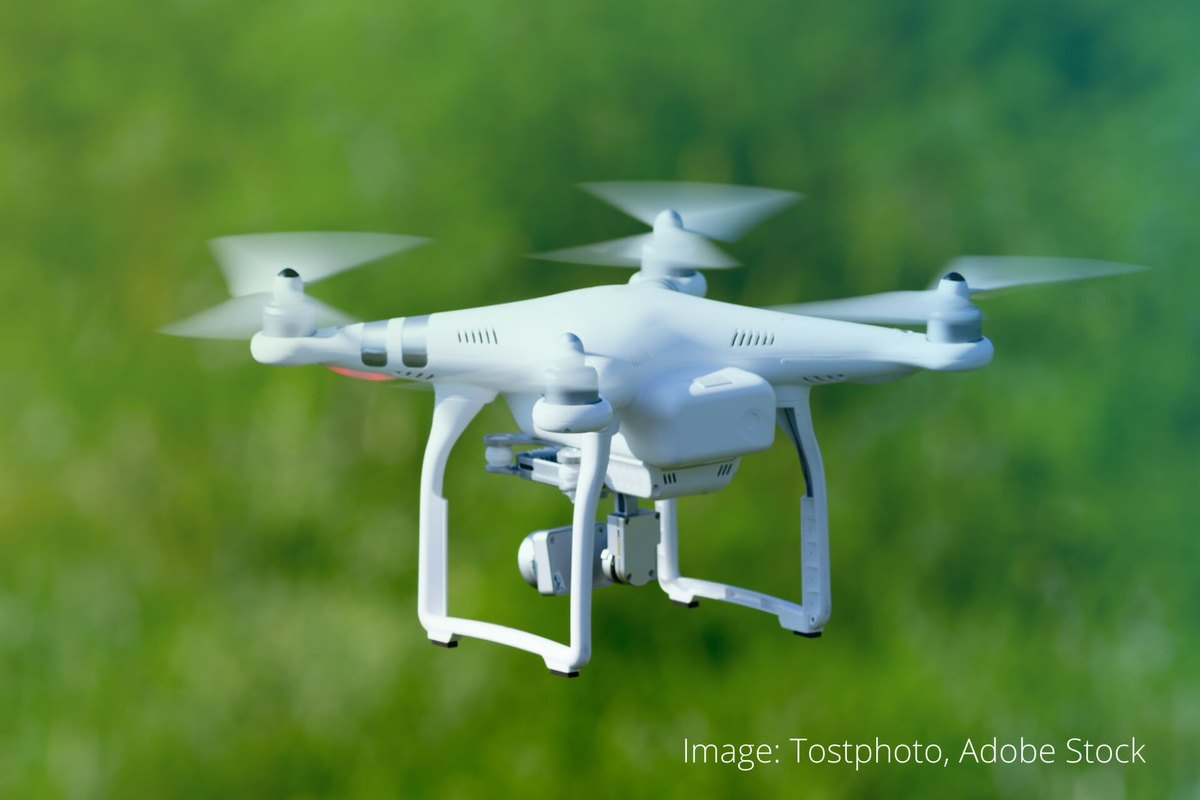
If your drone has landing gear, check the sleeves that connect it to the frame for cracks. Make sure the screws on each leg are tight.
When storing it in its case, do not put pressure on the landing gear sleeves and make sure the lid does not press on the propellers. The legs should be straight and undamaged, otherwise the drone will land at an angle.
Step 4
Motors
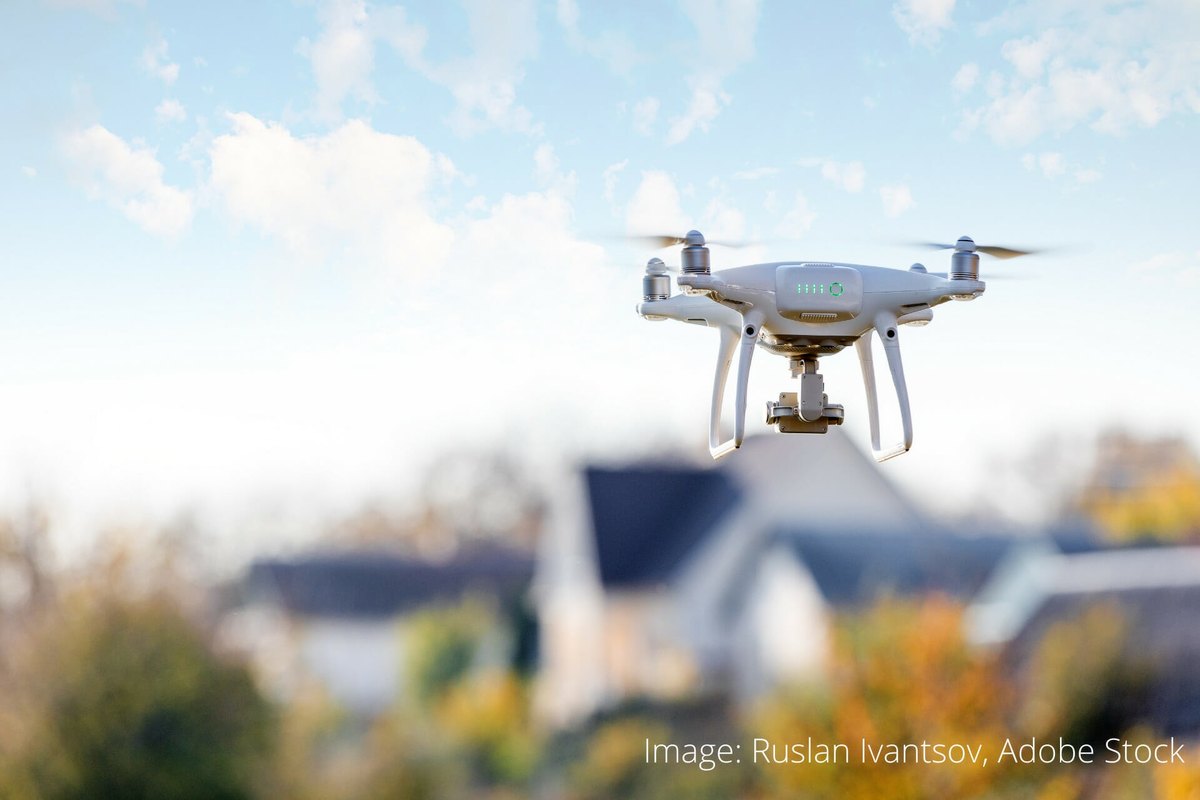
A motor should spin freely, without friction, wobble or the sound of worn bearings. If you hear an unusual noise in flight, check the motor at once.
Inspect the motor and its copper windings for oxidation. If the drone has flown in rain or landed in wet grass, dry the motor thoroughly. Remove dust and sand with compressed air.
The metal parts of the motor can be protected from moisture and corrosion with a very small amount of WD-40 Multi-Use: apply it to a cloth rather than spraying directly, and wipe off any excess. It displaces moisture and protects the metal.
Step 5
Batteries and electronics
Check the battery contacts. Oxidation creates significant resistance and reduces the power needed for flight. Clean the contacts and connectors with WD-40 Specialist Contact Cleaner, which removes oxidation and moisture and dries quickly.
Replace a battery with dents, swelling or a damaged casing after an impact immediately. Also keep the battery bay and mount clean and free of corrosion from any possible leakage.
Step 6
Other pre- and post-flight checks
Because a drone is complex, it is worth running through a short checklist before and after each flight:
aerials intact and secure; seals on openings and covers in place; air intakes clean (blow them out with compressed air); dampers free of damage and play; gimbal rotating freely on all axes; camera cleaned only with microfibre and a non-abrasive lens cleaner.
Tip: Keep a simple flight log: date, flight time and any noises or glitches you notice. It makes it much easier to spot a motor or battery starting to deteriorate before it causes a crash.
What next
Check the propellers, arms and battery before every flight, and give the motors and contacts a full inspection at least once a month or after flying in dust, rain or frost. Store the drone somewhere dry and treat the contacts regularly with contact cleaner.
These uses come from the experience of WD-40 users in many countries. Always follow the instructions and warnings on the product label.
More guides in «How to use».