A diode laser engraver has become a standard workshop tool next to the CNC router and the 3D printer. It cuts plywood and engraves leather and metal, but it only stays accurate when the optics are clean and the gantry moves freely without play.
Smoke from wood and acrylic settles as resin on the lens, fan and rails, while dust mixes with lubricant into an abrasive paste. Regular maintenance takes about half an hour and restores cutting quality and a stable focus.
What you will need
Important: Switch the engraver off and unplug it before any maintenance. Never spray anything onto the lens or diode: optics are cleaned with isopropyl alcohol only. Never run the laser without safety glasses.
Step 1
Remove and inspect the laser module
Disconnect the module cable and take the module off the carriage. Check the housing, fan and shroud: a brown resin film means the extraction is weak and the lens is dirty too.
Brush dust off the heatsink and fan blades so the diode does not overheat during long jobs.
Step 2
Clean the lens
Moisten a cotton bud with isopropyl alcohol and wipe the lens in gentle circles from the centre outwards. A second dry bud removes any streaks. Do not press hard and never touch the glass with your fingers.
If a mark will not shift or the lens is scratched or burnt, replace it: a damaged lens scatters the beam and reduces power.
Step 3
Treat connectors and electronics
Spray WD-40 Specialist Contact Cleaner onto the module cable contacts, stepper motor connectors and limit switches. It dissolves deposits and soot, evaporates quickly and leaves no film.
Wait a few minutes until everything is completely dry before reconnecting.
Step 4
Clean the rails and wheels
Wipe the gantry profiles and V-wheels with a cloth to remove dust and resin. Check the carriage for play and adjust the eccentric nuts until the wheel no longer spins freely by hand without touching the profile.
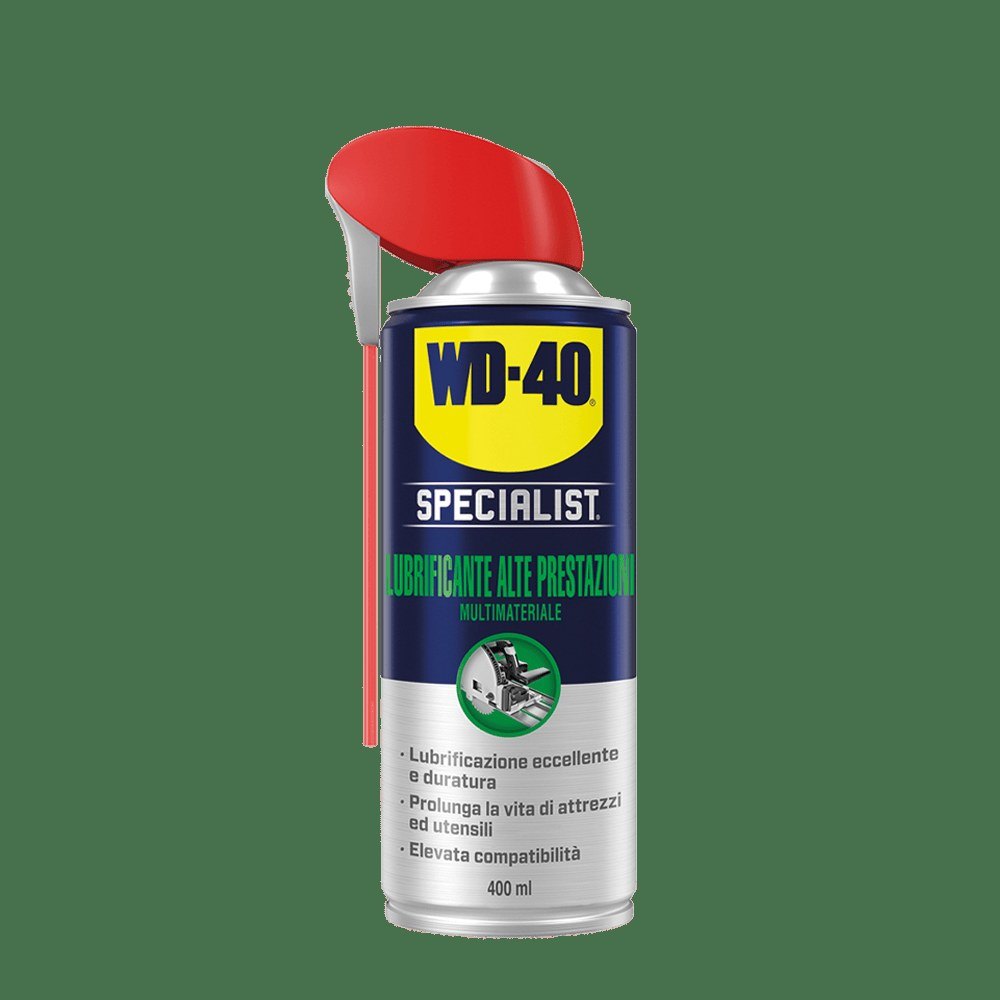
Put a little WD-40 Specialist Silicone on a cloth and wipe a thin film onto the wheel tracks. Silicone reduces friction, does not leave the surface sticky and attracts far less dust than a heavy grease.
Step 5
Protect the frame and fixings
Steel screws, the Z-axis lead screw and bed springs rust quickly in a damp workshop. Apply WD-40 Multi-Use to a cloth and wipe them down, keeping well away from the module and optics. Check belt tension and frame screws.
Step 6
Check the focus and run a test
Refit the module, set the focal distance as the manufacturer specifies and engrave a test grid on a piece of plywood. Crisp lines without blurring show that optics and mechanics are in good order.
Tip: Use a honeycomb bed and keep the extraction running well: the less smoke settles on the module, the less often you will clean the lens. Keep a simple log of running hours so maintenance is never skipped.
What next
Inspect the lens before every large job and carry out full maintenance roughly every 30-50 hours of use. For other workshop tools, WD-40 Specialist Penetrant helps when screws have seized.
These uses come from the experience of WD-40 users in many countries. Always follow the instructions and warnings on the product label.
More guides in «How to use».