A ride-on mower or garden tractor earns its place where a walk-behind machine can no longer keep up: large lawns, slopes and medium-height grass. It has a combustion engine, four wheels, belt drives and dozens of moving parts, and every one of them suffers from moisture, mud and grass sap.
Maintenance comes in two levels: a quick routine after every mow and a thorough job before winter storage. The winter part matters most, as machines rust in a cold garage.
What you will need
Important: Before working under the deck, switch off the engine, remove the key and pull the cap off the spark plug. Apply the parking brake. The blades are sharp, so always wear gloves.
Step 1
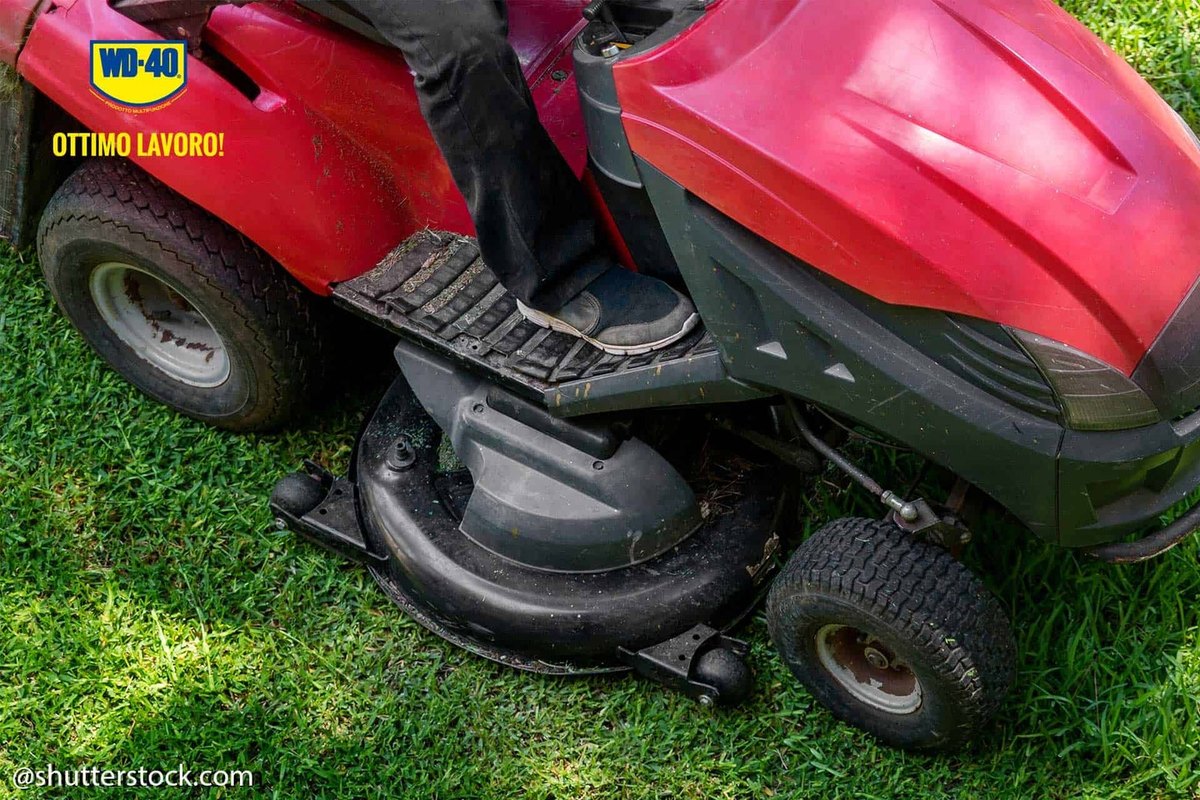
Wash the deck after every mow
While the clippings are still fresh, clean the underside of the deck with a pressure washer. No detergent is needed: a strong jet removes grass, clay and debris on its own. Let the machine dry afterwards.
Treat hinges, linkages, guides and other exposed moving joints with WD-40 Multi-Use, which displaces water and leaves a thin protective film.
Step 2
Check the blades and belt
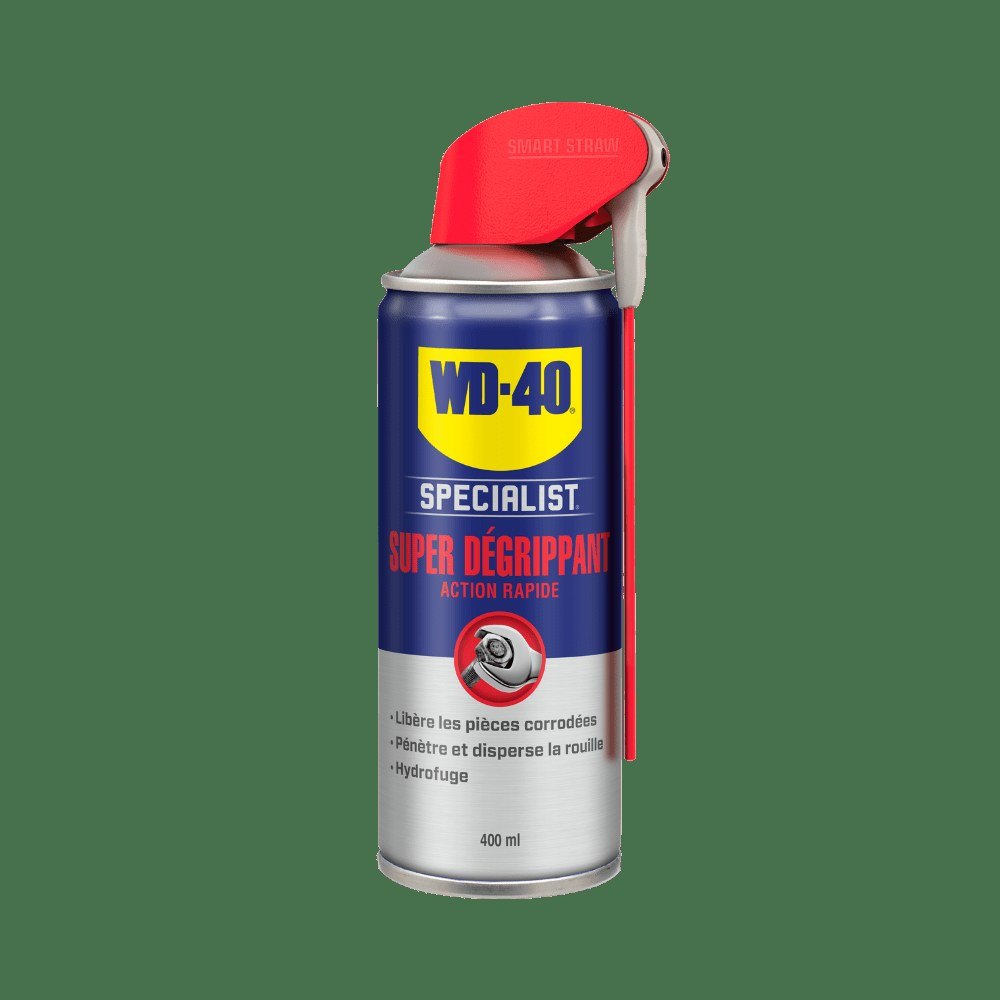
Remove any blade with nicks, bends or dents. Wedge a piece of wood against it to stop it turning. If a bolt has seized, spray it with WD-40 Specialist Penetrant and give it a few minutes to work.
Sharpen the blade in a vice: level the edge with a medium-grit flap disc, finish with a finer disc at the same angle and remove burrs with a file. Check the blade drive belt along its full length too; cracks or fraying mean it needs replacing.

Step 3
Prepare the joints for winter
Before storage, inspect the whole machine for worn or damaged parts. Tighten any nuts and bolts that vibration has loosened.
Grease hinges, axles and linkages with WD-40 Specialist White Lithium Grease. It is thick, does not drip and clings to metal, so it keeps joints protected from corrosion all winter.
Step 4
Lay up the engine
Drain the fuel tank, then run the engine until the carburettor is empty. Change the engine oil if it has done more than 50 hours since the last change, and the oil filter every second season.
Put a few drops of lubricant into the clutch and throttle cable sleeves. Remove the spark plug, clean it with a brass brush and check the electrode gap. Before refitting, pour a teaspoon of engine oil into the cylinder and turn the engine over by hand a few times.
Step 5
Look after the wheels
Check tyre pressure with a gauge almost every time you mow, as a soft tyre gives an uneven cut. Top up with a compressor or foot pump.
Keep hub seals and dust caps greased with lithium grease so that water and grit stay out.
Step 6
Protect the electrics
Connectors and terminals are constantly exposed to wet grass and dew. Treat them regularly with WD-40 Specialist Contact Cleaner, which removes condensation, dries fast and leaves no residue.
For winter, remove the battery, clean the terminals, charge it and store it somewhere dry and frost-free.
Tip: After winter, check the oil, tyre pressure and belt tension, and spray
WD-40 Multi-Use on cables and levers that may have stiffened.
What next
A quick wash and lube after each session takes about 15 minutes, and the full winter preparation is done once a year in autumn. It keeps the mower going for many seasons.
These uses come from the experience of WD-40 users in many countries. Always follow the instructions and warnings on the product label.
More guides in «How to use».