A lock on a garden gate or driveway gate sits out in rain, snow and road dust all year round. Moisture, temperature swings and dirt make the mechanism rust, the key turns stiffly, the latch sticks and in a hard frost the lock may not open at all.
Maintenance takes 10-15 minutes and buys years of trouble-free use. The best time to do it is twice a year: in spring after the snow melts and in autumn before the frosts.
What you will need
Important: Spray precisely into the mechanism through the straw, not onto the painted gate or a decorative escutcheon: overspray can mark fresh paint. Test on a hidden spot first.
Step 1
Clean dirt off the lock and latch
Put on gloves and go over the latch, bolt, strike and the area around the keyhole with the wire brush. Remove cobwebs, sand, leaves and flaking rust that stop the mechanism moving freely.
Brush painted parts gently so you do not strip the paint. Wipe away the remaining dust with a dry cloth.
Step 2
Treat the lock cylinder
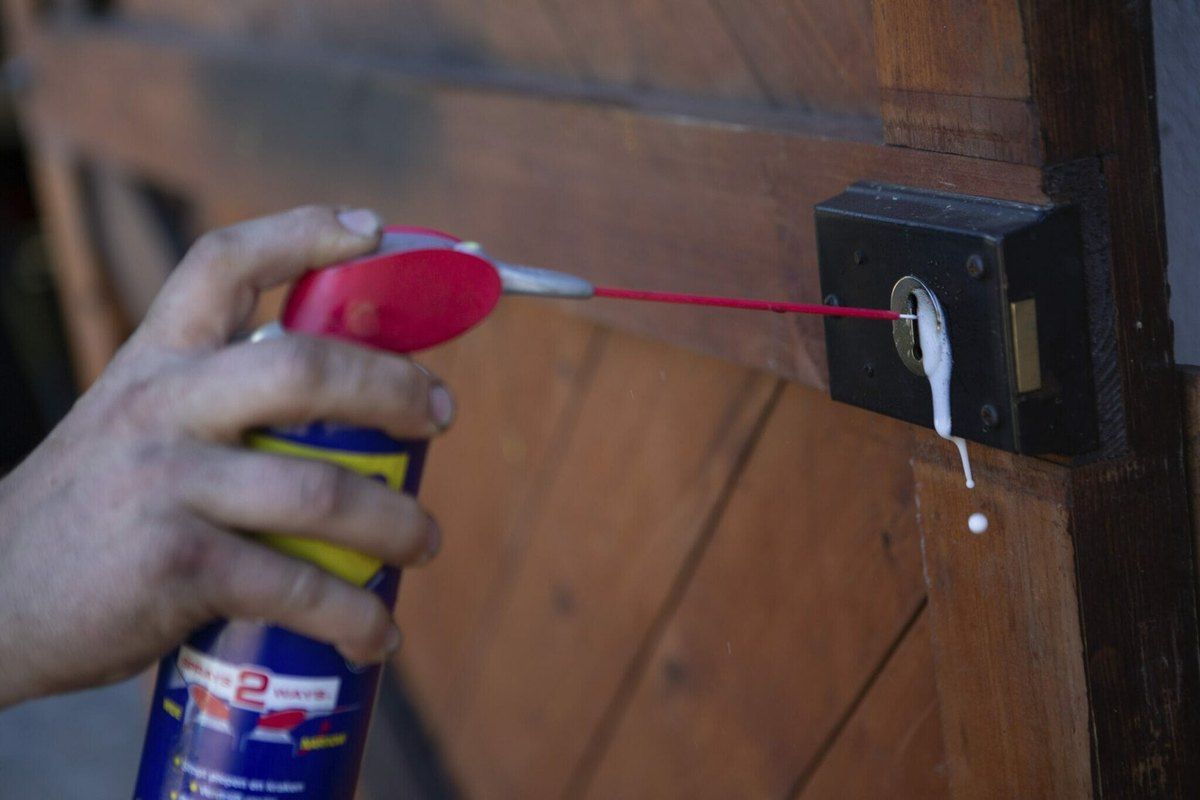
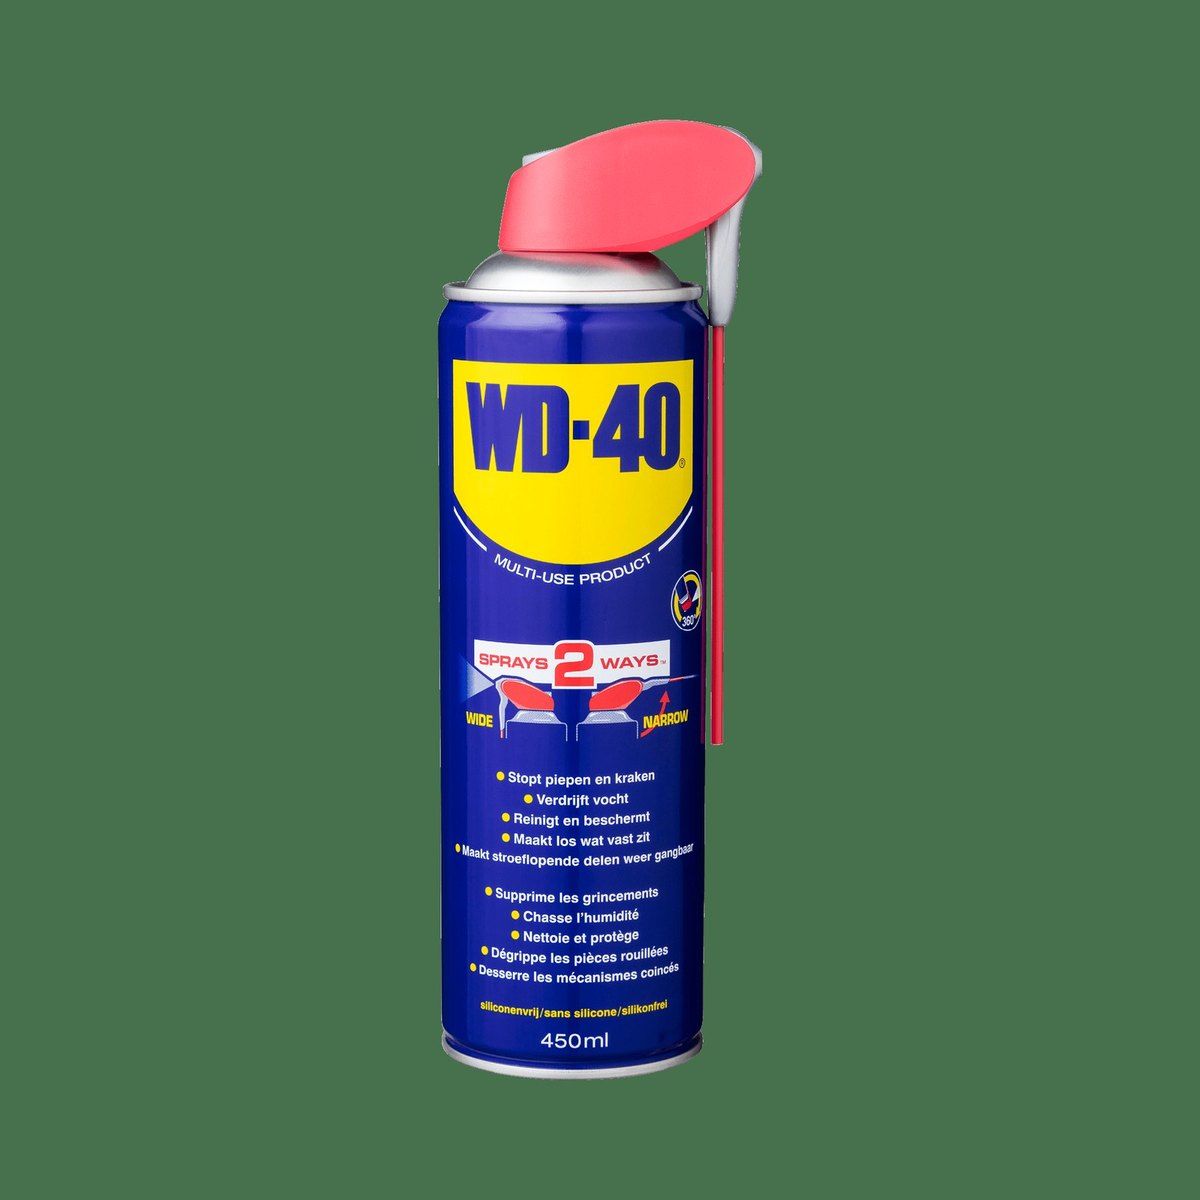
Flip the WD-40 Smart Straw straw up for a precise jet and put its tip into the keyhole. Give it 1-2 short bursts. The product displaces moisture, dissolves dirt and lubricates the cylinder pins.
Insert and turn the key several times to spread the lubricant, then wipe the key. Catch any drips running out straight away with the microfibre cloth.
Step 3
Lubricate the latch and bolt
Press the handle down so the latch tongue retracts and, holding it there, spray WD-40 Multi-Use through the straw into the mechanism. Release and press the handle a few times so the product works into the spring and guides.
For the bolt, strike and exposed moving parts that get wet all the time, WD-40 Specialist White Lithium Grease is a better choice: it forms a durable layer that rain will not wash off. Wipe off any excess.
Step 4
Free up rusted parts
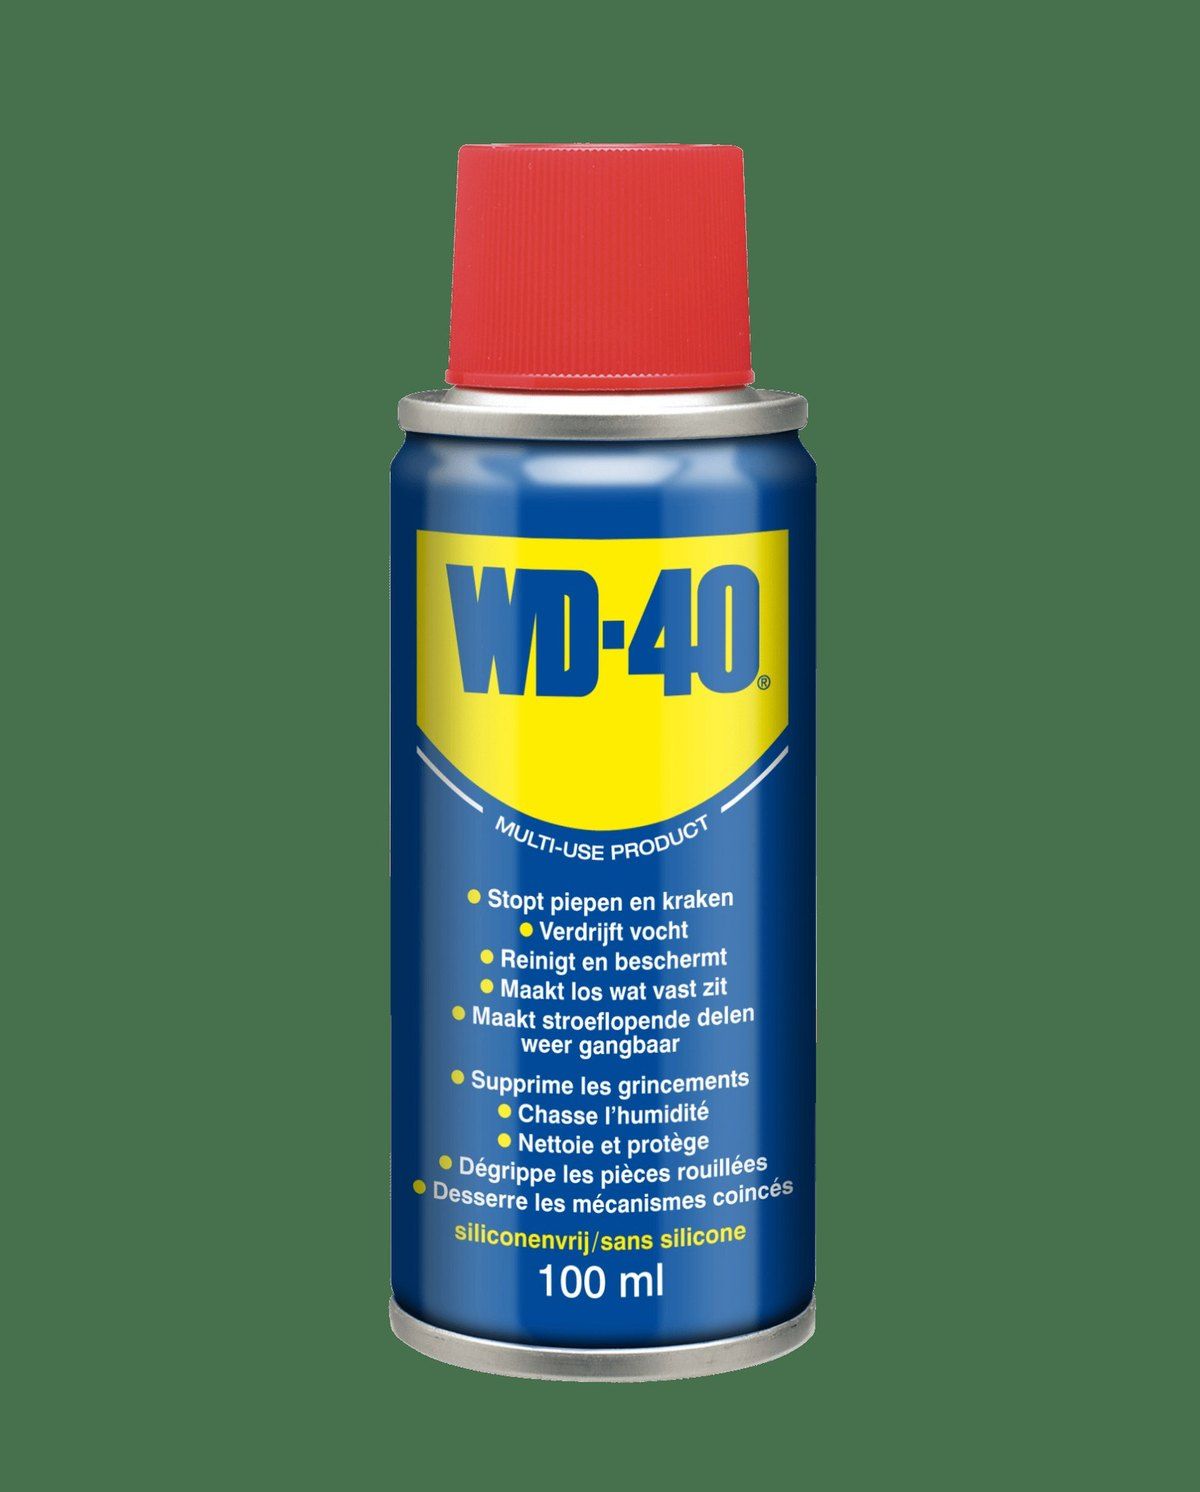
If the key barely turns or the latch tongue has seized, apply WD-40 Specialist Penetrant into the keyhole and onto the tongue and wait 10-15 minutes. It creeps into the rust and loosens it. Then work the mechanism gently with the key and handle, without excessive force, so you do not snap the key.
A badly worn or cracked cylinder is best replaced before the key gets stuck for good.
Step 5
Prepare the lock for winter
In autumn, on a dry day, give the keyhole another treatment with WD-40 Smart Straw. It drives moisture out of the mechanism, leaving less water inside to freeze.
If the lock does freeze, do not force the key. Warm the key with a lighter and insert it carefully, and once it has thawed spray the keyhole again to drive out the meltwater. A rubber keyhole cover or snow flap also helps.
Tip: Do not lubricate an outdoor lock with ordinary thick grease or machine oil: it picks up sand and dust and thickens in the cold, so the mechanism jams even worse. Only use aerosol products that penetrate and do not build up dirt inside the cylinder.
What next
Repeat the routine twice a year, and in areas with frequent thaws and frosts add a monthly treatment in winter. The same WD-40 Multi-Use is handy for gate hinges, the letterbox and padlocks on the allotment or country house.
These uses come from the experience of WD-40 users in many countries. Always follow the instructions and warnings on the product label.
More guides in «How to use».