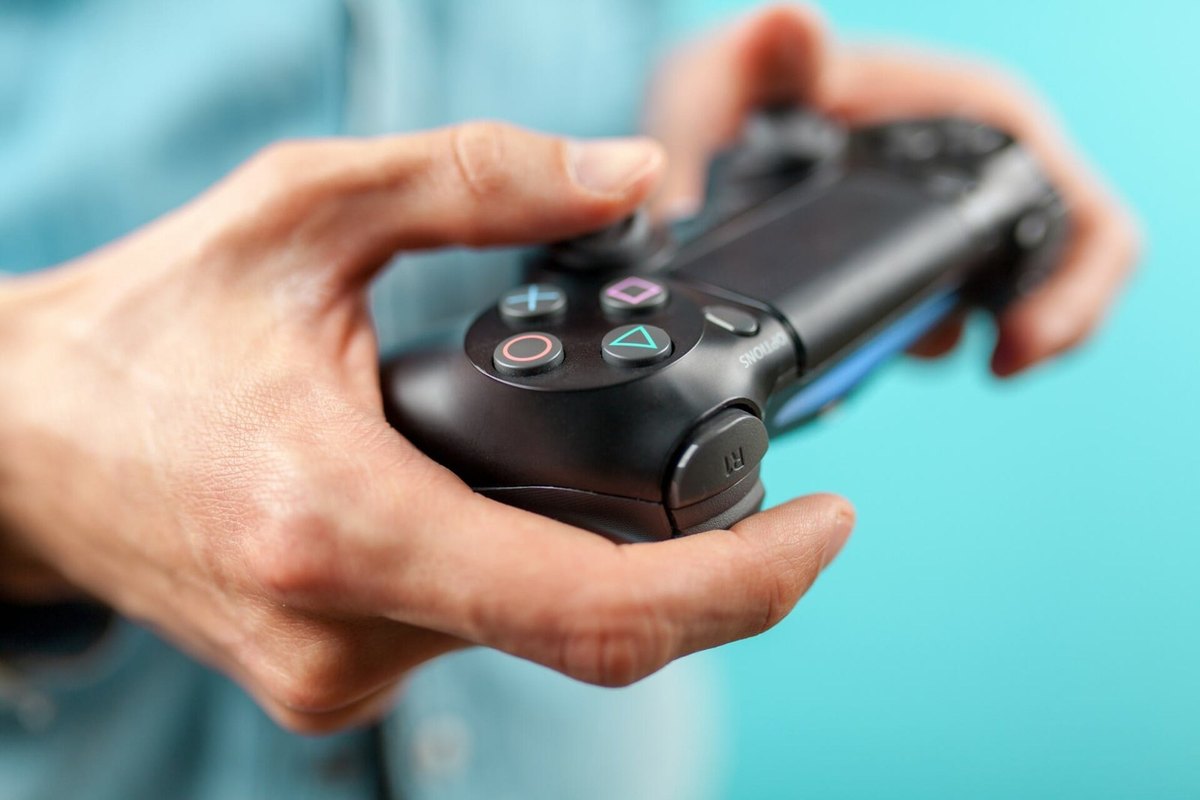
A controller spends hours in your hands, so dust, skin oil, crumbs and hair collect around the buttons, along the seam and under the thumbstick boots. Buttons start to stick, a stick squeaks or drifts, and responses become imprecise.
Often an external clean and treating the stick is enough. If dirt has got inside, you will need to open the housing. Both options are covered below.
What you will need
Important: Opening a controller may void the warranty, so for a new device it is better to use a service centre. Switch the controller off and unplug the cable before you start. Inside, disconnect the battery first. Use products sparingly and only on a powered-off device, and switch it on only once everything has fully evaporated.
Step 1
Clean the shell and buttons outside
Sweep dirt from around the buttons, D-pad and seam with a soft brush. Wipe the controller with microfibre barely dampened with water and a drop of detergent, then dry it at once.
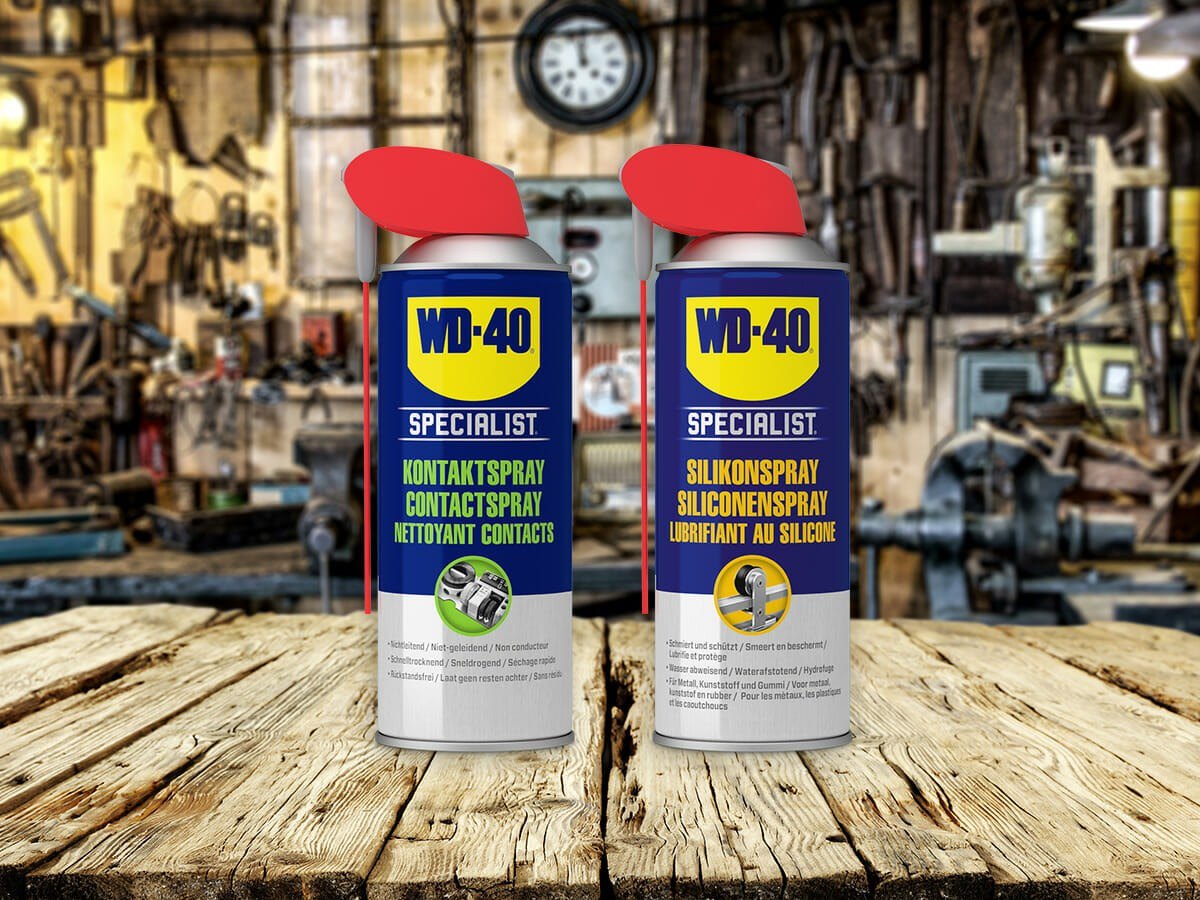
To protect plastic and rubber, put a few drops of WD-40 Specialist Silicone on the cloth, not the controller, spread it thinly and buff dry so the shell is not slippery.
Step 2
Fix a squeaky or sticky stick without opening it
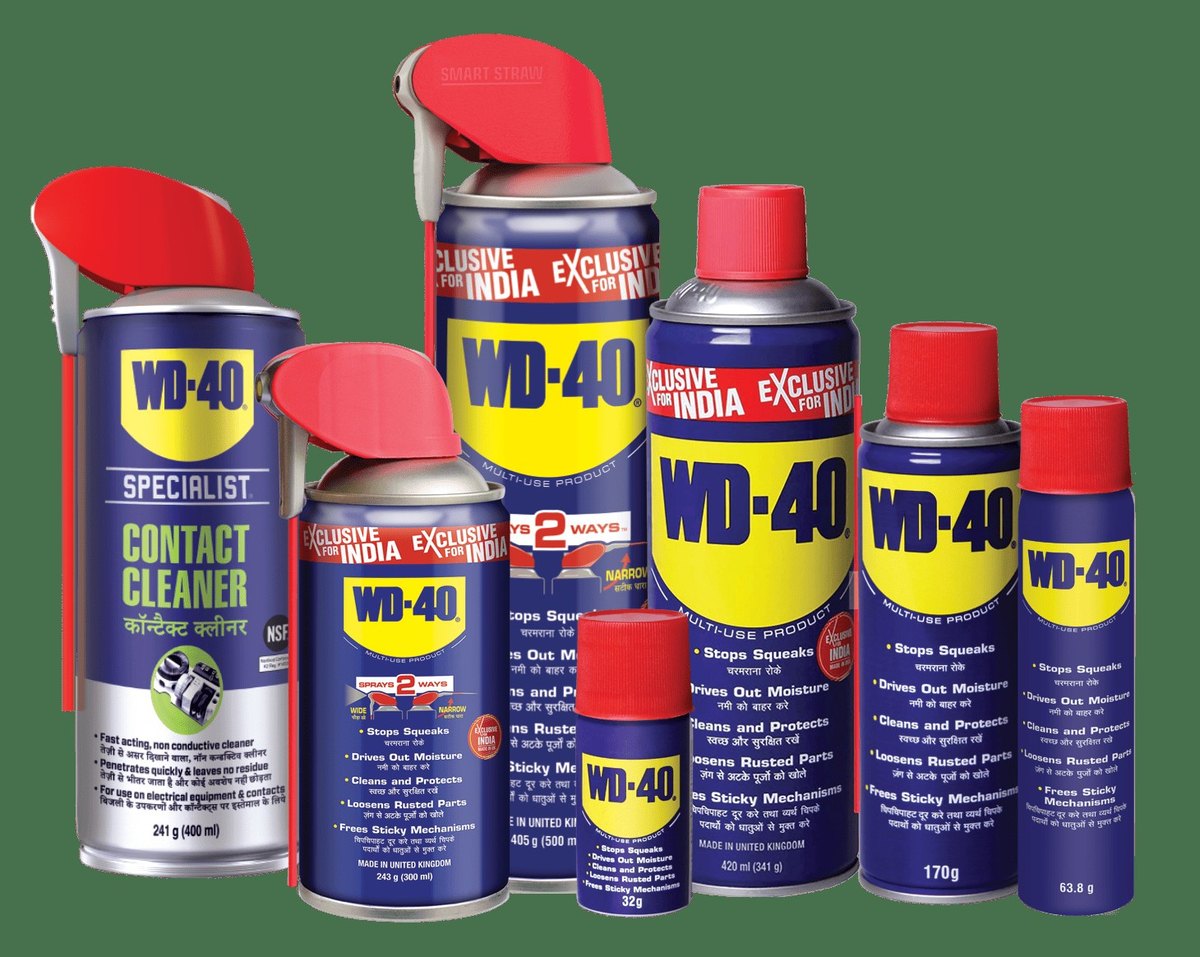
Use a toothpick to gently lift the edge of the rubber boot under the stick. Through the thin straw, give one short burst of WD-40 Multi-Use under the boot, rotate the stick in circles and leave it for 2 minutes.
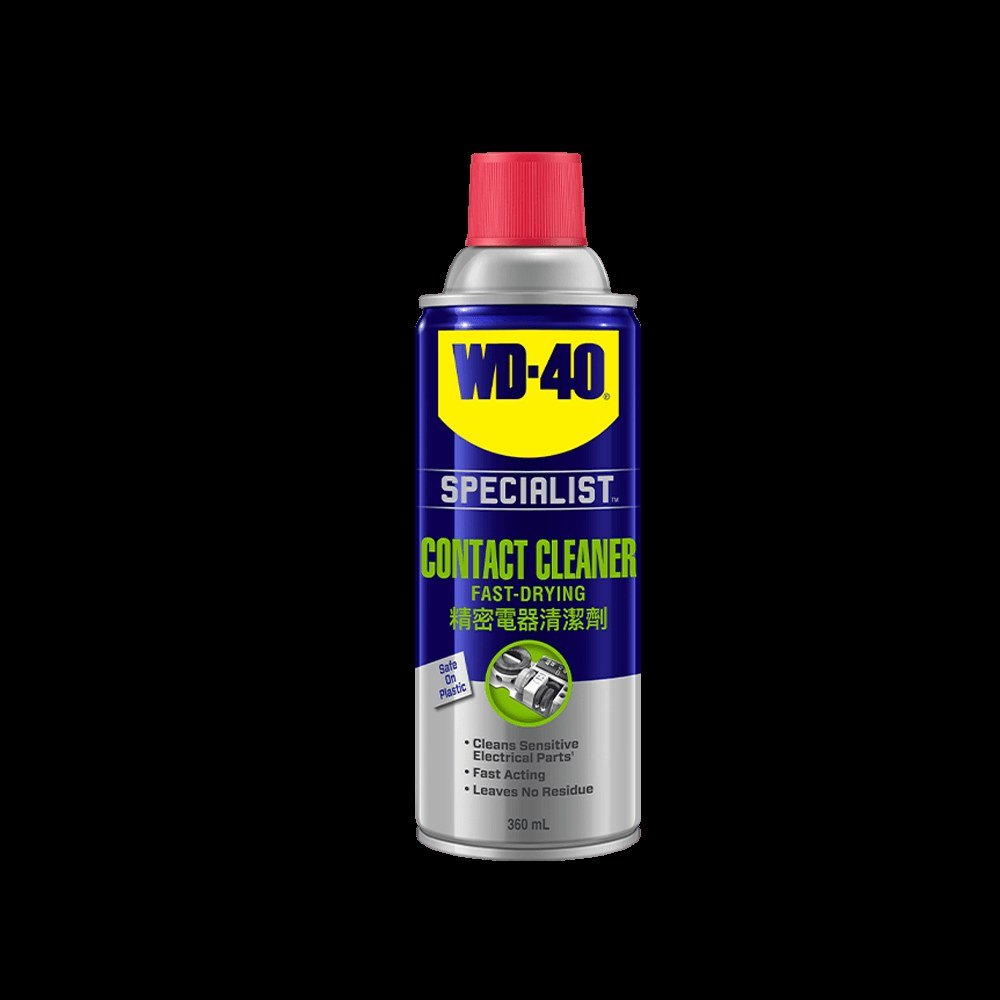
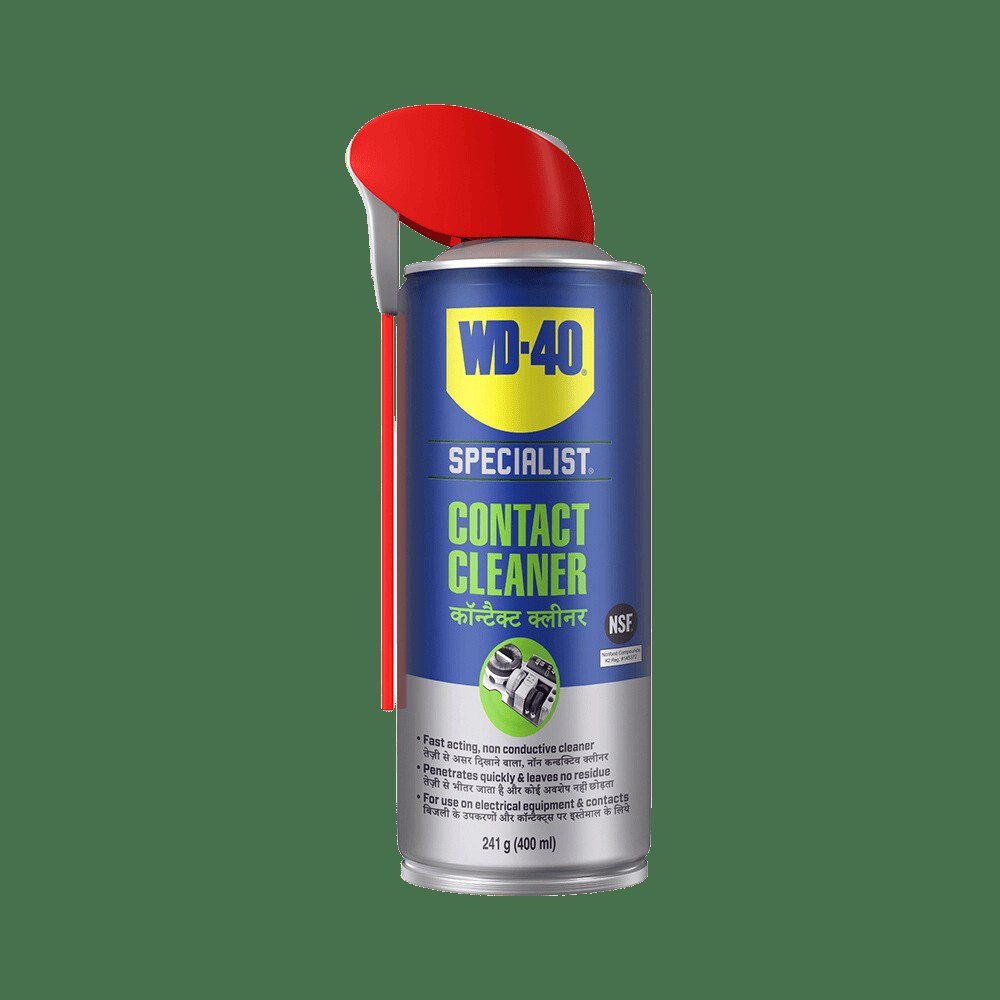
Then give 2-3 short bursts of WD-40 Specialist Contact Cleaner under the boot and keep rotating the stick for about 5 minutes: it flushes out dirt and residue, then evaporates. Wipe off any excess and let the controller stand until completely dry.
Step 3
Open the housing
If buttons still stick after external cleaning, dirt is inside. Remove the back screws, ease the shells apart along the seam with a plastic pry tool without breaking the clips, and disconnect the ribbon to the lower shell.
Step 4
Remove the battery and board
Unplug the battery connector, lift the battery out and remove its holder. Disconnect the touchpad ribbon if there is one, undo the board screw and lift the board. Underneath are the rubber button membranes where dirt gathers. Photograph each step to make reassembly easy.
Step 5
Clean the internal parts
Blow out dust with low-pressure compressed air, especially around the button openings, then use a soft brush and cotton bud.
Spray WD-40 Specialist Contact Cleaner onto connectors, contact pads and button membranes. Apply it to open surfaces, not closed cavities, so it evaporates quickly with the dirt. For the USB port, spray the cable plug, insert and remove it a few times and wipe it with a lint-free cloth. Worn thumbstick caps simply push off and can be replaced now.
Step 6
Reassemble and test
Once everything is dry, reassemble in reverse order and make sure every clip and small part, such as the reset button cap, is in place. Switch on and test every button and stick in the console or computer settings.
Tip: Avoid gaming with sticky hands and wipe the controller with dry microfibre weekly, so dirt never gets under the buttons.
What next
Clean the outside monthly, treat the sticks as soon as they squeak or drift, and deep clean every year or two. The same contact cleaner suits keyboards, mice and console ports.
These uses come from the experience of WD-40 users in many countries. Always follow the instructions and warnings on the product label.
More guides in «How to use».