A garden shredder turns prunings into chips that rot down quickly in the compost heap and take up far less space. But the blades and rollers constantly hit hard wood, and sap mixed with dust forms a sticky crust on the discs, hopper and rollers.
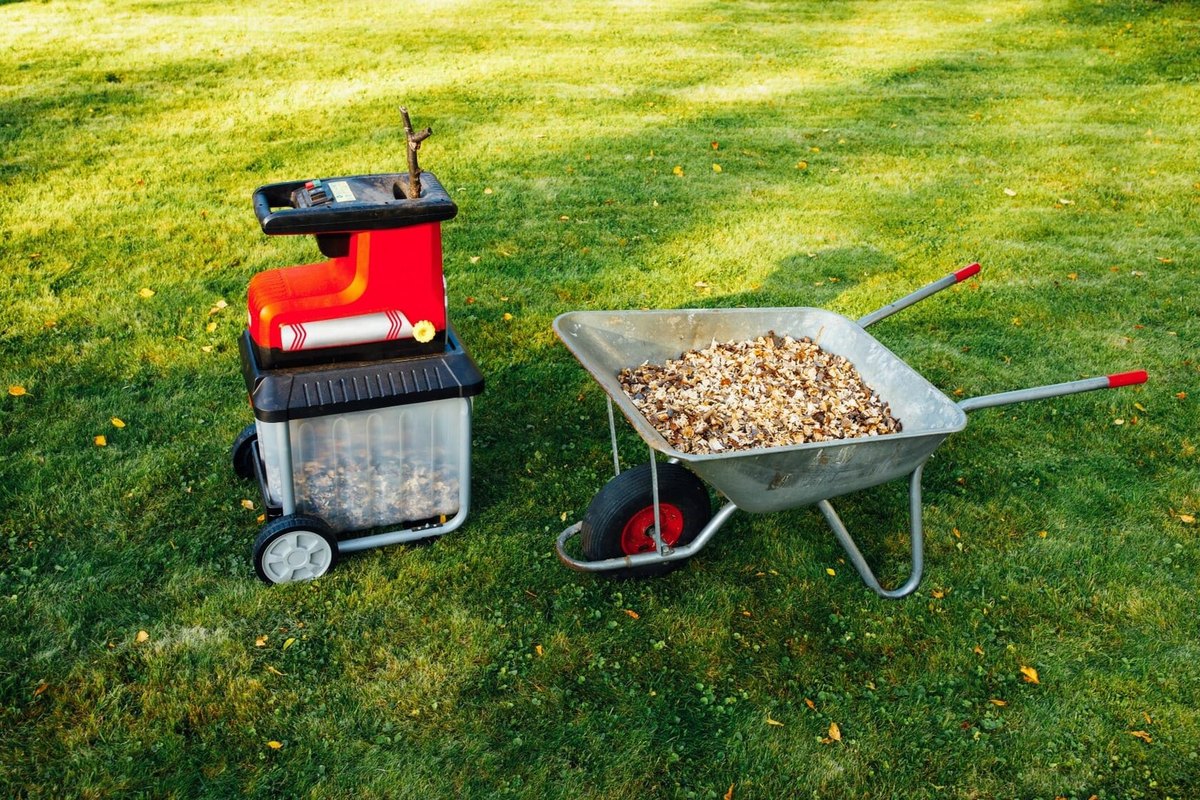
Care depends on the type of machine. The most common are electric models for home gardens, more powerful petrol models and large tractor-driven units.
What you will need
Important: Unplug the shredder before any maintenance; on petrol models switch off the engine and pull the spark plug cap. The blades are sharp, so always wear gloves. Never let the electric motor get wet.
Step 1
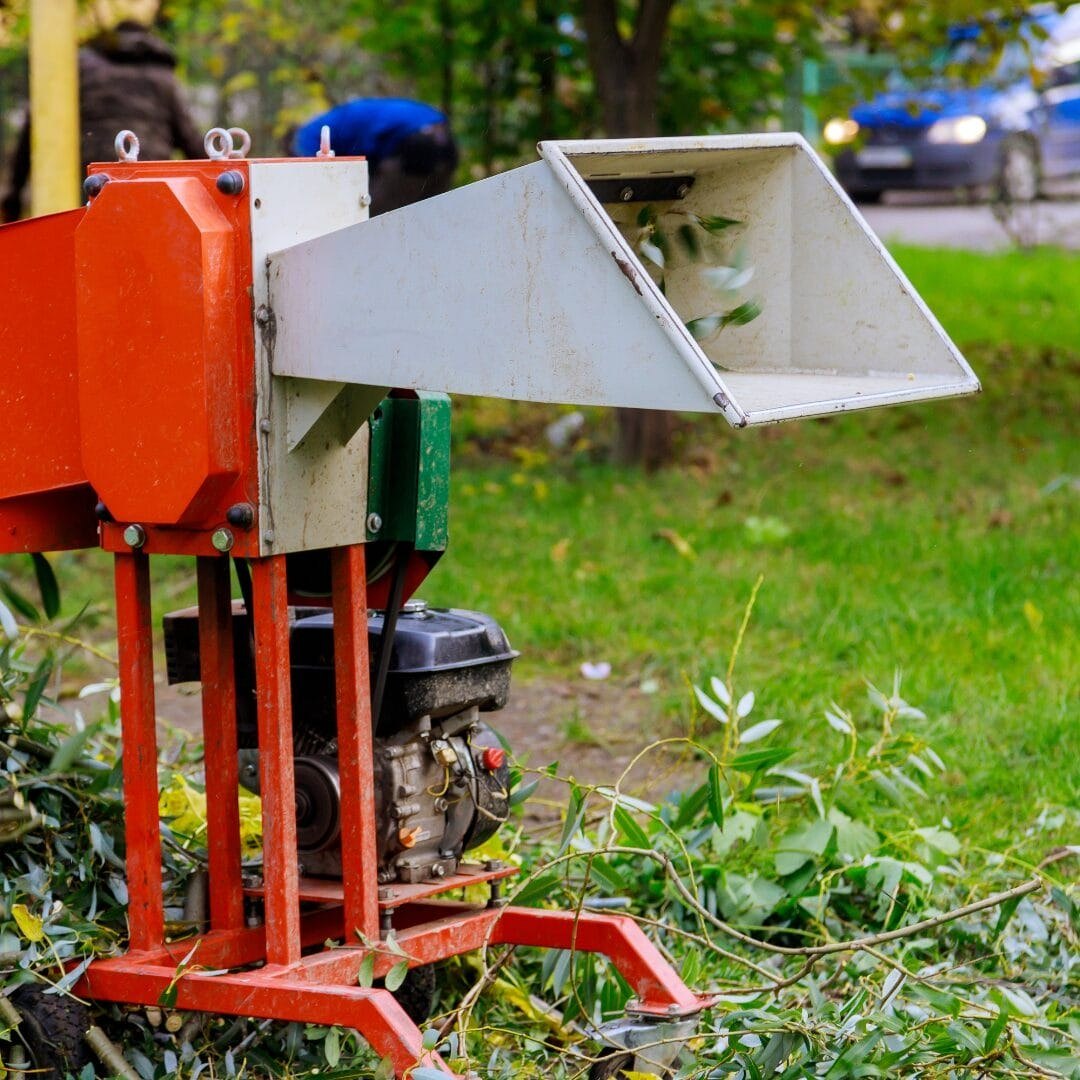
Clean the shredder after use
First brush out the larger chips and leaves from the hopper, discs and collection box. Spray old, dried sap with WD-40 Multi-Use and wait 10-15 minutes so it softens the sticky layer.
Metal parts of petrol models can then be rinsed with a pressure washer, after covering the control panel and sockets. On electric models, stick to a brush, vacuum and damp cloth.
Step 2
Sharpen the blades
Remove the hopper to reach the disc and undo the centre bolt. If the blade screws have seized, apply WD-40 Specialist Penetrant and let it work.
Single-edged blades are sharpened with a stone or grinder. Double-edged blades can simply be turned to the fresh edge, then both sides sharpened. The manual tells you how often. Refit the blades to the disc and the disc to the shaft.
Step 3
Look after the motor and rollers
The electric motor sits in a housing with cooling slots. Keep them free of grass and sawdust, or the motor will overheat.
Some models use toothed rollers instead of blades; replace them when worn or damaged. Lubricate external rotating parts with WD-40 Specialist Silicone, which is safe on the plastic and rubber that housings are often made of.
Step 4
Lubricate the feed and wheels
The feed mechanism adjusts the roller pressure and varies between models, but it always needs cleaning and lubrication. Treat pivots, joints and guides with silicone lubricant.
Dry the wheels and moving parts of the body after washing and lubricate them too. At the end of the season, spray all moving metal parts with WD-40 Multi-Use to protect them from rust over winter.
Step 5
Clean the electrics
Clean the power cable and switch panel regularly. The panel usually comes off after undoing a few screws, and dust and moisture collect inside too.
Treat the contacts and the inside of the panel with WD-40 Specialist Contact Cleaner. It removes dirt and condensation, evaporates quickly and leaves no residue.
Step 6
Service a petrol model
Look after the blades and rollers as above, and check the feed system together with the cutting system. Service the engine as on any garden machine.
These machines usually have painted metal bodies, so check regularly for corrosion and treat it at once with WD-40 Multi-Use. Replace a cracked belt. On large tractor-driven units, watch the PTO shaft and universal joints and lubricate them regularly.
Tip: Do not leave chips in the collection box until next time: wet wood holds moisture and will rust the blades within days. Empty it and let the machine dry with the hopper open.
What next
Clean the shredder after every use, check the blades as the manual advises and give it a full lubrication and rust protection at the end of the season. It will then keep chewing through branches for years.
These uses come from the experience of WD-40 users in many countries. Always follow the instructions and warnings on the product label.
More guides in «How to use».