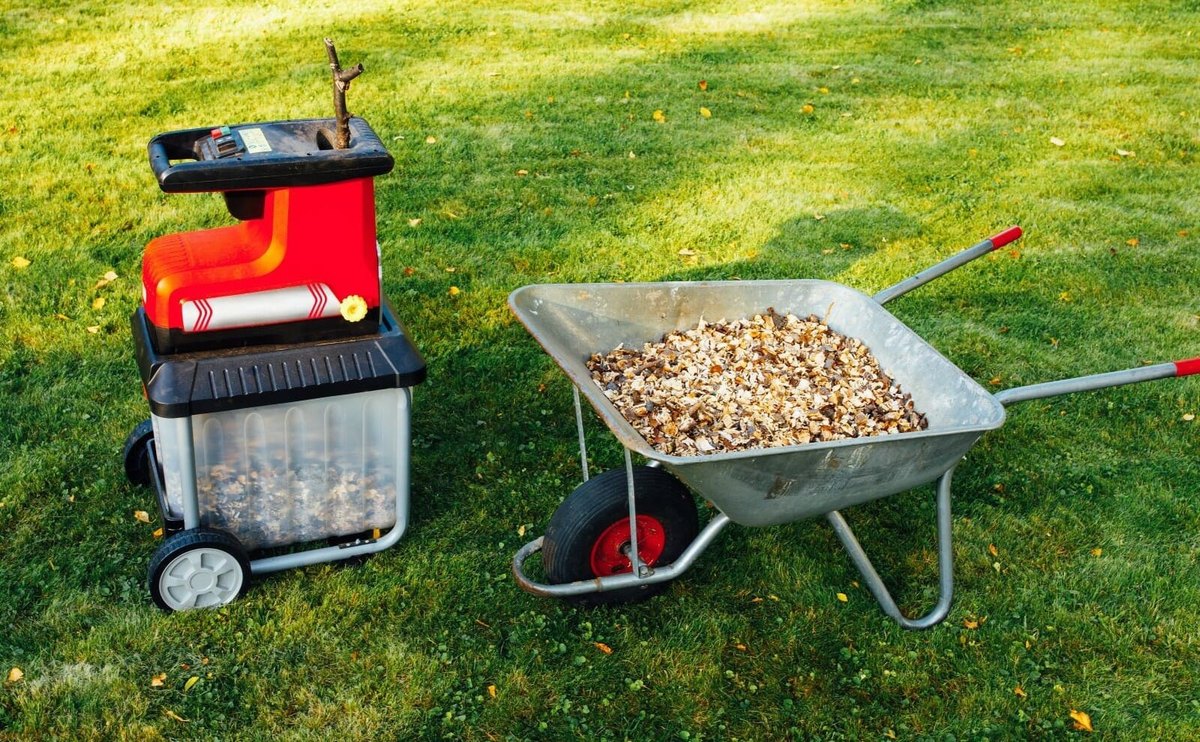
A garden chipper turns prunings into wood chips for mulch or fine material for compost. It works amid dust, sap and moisture, so without care the blades blunt quickly, vents clog and metal rusts.
There are electric models for home use, petrol machines for gardeners and large PTO-driven units. Cutting systems differ, from a disc with flat blades to toothed rollers, but basic care is similar. Large tractor-driven chippers with roller cutting systems are best serviced in a workshop.
What you will need
Important: Only work with the power disconnected: unplug the mains lead, or pull the spark plug cap on a petrol model. A blade can turn even by hand, so wear thick gloves, and never put your hands into the hopper of a running machine.
Step 1
Clean the chipper
After use, brush and scrape chips, bark and leaves out of the hopper, cutting chamber and discharge chute.
Do not wet the electric motor. Keep the cooling vents on the motor housing clear of plant debris, or it will overheat.
Step 2
Remove and inspect the blades
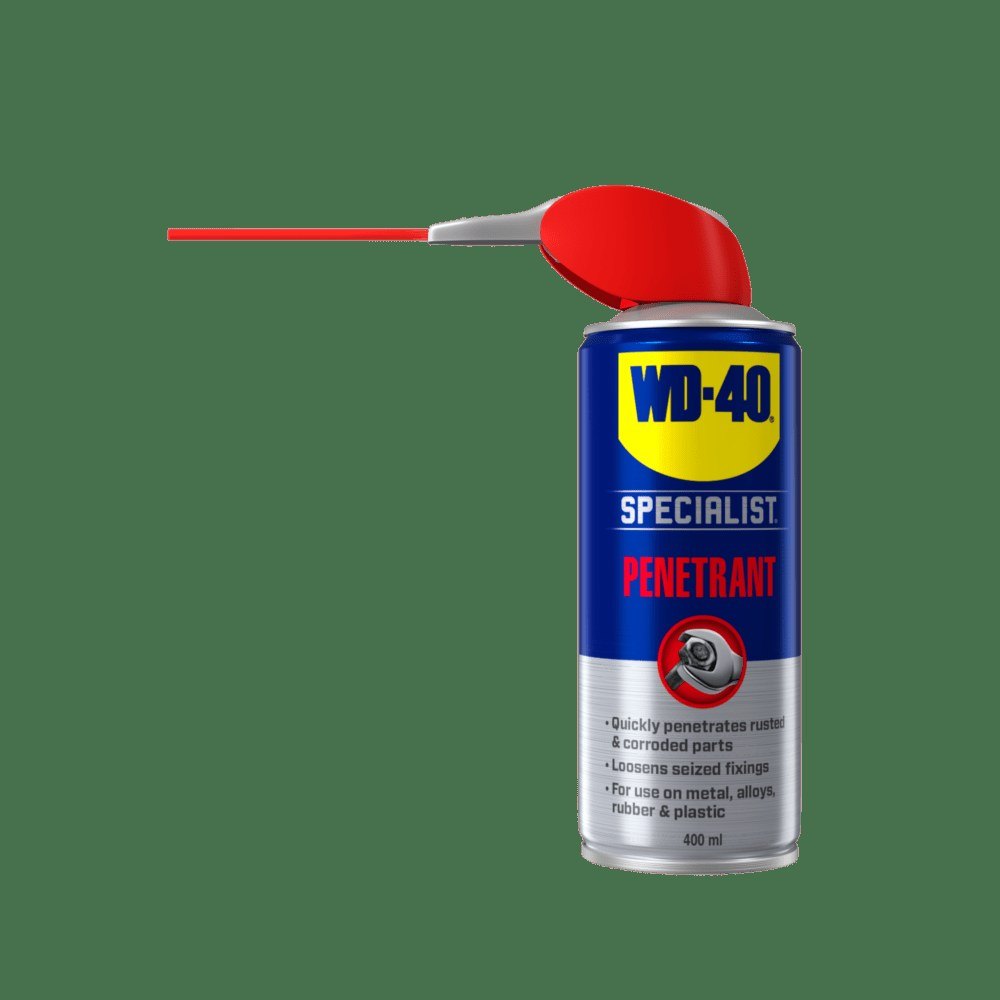
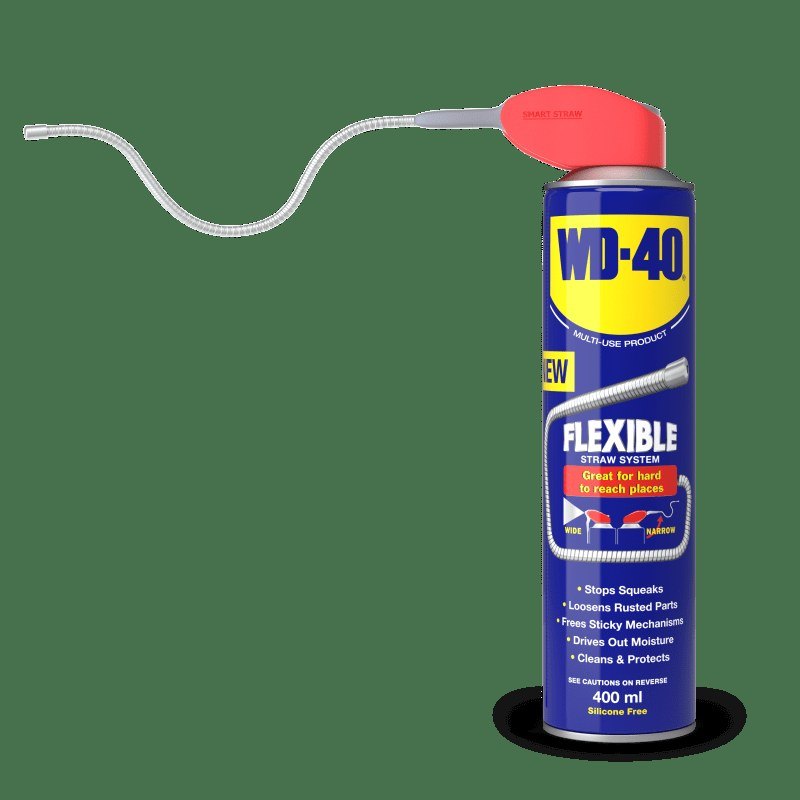
Take off the hopper to reach the disc. Undo the central bolt and lift the disc off the shaft. The blades are held by screws or bolts; if sap and moisture have seized them, apply WD-40 Specialist Penetrant and wait a few minutes.
Check the blades for chips and blunt sections. The manual usually states after how many hours they need sharpening.

Step 3
Sharpen or turn the blades
Single-edged blades are sharpened on a wet stone or water-cooled grinder, keeping the factory angle exactly. Double-edged blades can simply be turned to the other edge and sharpened once both are blunt.
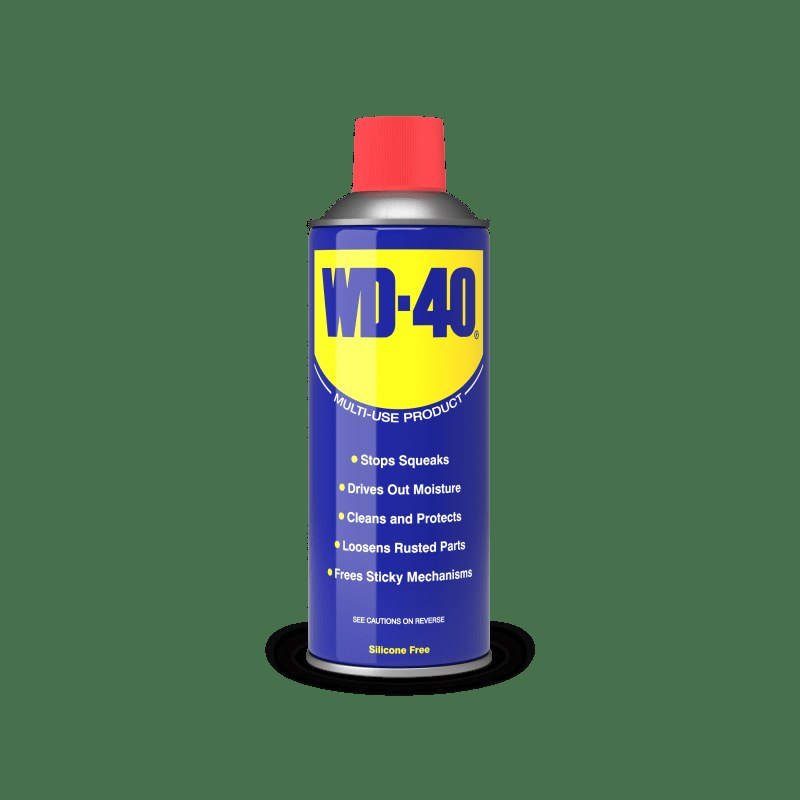
Before refitting, give the blades and disc a thin coat of WD-40 Multi-Use against rust. Tighten the fixings to the torque given in the manual.
Step 4
Look after the motor and rollers
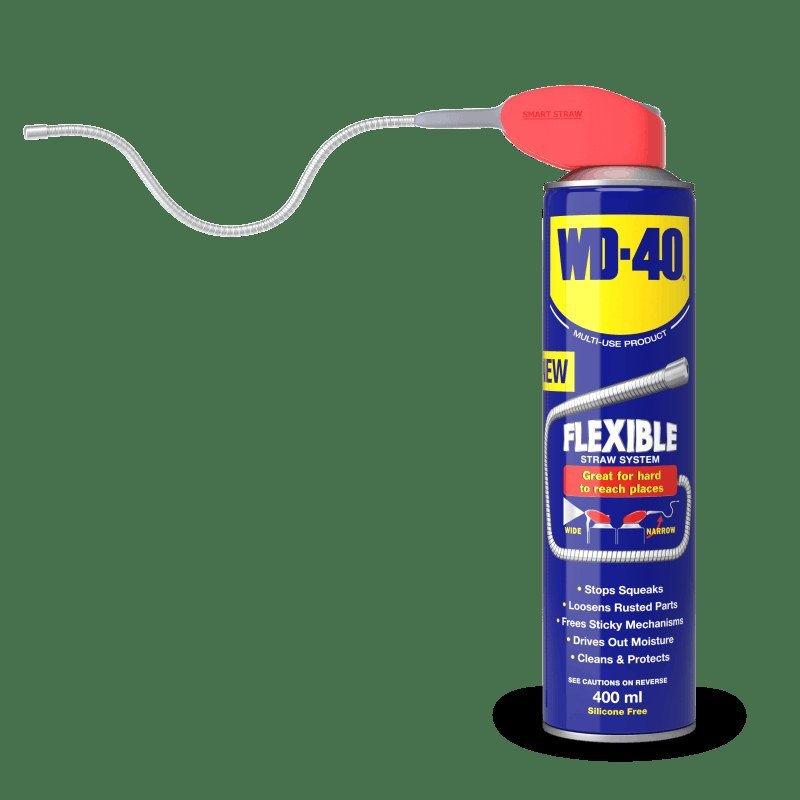
On models with crushing rollers instead of blades, replace worn or damaged rollers. Treat external rotating parts, wheel bushes and plastic components with WD-40 Specialist Silicone: it is safe on plastic and rubber and repels moisture.
On petrol models, check the spark plug, oil, air filter and carburettor to the maker's schedule. Grease the pivots and spindles of the feed mechanism with WD-40 Specialist White Lithium Grease.
Step 5
Protect the metal from corrosion
Plastic housings on electric models do not rust, but the steel bodies of petrol and tractor-driven machines should be checked regularly for scratches and rust spots. Treat bare metal, bolts and cover hinges with WD-40 Multi-Use.
On tractor-driven models, the PTO shaft and its joints must be greased and covered by the guard.
Step 6
Prepare for winter storage
At the end of the season, clean the machine fully and treat all moving parts and blades with a protective lubricant. On a petrol model, drain the fuel or run the engine until it stops.
Store the chipper under cover in a dry place: a winter of freeze and thaw quickly rusts unprotected metal.
Tip: Chip branches while they are fresh, before they dry and harden: the blades stay sharp longer. Alternate green and dry material so the chamber does not clog with sappy mass.
What next
Clean the chipper after every use, check the blades each season and give it a full service before winter storage. The same lubricants will serve your other garden machines too.
These uses come from the experience of WD-40 users in many countries. Always follow the instructions and warnings on the product label.
More guides in «How to use».