A full day on the slopes puts even the best skis under strain. Blunt edges lose grip on ice, a dry base drags, and rust appears on edges and bindings after a few evenings in a damp room.
Two parts need regular care: the polyethylene base, which must be waxed, and the steel edges, which must be sharpened and protected from corrosion.
What you will need
- protective gloves and ski vices
- an edge tuning kit: file guide, files and a brush
- a waxing iron (not a household iron), a block of wax and a scraper
- stiff brass and nylon brushes
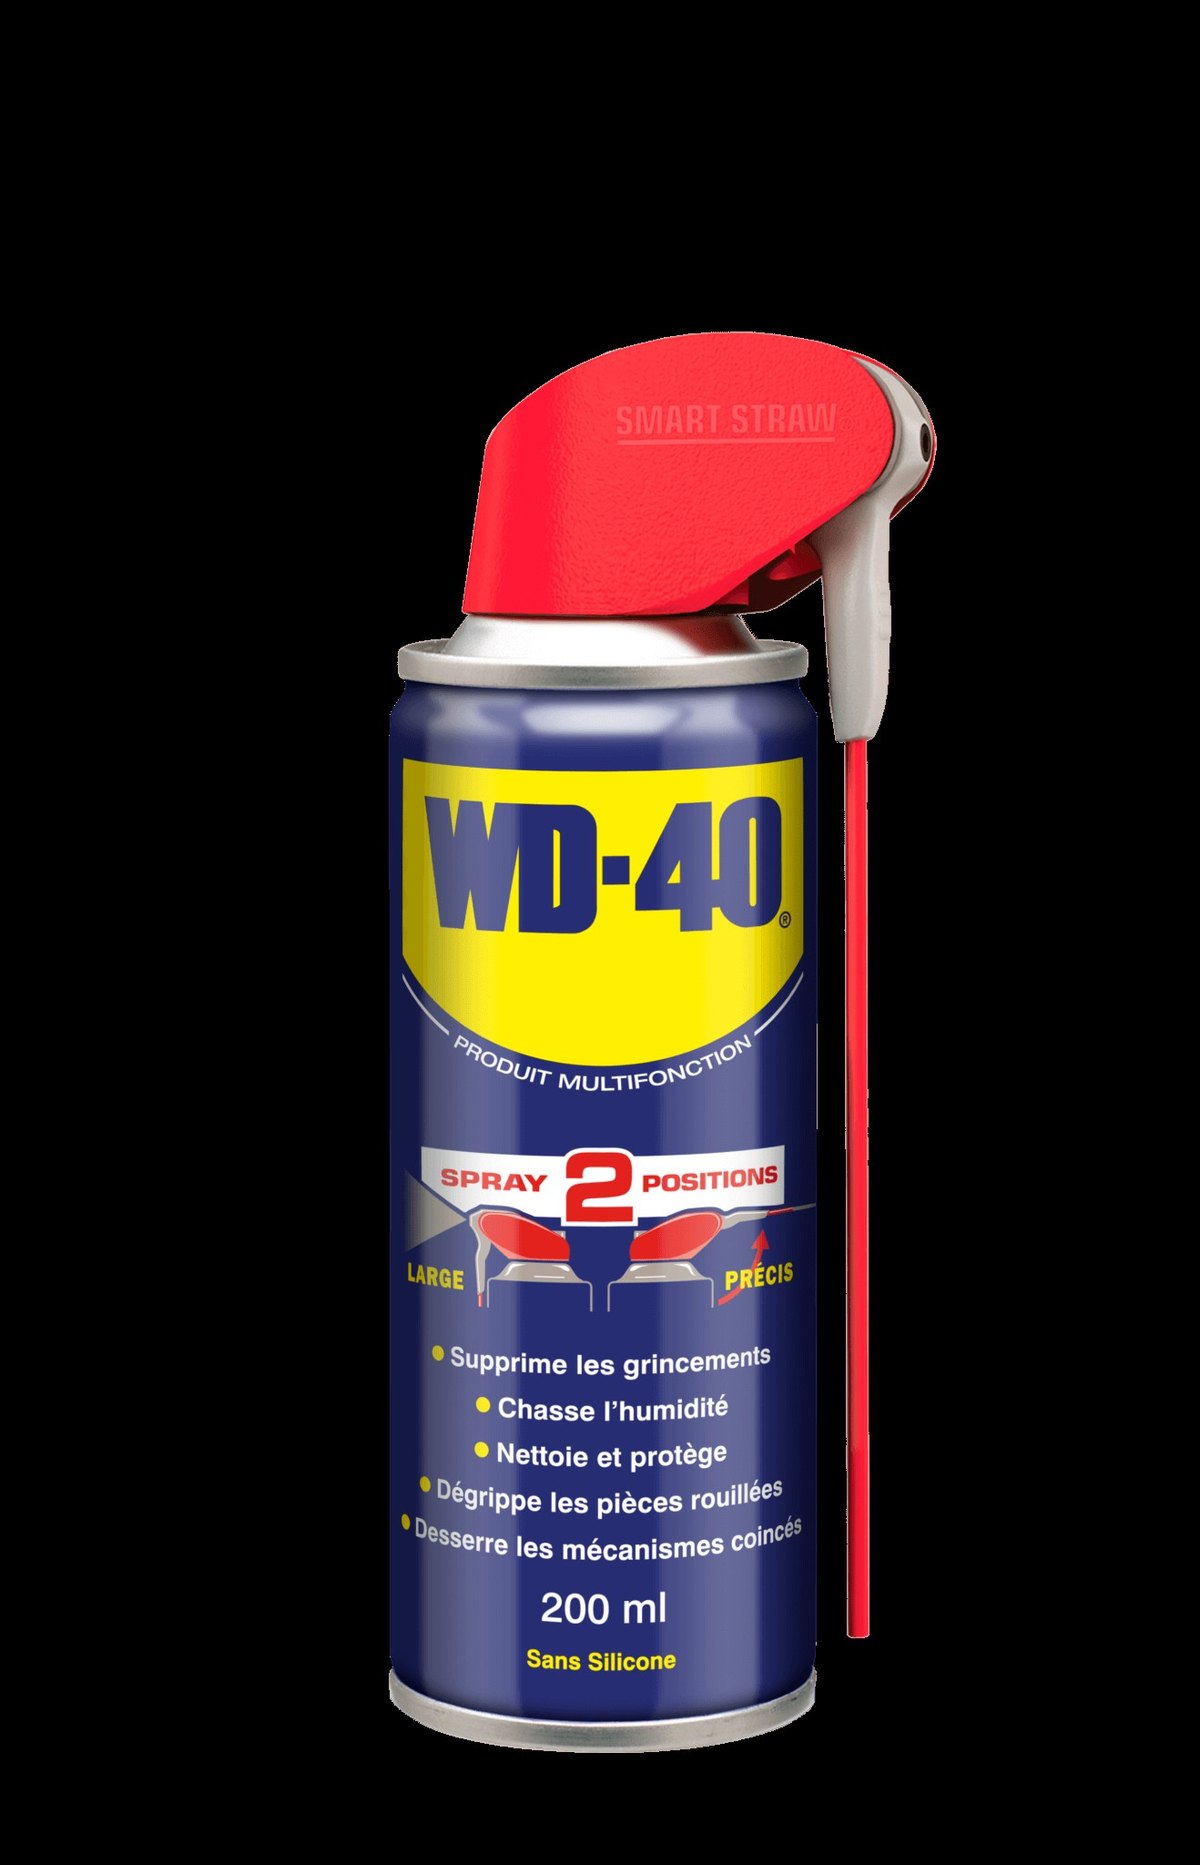
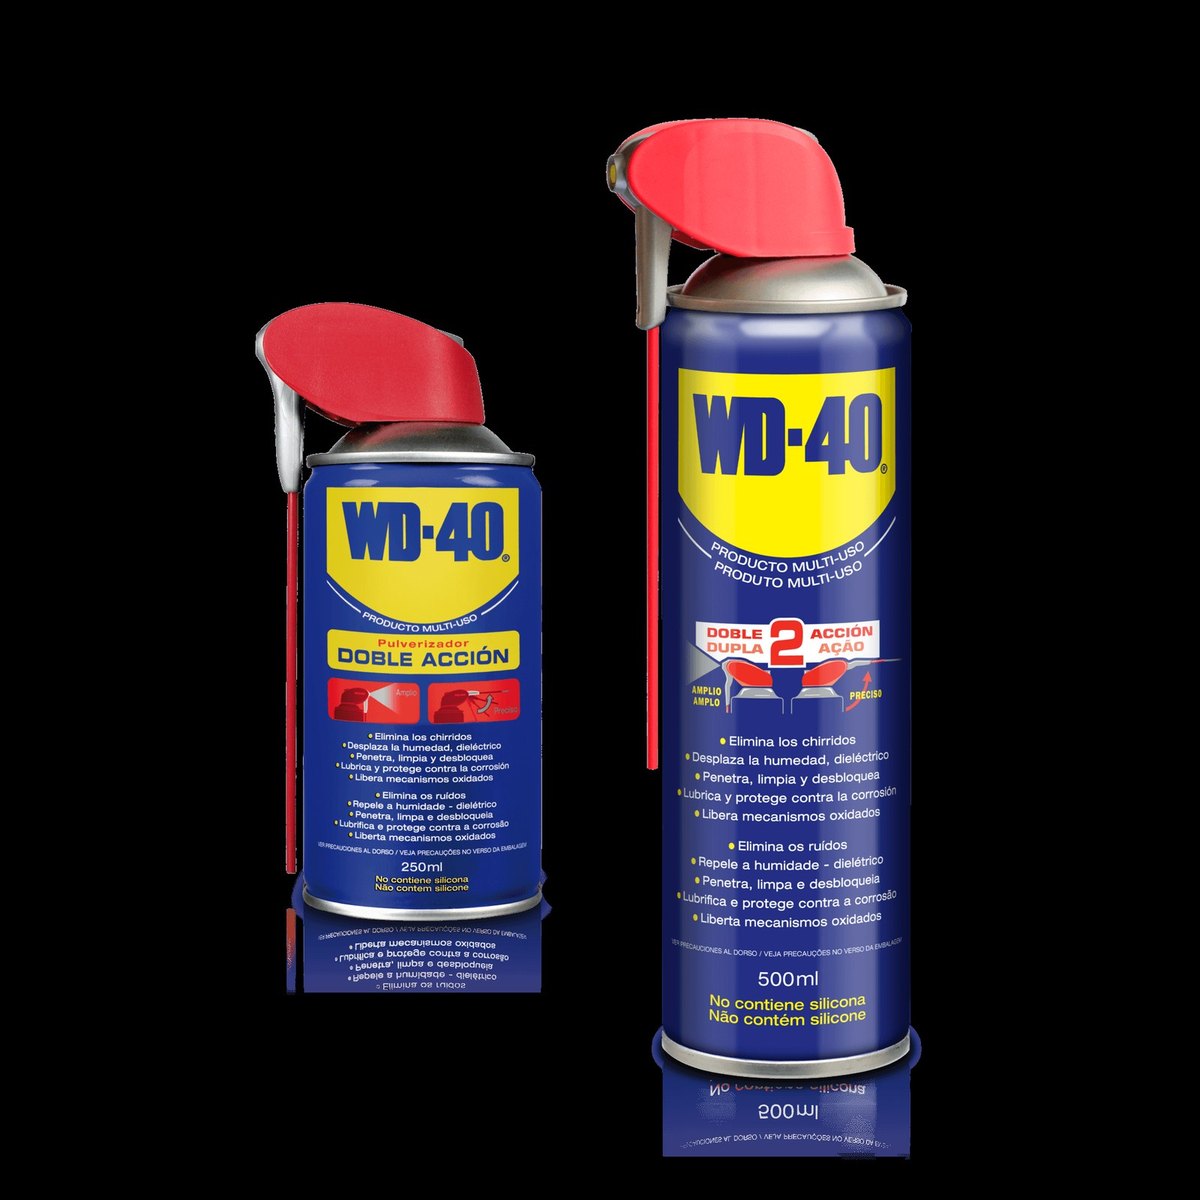
- WD-40 Multi-Use
- WD-40 Smart Straw for the bindings, clean cloths
Important: Never apply WD-40 to the ski base: it stops wax from bonding and spoils the glide. Treat only the steel edges and bindings and wipe off the excess carefully. Wear gloves when sharpening, as the edges are very sharp.
Step 1
Clean your skis after skiing
After each day on the slopes, wipe the skis dry and stand them up so water can drain. Never leave them wet in a bag.
Remove stubborn dirt and lift marks from the topsheet and sidewalls with a cloth and WD-40 Multi-Use, then wipe with a clean cloth. Clean the base with a stiff brush only, without WD-40.

Step 2
Check and sharpen the edges
Draw a fingernail across the edge: if it shaves the nail, the edge is sharp; if the nail slides freely, sharpen it. Always do this at the start of the season if the skis were not sharpened at the end of the last one or were stored somewhere damp.
Clamp the ski in the vices, bindings facing you. Trim the sidewall flush with the edge using a small blade in the guide, then draw the file in its guide along the edge towards you without pressing. The angle is usually 88-90° for recreational skis and around 85-87° for racing skis; the manufacturer gives the exact figure. Brush away the filings so they do not scratch the base.

Step 3
Wax the base
Brush off old wax and dirt with the stiff brush. Heat the waxing iron to the temperature on the wax packaging and drip melted wax evenly over the base; a little is enough.
Move the iron from tip to tail in one direction without stopping in one place, so you do not burn the base. Let the wax cool for at least an hour.
Step 4
Remove the excess wax
Scrape the excess wax off with firm pressure from tip to tail; it will come away in shavings. Then brush in the direction of travel with the stiff brush and finish with the nylon brush to polish the surface.
Step 5
Protect edges and bindings from rust
After waxing, apply WD-40 Multi-Use to the edges and metal binding parts, using the WD-40 Smart Straw for springs and mechanisms. It leaves a thin film that displaces moisture and prevents rust.
Wipe off the excess with a clean cloth and make sure none reaches the base.
Step 6
Care for skis during the season and store them properly
On artificial or icy snow, touch up the edges daily; on fresh snow every 4-5 days. Wipe the skis each evening and dry them out of the bag.
At the end of the season, clean and sharpen the skis, leave a thick unscraped coat of wax on the base and treat the edges and bindings with WD-40. Store them dry with the bindings backed off.
Tip: If you lack the tools, the resort ski shop can sharpen and wax your skis. Wiping them down and protecting the edges with WD-40 every evening is easy to do yourself and extends their life the most.
What next
Wax every few ski days, touch up the edges as needed and service the skis fully after the season. The same WD-40 Multi-Use suits snowboards, skates and sleds.
These uses come from the experience of WD-40 users in many countries. Always follow the instructions and warnings on the product label.
More guides in «How to use».