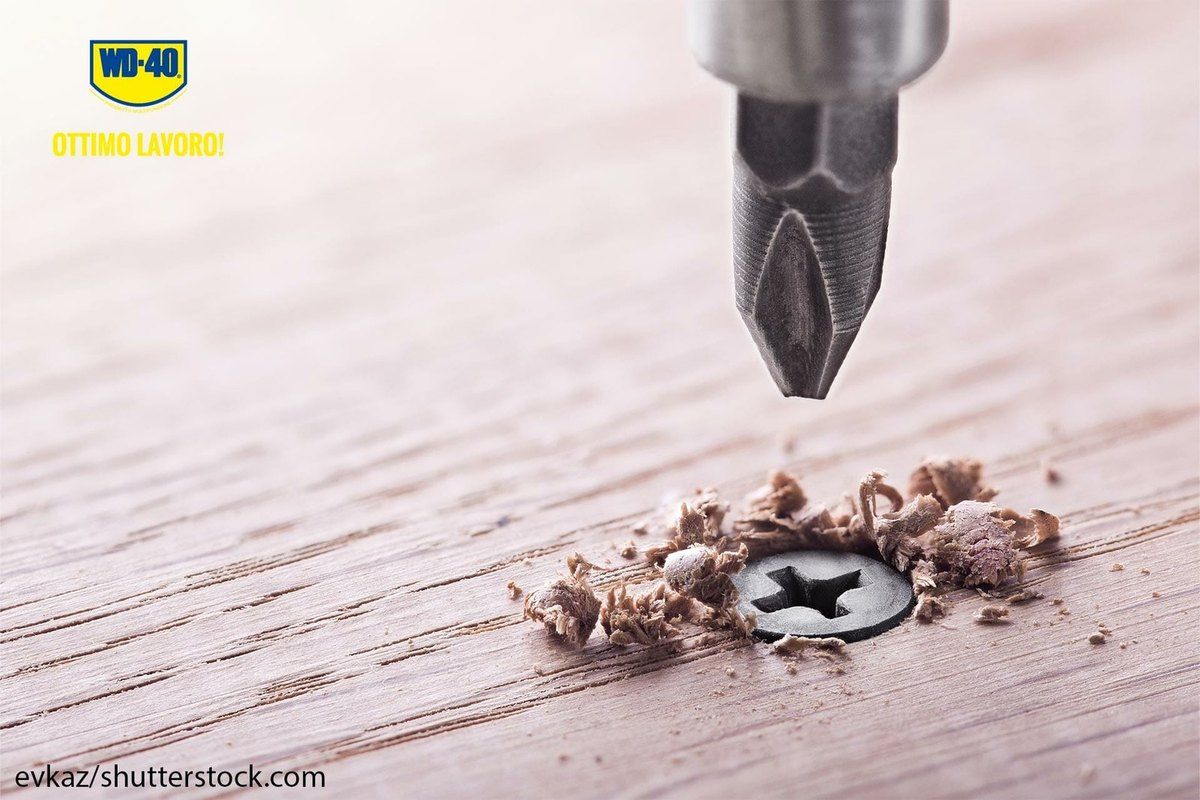
A stripped screw head turns a simple job into a headache: the screwdriver slips and the head gets smoother with every attempt. Sometimes the thread is damaged too, and the screw just spins in place.
There are usually three causes: rust eating into the head and thread, too much force when tightening, or a screw driven in at an angle. Below are methods from the simplest to the most reliable.
What you will need
- WD-40 Specialist Penetrant
- WD-40 Multi-Use or WD-40 Smart Straw
- brass or steel wire brush
- screwdrivers of various sizes, including a flat-blade one
- wide rubber band
- hammer, pliers or adjustable grips
- rotary tool with a cutting disc or a hacksaw
- screw extractor set, drill-driver and metal drill bits
- safety glasses, masking tape
Important: Always wear safety glasses when using a drill, rotary tool or hammer. If the screw holds an electrical appliance, disconnect the power first. Work slowly: too much force on a rusty screw can snap it in the hole, which makes the job much harder.
Step 1
Assess the screw and the material
Check the type of head (countersunk, cheese, pan) and drive (slotted, cross, hex), and what it is screwed into: wood, metal or plastic.
Choose a screwdriver that fits the drive snugly. A hand screwdriver with a comfortable handle lets you control force better than a drill-driver and is less likely to finish off the head.
Step 2
Clean and free the thread
Brush dirt, paint and rust off the head. Apply WD-40 Specialist Penetrant to the head and around the point where the screw enters, so it can get into the thread.
Wait 3-5 minutes, longer for badly rusted screws. Then wipe excess out of the drive so the screwdriver does not slip. For small screws, WD-40 Smart Straw lets you apply it precisely.
Step 3
Try the rubber band method
Lay a wide rubber band over the head so it covers the whole drive. Insert the screwdriver and, pressing down hard, turn slowly anticlockwise.
If the screw moves but is stiff, add more penetrant and keep going a little at a time. Lightly tapping the edge of the head with a hammer helps the threads break free. Once the head stands proud, grip it with pliers.
Step 4
Cut a new slot
If a cross-head drive is completely worn, cut a new straight slot across the head with a rotary tool and cutting disc or a hacksaw, then unscrew it with a wide flat-blade screwdriver.
Mask the surrounding surface with tape. On soft metal you can simply tap the tip of a flat screwdriver into the head with a hammer to create a deep enough bite.
Step 5
Use a screw extractor
When the screw spins in place or other methods have failed, use an extractor: a hardened tapered bit with a left-hand thread. Drill a hole 2-4 mm deep in the centre of the head with a bit slightly smaller than the head.
Fit the extractor in the drill-driver, set it to reverse at low speed and drive it into the hole. Once it bites, it pulls the screw out with it. Add WD-40 Specialist Penetrant as you work.
Step 6
Protect the new fastener
Clear rust and swarf from the hole. Before fitting a new screw, apply a little WD-40 Multi-Use to its thread: it will go in more easily and will not seize over time.
Drive it in straight, without tilting, and do not overtighten.
Tip: Always use a screwdriver that matches the size and type of drive exactly (PH, PZ, Torx) and hold it square to the screw. Throw worn bits away straight away: they strip more screw heads than anything else.
What next
Treat fasteners outdoors, in the garage, on the car and on garden machinery with WD-40 Multi-Use once a season so moisture and road salt cannot seize the threads. For badly rusted bolts, keep WD-40 Specialist Penetrant to hand.
These uses come from the experience of WD-40 users in many countries. Always follow the instructions and warnings on the product label.
More guides in «How to use».