A tap that refuses to turn, or a mixer that has reached the end of its life, turns up in almost every home. The usual culprits are limescale, rust and grime that build up on threads and nuts over the years.
You do not need to call a plumber straight away. In most cases a wrench, a brush and a penetrating spray that breaks down deposits are enough to get the threads moving. Below we explain how to assess the problem, free the tap and remove a broken mixer of different types.
What you will need
Important: Shut off both the hot and cold water supply before any dismantling. If the tap is leaking, the body is cracked or there is a risk of contact with very hot water, leave the job to a plumber.
Step 1
Assess the tap
Inspect the tap and work out why it will not move. Visible limescale, rust, dirt or mould mean you can usually fix it yourself. Cracks, split metal or leaks point to serious damage, and such a tap should not be forced.
Identify the type: compression (with a washer), ball type or single-lever cartridge. This decides what you will need to undo.
Step 2
Try turning it with a wrench
If there is no visible build-up, the tap may simply need more force. Wrap the handle or body in a cloth to protect the chrome, take a wrench and turn anticlockwise gently but firmly. Avoid jerking it: too much force can strip the thread or crack the brass.
Step 3
Scrub away the build-up
If the tap still will not budge, use a wire brush to carefully remove deposits around the nuts, handle and base. Work gently so you do not scratch the finish. Then try the wrench again: the tap may free up surprisingly quickly.
Step 4
Apply a penetrating spray
Spray WD-40 Specialist Penetrant into the gaps around the tap and onto the threads and nuts, using the straw for accuracy. Leave it for about 5 minutes so it can work under the deposits and soften the rust.
Then brush away the loosened residue and try the wrench once more. If the tap is still stiff, repeat the treatment and give it longer.
Step 5
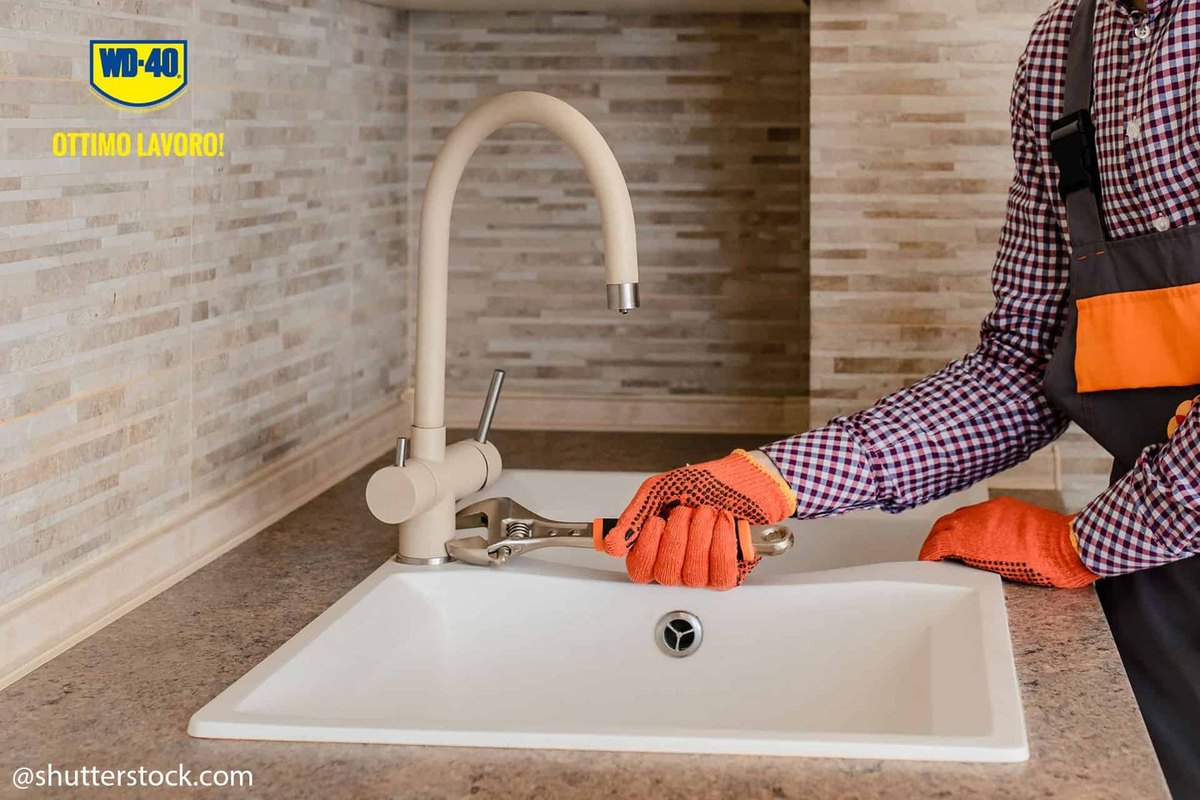
Remove the broken mixer
An outdoor tap is usually screwed onto a threaded socket in the wall: turn off the water, grip the body with a pipe wrench close to the thread and unscrew it anticlockwise. A wall-mounted bath or sink mixer comes off once you undo the two hex union nuts on the offset connectors with a spanner.
A deck-mounted kitchen or basin mixer is held from below by a large nut or a half-moon plate with two studs. Disconnect the flexible hoses from the supply first, and on a basin also unhook the pop-up waste rods. Treat seized nuts and studs with penetrating spray beforehand.

Step 6
Prevent it happening again
To stop the tap seizing again, apply a thin film of WD-40 Multi-Use to threaded joints and moving parts once a month. It displaces moisture and protects the metal from corrosion.
Tip: For nuts under the sink that are hard to reach,
WD-40 Smart Straw with its two-position straw gives a precise jet into narrow gaps without spraying the cabinet.
What next
Your tap now turns freely or has made way for a new mixer. Check the fittings under the sink every few months, especially in hard water areas, and treat the threads against rust in good time.
These uses come from the experience of WD-40 users in many countries. Always follow the instructions and warnings on the product label.
More guides in «How to use».