Every tap eventually wears out. Homes generally have three types: a screw-down tap with a rubber washer, a ball valve, and a mixer with a ceramic cartridge. A screw-down tap is beyond saving when even a new washer will not stop the flow. A ball valve gives itself away with a stiff handle or a leak when turned. A cartridge mixer needs replacing when even a new cartridge will not control flow and temperature properly.
How you remove it depends on where it is fitted. Below are four typical cases and how to undo nuts that have seized with limescale and damp.
What you will need
Important: Before starting, shut off both hot and cold water and open the tap to release the pressure. Never grip a chrome body with a spanner without a cloth or it will scratch. Do not apply lubricant to surfaces that come into contact with drinking water inside the mixer.
Step 1
Remove an outdoor tap
Outdoor taps are usually ball valves or screw-down taps supplying cold water only. They are screwed onto a threaded pipe coming out of a wall or post.
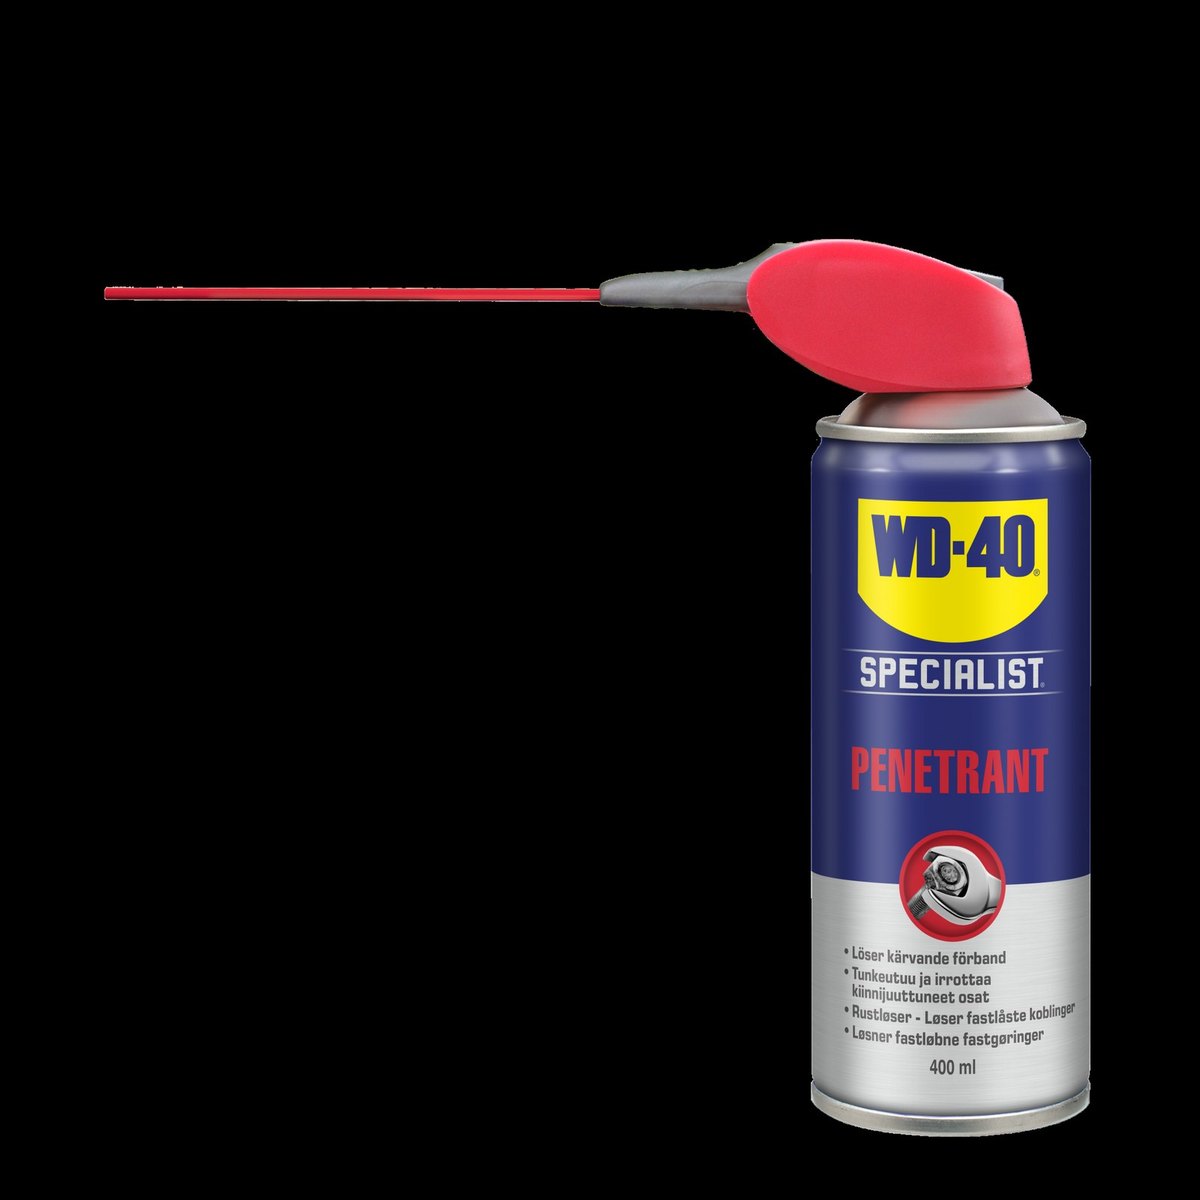
Shut off the water at the main stopcock, grip the tap body with an adjustable spanner as close to the thread as possible and turn anticlockwise. After winters of frost and rain the thread is often rusted: apply WD-40 Specialist Penetrant, wait 10 minutes and try again, holding the pipe with a second spanner.
Step 2
Remove a wall-mounted mixer
A wall-mounted bath or basin mixer is attached with two union nuts to S-shaped offset connectors screwed into the hot and cold outlets.
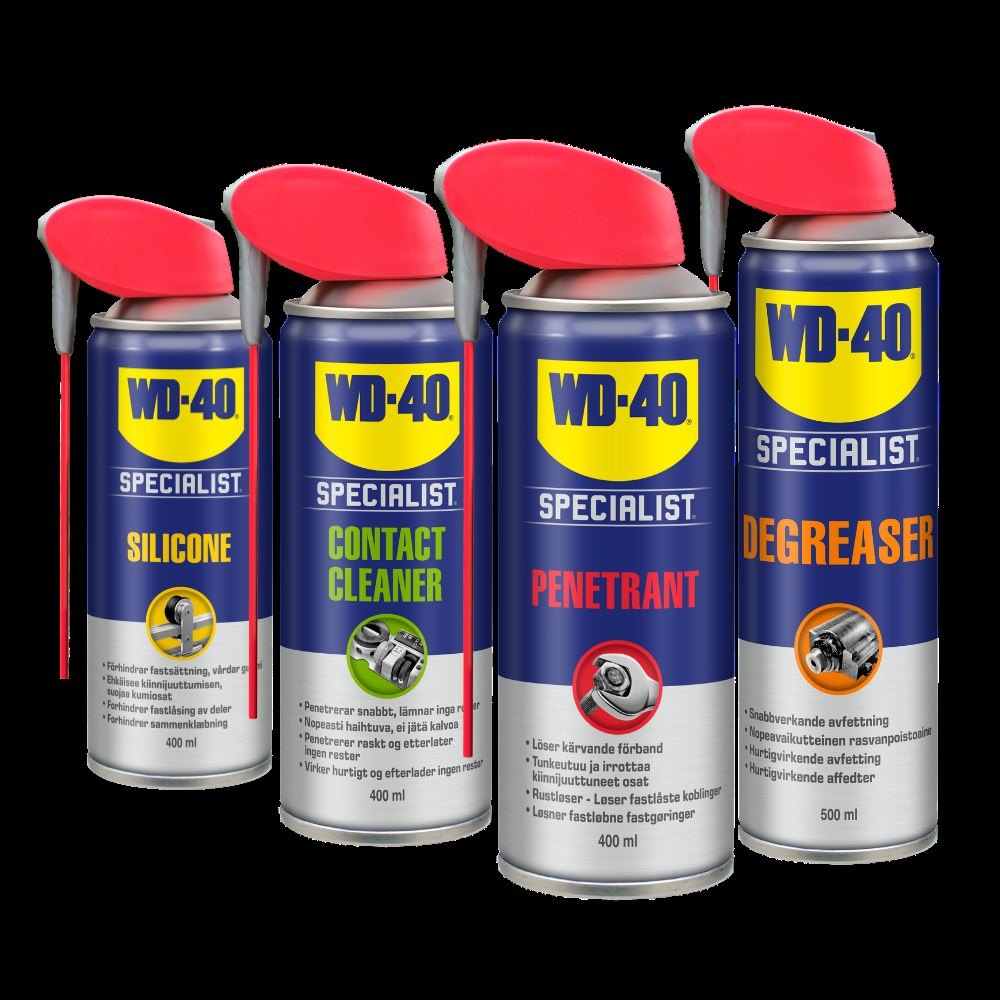
Undo the nuts anticlockwise with a spanner, using a cloth for protection. If limescale has locked them, treat them with WD-40 Specialist Penetrant. You can leave the offset connectors in place: they set the spacing between the outlets in the tiles and will suit the new mixer.
Step 3
Remove a kitchen sink mixer
Under the sink, two flexible hoses run from the mixer body to the hot and cold isolation valves, and the body is clamped from below with a large nut or a stud with a half-moon plate.
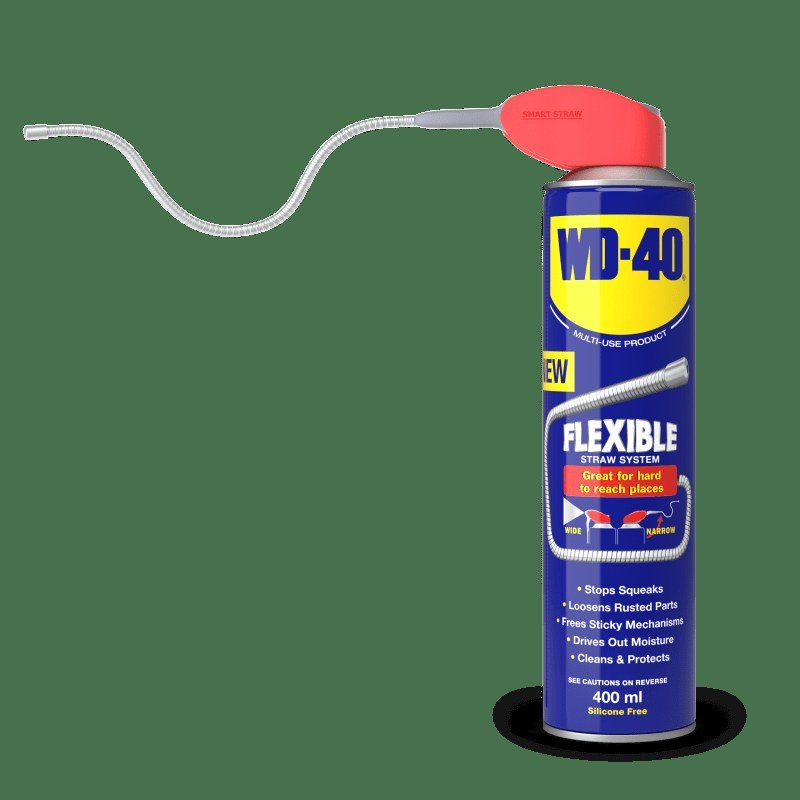
Close both valves, undo the hose union nuts, then the body fixing. It is cramped and dark under a sink, so WD-40 Smart Straw with the straw extended lets you put the spray right on the nut without soaking everything around it.
Step 4
Remove a basin mixer
A basin mixer comes off the same way as a kitchen one, but the body is usually held by a metal half-moon plate with two screws and a gasket. Treat the screws with WD-40 Specialist Penetrant before undoing them.
If there is a pop-up waste with a pull rod, disconnect the linkage first or the mixer will not come out of the hole.
Step 5
Fit the new tap
Clean the limescale off the mounting area. Seal threaded joints with PTFE tape or plumbing thread, and give rubber seals and O-rings a light coat of WD-40 Specialist Silicone so they seat evenly and do not twist as you tighten.
Tighten the nuts moderately, turn the water on gradually and check every joint is dry.
Tip: Before winter, remove or isolate the outdoor tap from inside and drain it. Ice splits the body, and a rusted thread will need penetrant again in spring.
What next
Check your mixers once a year: a drip under the handle or at the hoses is better caught early. Keep WD-40 Specialist Penetrant and WD-40 Specialist Silicone in your plumbing kit and a replacement will take half an hour.
These uses come from the experience of WD-40 users in many countries. Always follow the instructions and warnings on the product label.
More guides in «How to use».