After a winter of wet snow, thaws and frost, a garden shed often looks tired: the boards have greyed, the wood stain is peeling, the roof leaks in places and the door sticks. The shed holds your tools, mower and garden furniture, so the humidity inside directly affects their condition.
A timber structure needs regular care, otherwise moisture gets into the wood and mould and rot follow. Most of the work can be done yourself over a few weekends if you take it step by step.
What you will need
Important: Use a ladder only on level ground and with a helper. Wear goggles and a dust mask when sanding, and paint in dry weather above +10 °C.
Step 1
Assess the shed
Inspect the roof, walls, windows and doors. Decide what can be repaired and what is better replaced. Check the metal parts separately: screws, hinges, bolts and locks rust fastest in a damp climate.
Write a materials list in advance so you do not have to keep going back to the DIY store.
Step 2
Sand the damaged areas
If there are only a few damaged spots, sand just those. Where the finish has peeled over a large area, sand the whole shed. Replace rotten boards with new ones of the same timber and thickness, otherwise the wall loses strength.
Brush off the dust after sanding: a finish will not bond well to dusty wood.
Step 3
Repair the roof
Cover a small leak with a patch of roofing felt overlapping the damage by a few centimetres and fix it with roofing nails. If the whole roof is worn, remove the old felt first: bitumen usually lifts easily with a spade, and stubborn remnants come off with a scraper.
Lay the new felt from the bottom up towards the ridge, overlapping the strips so water runs over the joins.
Step 4
Prepare the windows
It is easier to remove the frames and treat them separately. Sand timber frames with fine paper. On metal frames, take rust back to bare metal and prime straight away so the surface has no time to oxidise again.
Step 5
Protect the timber from moisture
Apply a primer or wood preservative, then stain or paint. Coloured wood finishes also protect against UV. Apply two coats with a brush or roller, letting each one dry.
Step 6
Look after doors, hinges and locks
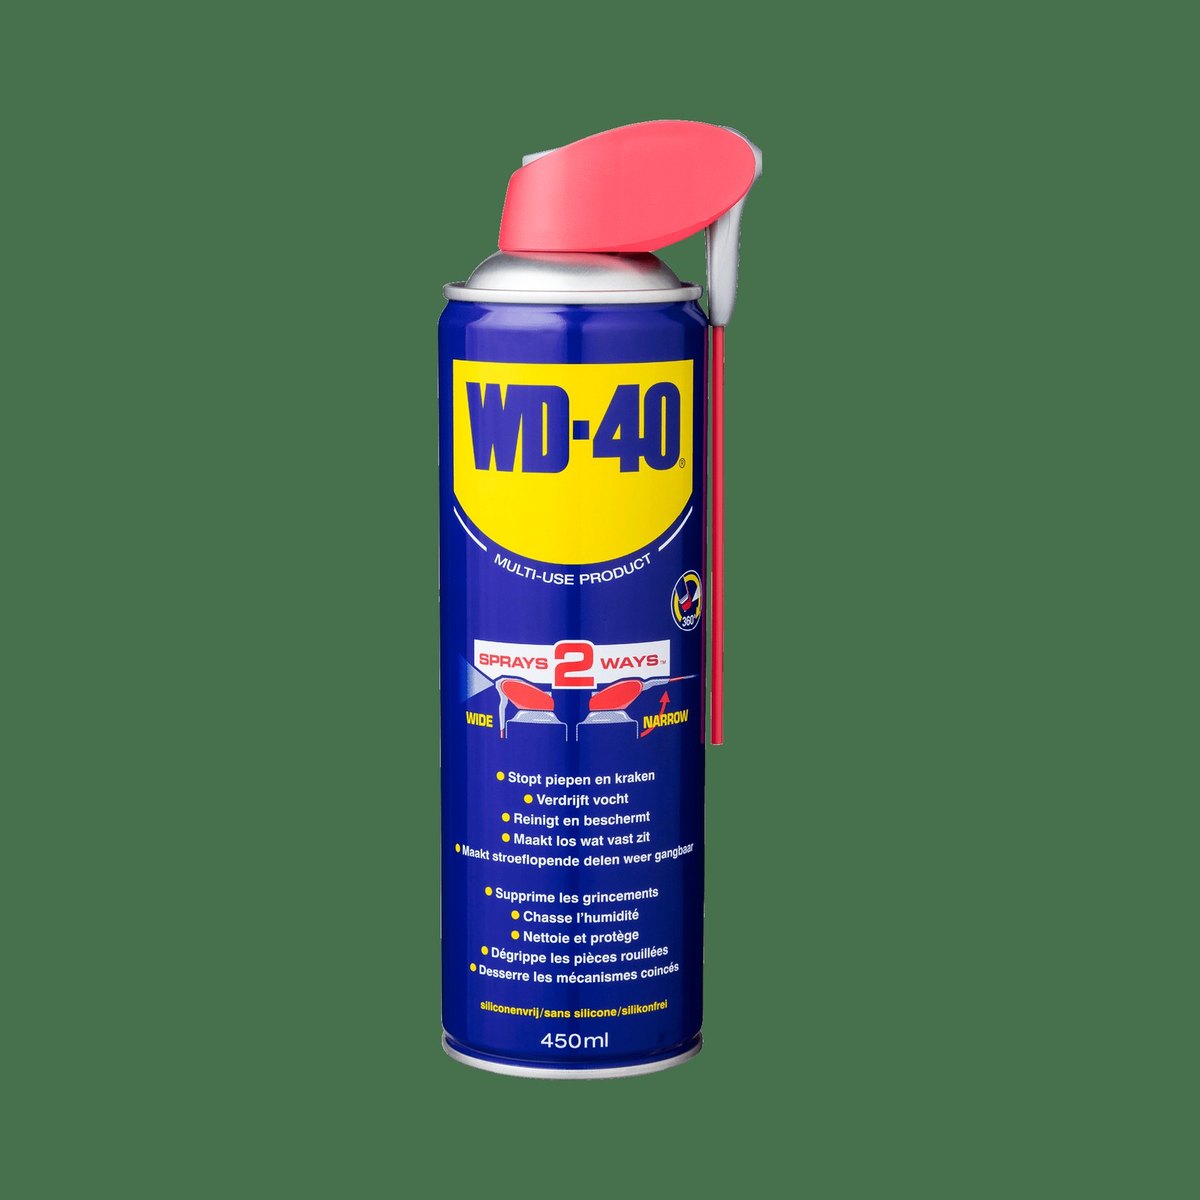
Treat seized bolts and a rusty lock with WD-40 Specialist Penetrant, wait a few minutes and only then unscrew. Spray hinges, latches and the lock mechanism with WD-40 Multi-Use: it displaces moisture, protects against corrosion and stops squeaks. The thin straw of WD-40 Smart Straw is handy for the keyhole.
On hinges carrying a heavy door, add White Lithium Grease: it lasts a long time and is not washed off by rain.
Step 7
Reassemble and tidy up
Once the finish is dry, refit the boards, then the windows and doors. Check that everything opens easily and quietly. Take the chance to sort out the contents of the shed: get rid of what you no longer use and put tools back in their places.
Tip: Before winter, give metal tools and hinges a thin coat of
WD-40 Multi-Use: condensation forms every night in an unheated shed, and the film protects the metal until spring.
What next
Inspect the shed twice a year, in spring and autumn. A roof crack or flaking paint caught early costs far less than replacing boards. Treating hinges and locks with WD-40 Multi-Use once a season is enough.
These uses come from the experience of WD-40 users in many countries. Always follow the instructions and warnings on the product label.
More guides in «How to use».