Most gutters start dripping because the joints between sections wear out. Less often the bottom of the gutter develops holes, or the brackets holding it bend and break. The usual culprits are well known: autumn leaves, snow and ice in winter whose weight pulls fixings out, and corrosion where water stands in metal gutters.
The repair depends on the material: copper, galvanised steel, stainless steel or PVC. Every job starts with safety and cleaning.
What you will need
Important: Working at height is dangerous. Do not go up in rain, frost or wind, secure yourself with a rope or harness and work in pairs so someone holds the ladder. Leave soldering seams to a professional if you have no experience.
Step 1
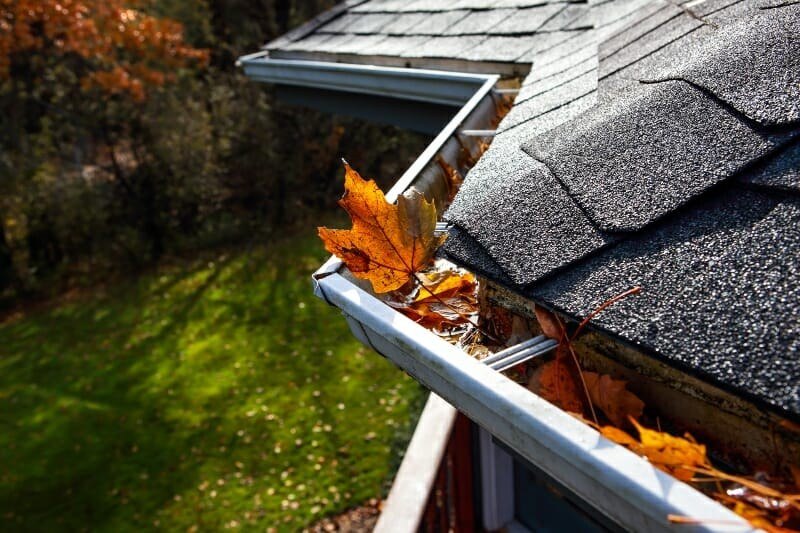
Clean the gutter
Before any repair, clean the inside of the gutter thoroughly. Scoop out leaves, twigs, moss and silt, then flush the gutter with a hose. Check the water drains quickly.
Step 2
Find the leak
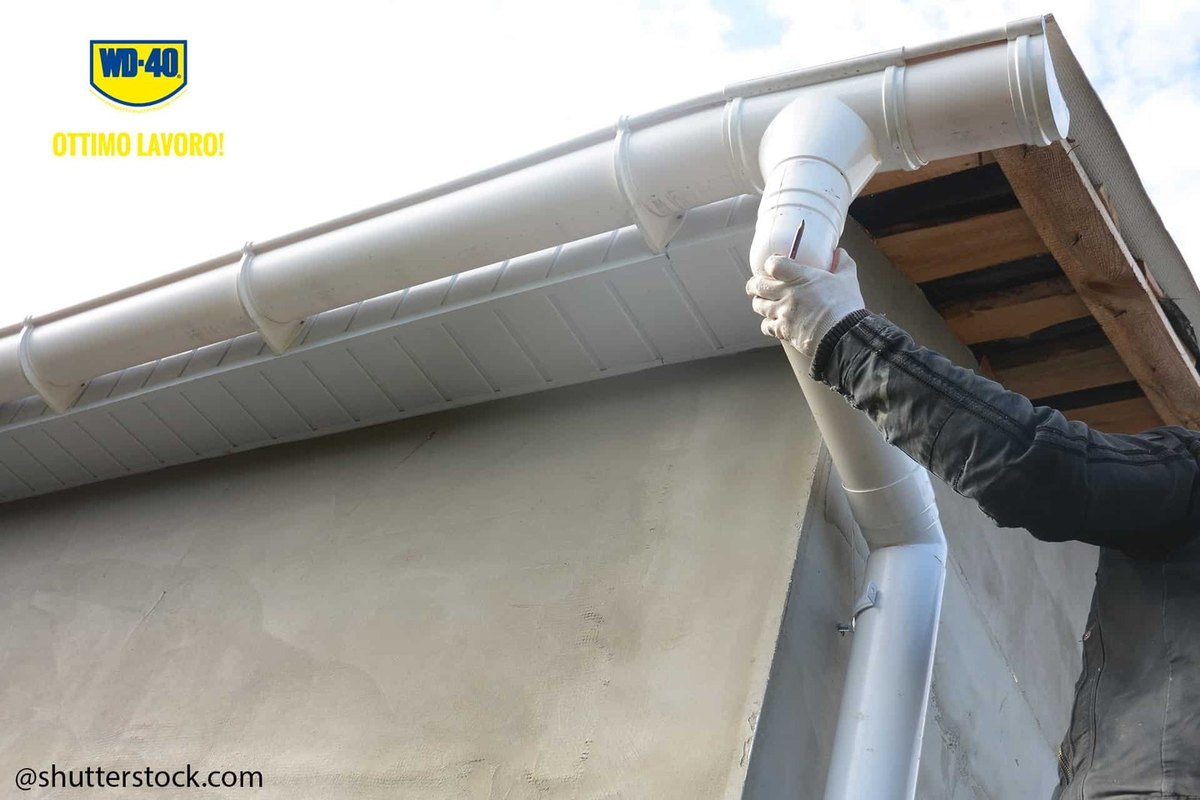
Check the joints between sections for tightness, especially at corners and where the gutter meets the downpipes. Judge how bad the leak is: a small drip in a metal gutter can be sealed, a badly damaged seam is better re-soldered.
Step 3
Seal a metal gutter
Joints and small holes in metal gutters are usually sealed with bitumen paste and a reinforcing tape that strengthens the patch. Clean the area first: WD-40 Multi-Use lifts dirt and loose rust, then wipe the metal dry and degrease it with WD-40 Specialist Contact Cleaner so the sealant bonds well.
Spread the paste a few centimetres beyond the leak on every side and wipe off the excess with a cloth. Follow the sealant's instructions for curing time.
Step 4
Re-solder or re-glue the seam
A badly damaged seam on copper or galvanised gutters is re-soldered with tin-based soft solder. Stainless steel needs a special chloride-free flux based on orthophosphoric acid. Without experience, hand this job to a roofer.
PVC gutter sections, corners and fittings are joined with a special sealing adhesive. If a joint has come apart completely, run a generous bead of PVC adhesive and push the parts back together. If it only weeps, seal the seam from the outside.
Step 5
Check the downpipe
Leaking downpipes are repaired the same way as the gutter, but first make sure the leak is not caused by a blockage. Push a long pipe brush down from the top: it will clear a light blockage straight away. A heavier one needs a drain rod and flushing, from below if possible.
Fit a leaf guard over the downpipe outlet so leaves cannot block it again.
Step 6
Check brackets and fall
Finally inspect the brackets and clips. Bend any drooping brackets back into position and replace broken ones. If bracket bolts are rusted solid, soak them with WD-40 Specialist Penetrant and wait a few minutes.
Check the gutter falls towards the downpipe, usually by a few millimetres per metre. Without a fall water stands, freezes in winter and tears the fixings.
Tip: After the repair, give metal brackets and bolts a light coat of
WD-40 Multi-Use to keep moisture out and slow rust.
What next
Clean gutters at least twice a year: in late autumn after leaf fall and in spring after the snow melts. Regular checks catch a leak before it damages the walls, paving or foundations.
These uses come from the experience of WD-40 users in many countries. Always follow the instructions and warnings on the product label.
More guides in «How to use».