An old chest of drawers, a family sideboard or a solid table is not worth throwing out just because the varnish is worn. Once restored, such furniture often looks better than new and lasts for decades more.
The job takes a few evenings because each coat needs time to dry, but the sequence is simple: dismantle, strip the old finish, fill defects, sand, refinish and reassemble with lubricated fittings.
What you will need
- WD-40 Specialist Silicone for drawer runners and hinges
- WD-40 Specialist Penetrant for seized hardware screws
- Varnish stripper or wax remover, methylated spirit
- Grade 00 steel wool, a soft brush, a scraper, masking tape
- Colour-matched wood filler, sandpaper P180, P220, P280, P320
- A finish: varnish, wax, oil or paint; brushes, cotton and wool cloths
- Gloves, safety glasses, a dust mask
Important: Only use strippers and solvents in a well-ventilated room or outdoors, with gloves and safety glasses. Follow the waiting times on the product label.
Step 1
Dismantle the furniture
Remove doors, shelves, drawers and, where possible, all metal hardware: hinges, handles, locks. This makes the work easier and keeps the stripper off the metal.
Old screws are often seized or rusty. Spray them with WD-40 Specialist Penetrant, wait a few minutes and unscrew with a screwdriver that fits the slot exactly, so you do not strip the head. Make sure no nails stick out of the wood.

Step 2
Strip the old finish
Mask off any areas where you want to keep the original finish. Wipe the piece with a cloth dampened with methylated spirit to remove dust and grime.
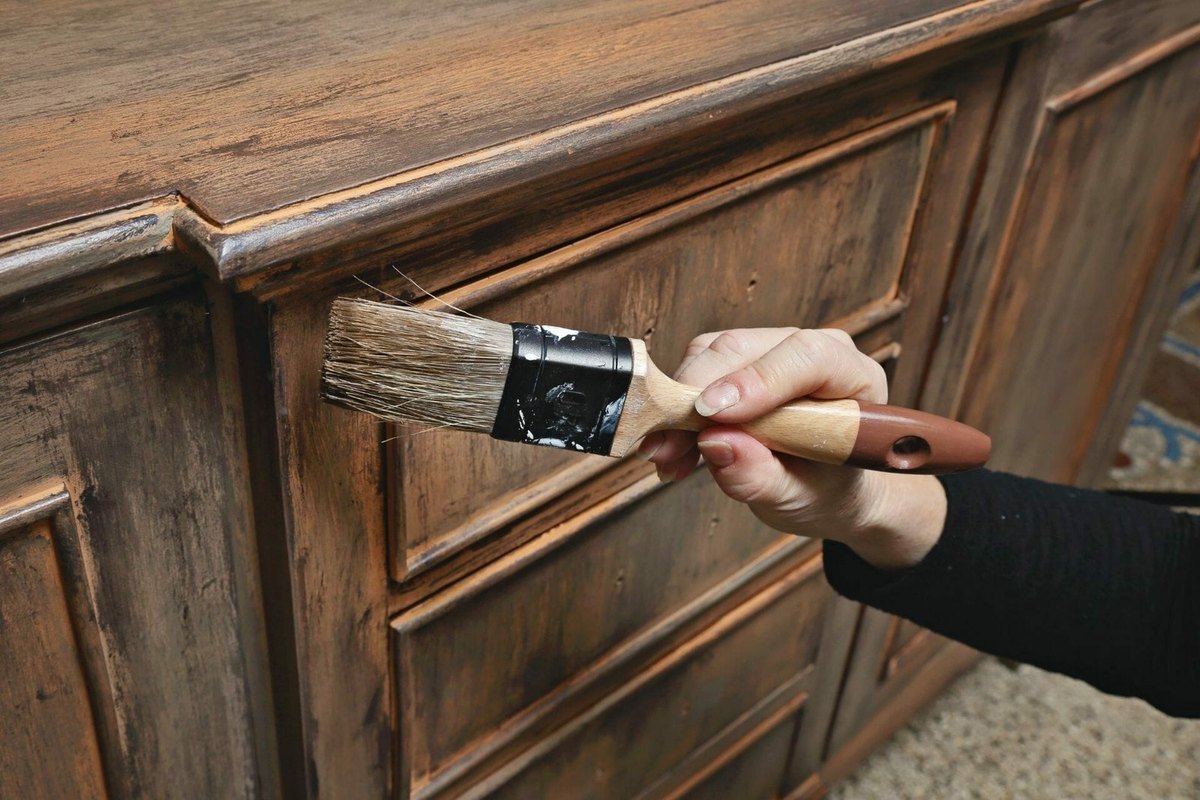
Remove wax with a wax remover applied by brush and rubbed with 00 steel wool along the grain; use a soft brush on carvings. Then neutralise it with a cloth and spirit. Strip varnish or paint with stripper, starting at the bottom. Scrape off the softened finish.
Step 3
Fill cracks and dents
Bare wood clearly shows chips, holes and cracks. Fill them with wood filler matched to the wood using a scraper, and use a thicker wood paste to rebuild missing pieces. Leave to dry as directed.
Step 4
Sand the surface
Sand by hand without pressing hard, always along the grain. Start with P220 paper, move to P280 and finish with P320. This evens out the surface and blends the filler with the wood.
Remove all dust with a brush and a slightly damp cloth, or it will end up trapped under the finish.
Step 5
Apply the finish
Apply varnish or paint with a brush in 3 thin coats along the grain, lightly sanding with P180 between coats. Paint hides marks better, while varnish and oil keep the grain visible.
Rub wax in with a cotton cloth and buff with a wool one. Apply oil with a brush or cloth as directed. Start with the legs and sides and finish with the top.
Step 6
Reassemble and lubricate the fittings
Once the finish is fully dry, refit the hardware. Treat drawer runners, hinges and extending table mechanisms with WD-40 Specialist Silicone: drawers will glide and hinges will stop squeaking. Silicone also suits wooden drawer runners.
Spray precisely, covering the fresh finish with a cloth, and wipe off any excess straight away. For metal hinges and locks, WD-40 Multi-Use also works well.
Tip: Before painting or varnishing, test the finish on the underside of the top or on the back panel: the colour on your particular wood often differs from the sample.
What next
Wipe restored furniture with a dry or barely damp cloth, and refresh a wax finish once a year. Lubricate the drawer runners as soon as they start to feel stiff.
These uses come from the experience of WD-40 users in many countries. Always follow the instructions and warnings on the product label.
More guides in «How to use».