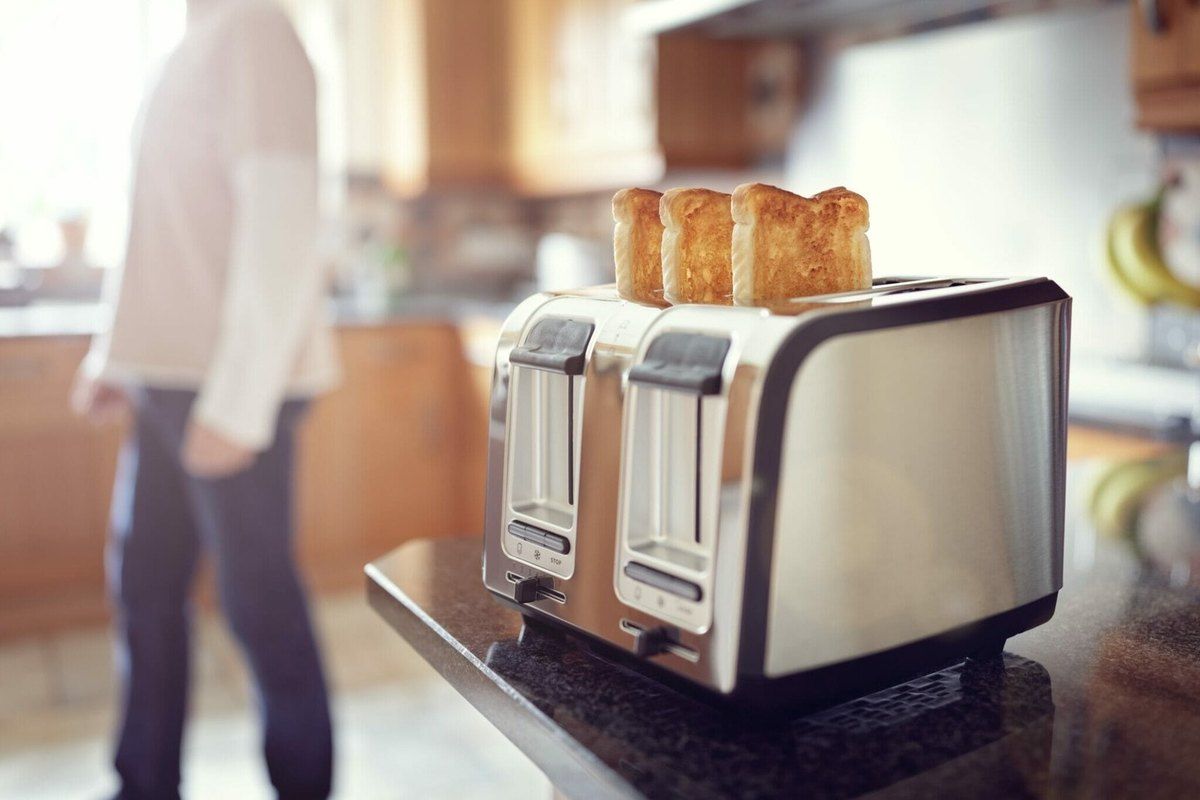
A toaster is a simple appliance: a spring-loaded lever, an electromagnet that holds it down, a control board and heating elements. That is why many faults can be found and fixed at home with a screwdriver, a multimeter and a little patience.
Crumbs are the usual culprit. They pile up at the bottom, jam the lever mechanism and, when they burn, cause smoke and smells. So before you throw the toaster away, try cleaning and testing it.
What you will need
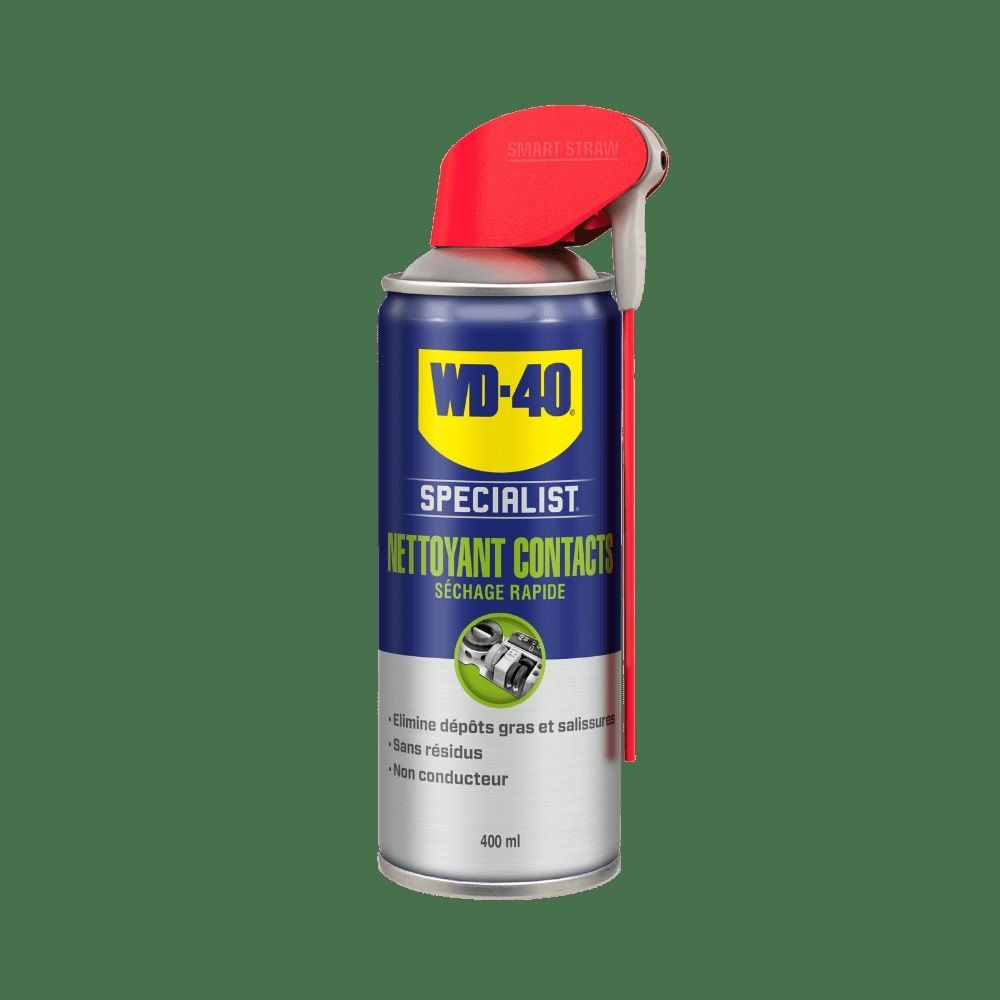
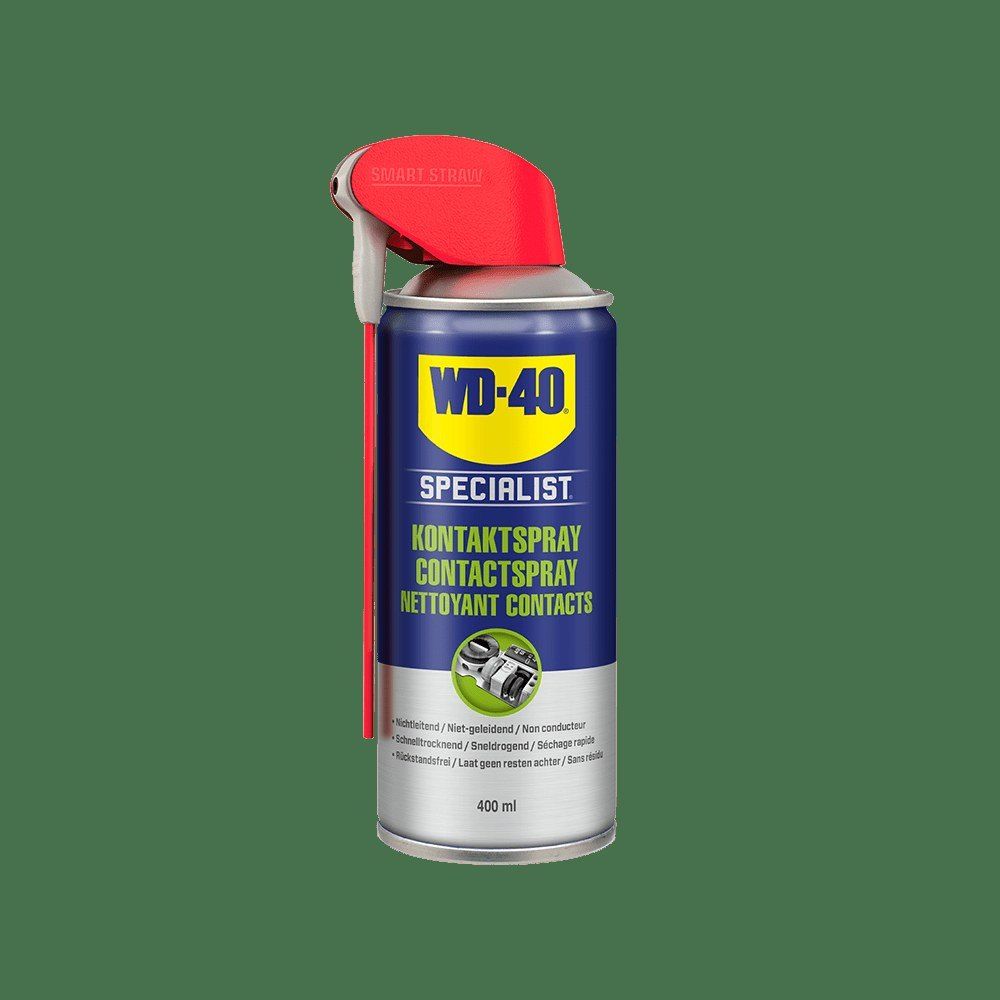
- WD-40 Specialist Contact Cleaner
- electronics screwdriver (some models need a Torx or triangle bit)
- multimeter
- soft brush and a small paintbrush
- a phone to photograph the assembly
Important: Only work on a toaster that is unplugged and completely cold. Never spray any product onto the heating elements or into the bread slots that touch food. After the repair, the toaster must be reassembled with all its insulators in place or there is a risk of electric shock.
Step 1
Identify the fault and open the casing
There are three typical symptoms: the lever will not stay down, the toaster does not heat, or it trips the breaker when switched on. The symptom tells you what to check.
Unplug it and remove the crumb tray. The base screws may be visible or hidden under rubber feet that need removing. Some models simply clip together. Inside, on one side, you will see the lever with its spring and a board carrying the electromagnet that holds the lever down.
Step 2
Free the lever mechanism from crumbs
Turn the toaster upside down over the sink or a newspaper, tap it gently and brush out the bottom. Often that alone gets the lever latching again.
If not, inspect the mechanism inside: hook, spring and guide rail. Brush away crumbs and burnt residue. Check that the hook is not bent and the spring has not come off. Do not lubricate the guide: in the hot zone, grease only collects crumbs and smokes.
Step 3
Check the electromagnet and board
If the mechanics are fine but the lever will not hold, the control board or the electromagnet itself is the most likely cause, since it closes the circuit that powers the elements. Look for darkened areas, swollen capacitors or melted parts on the board.
Clean the board pads and connectors with WD-40 Specialist Contact Cleaner: it removes dust, grease and oxidation, is non-conductive and evaporates without residue. Treat only the board and switch contacts, never the elements, and let it dry for a few minutes. A faulty board or electromagnet is best replaced with an original part.
Step 4
No heat: test the elements
The heating element is either a plate wound with wire or a tube. Set the multimeter to resistance (ohms) and touch the probes to the input and output terminals of the element.
If the meter shows a resistance value, the element is intact. If it reads open circuit, the element has burnt out and needs replacing. Also check the wire connections to the elements: an oxidised terminal causes the same symptom and can be cleaned with contact cleaner.
Step 5
Trips the breaker: look for a short
First inspect the cord and plug for melting, kinks or bare wires. Then check the board for swollen capacitors and burnt resistors.
Test for an element shorting to the casing: one probe on the element terminal, the other on the metal frame. Any reading other than open circuit means a short to the casing. Such a toaster must not be used, and the element or the whole appliance must be replaced. Reassemble the casing, plug in and run a test cycle without bread.
Tip: Empty the crumb tray every week and once a month turn the toaster over and shake it out gently. A clean toaster heats more evenly, does not smoke and breaks down less often.
What next
If the checks do not reveal the cause, or the toaster is old and a new board costs as much as a new appliance, a repair shop is the better option. WD-40 Specialist Contact Cleaner is also useful for other kitchen appliances such as kettles, coffee makers or mixers when the fault lies in the contacts.
These uses come from the experience of WD-40 users in many countries. Always follow the instructions and warnings on the product label.
More guides in «How to use».