Over time a washbasin stopper starts to let water through, and the lift rod behind the tap becomes stiff or will not move at all. In bathrooms with hard water this happens especially quickly: limescale builds up on the rod, the seal hardens and small metal parts seize.
Sometimes cleaning and lubricating brings the stopper back to life; if not, you can replace it yourself with pliers, a screwdriver, a bucket and a new click-clack or lever-operated waste.
What you will need
Important: Turn off the water before you start so you do not open the tap over a dismantled trap by mistake. Only grip plastic nuts with pliers through a cloth and do not overtighten them.
Step 1
Check whether a repair will do
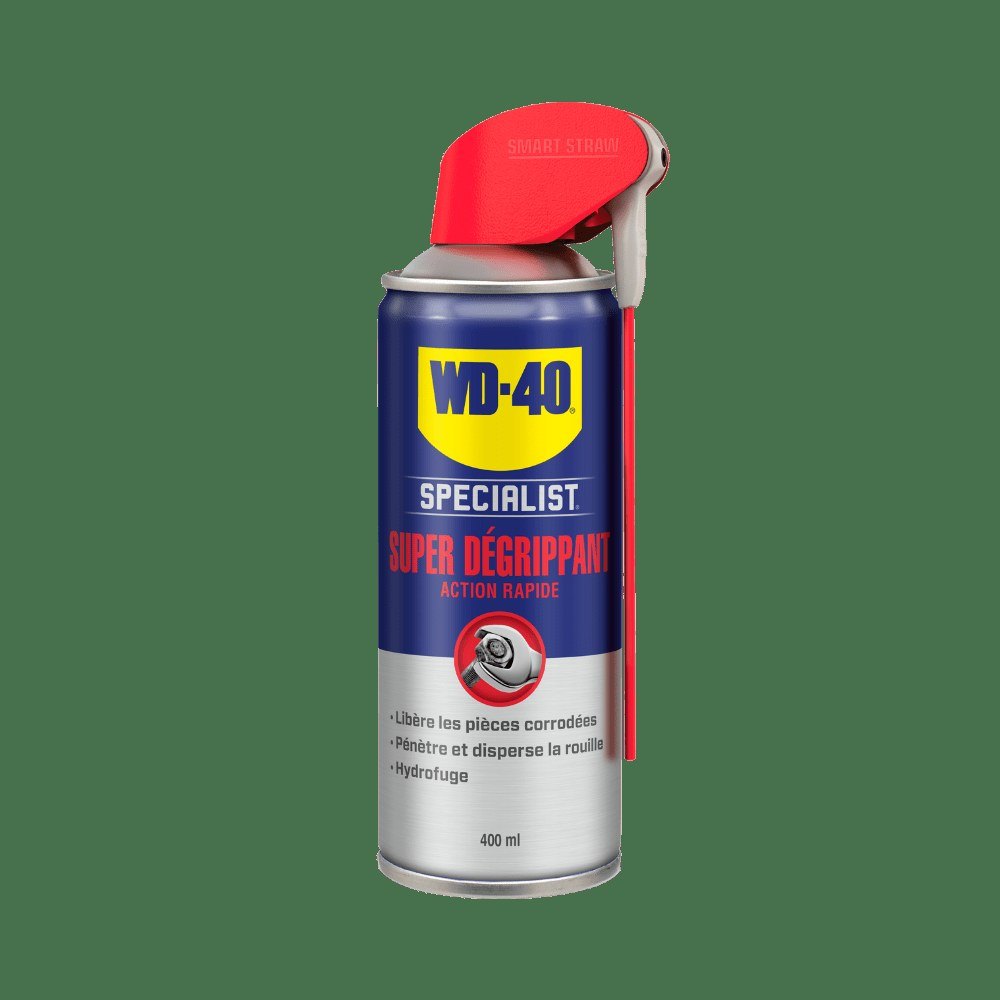
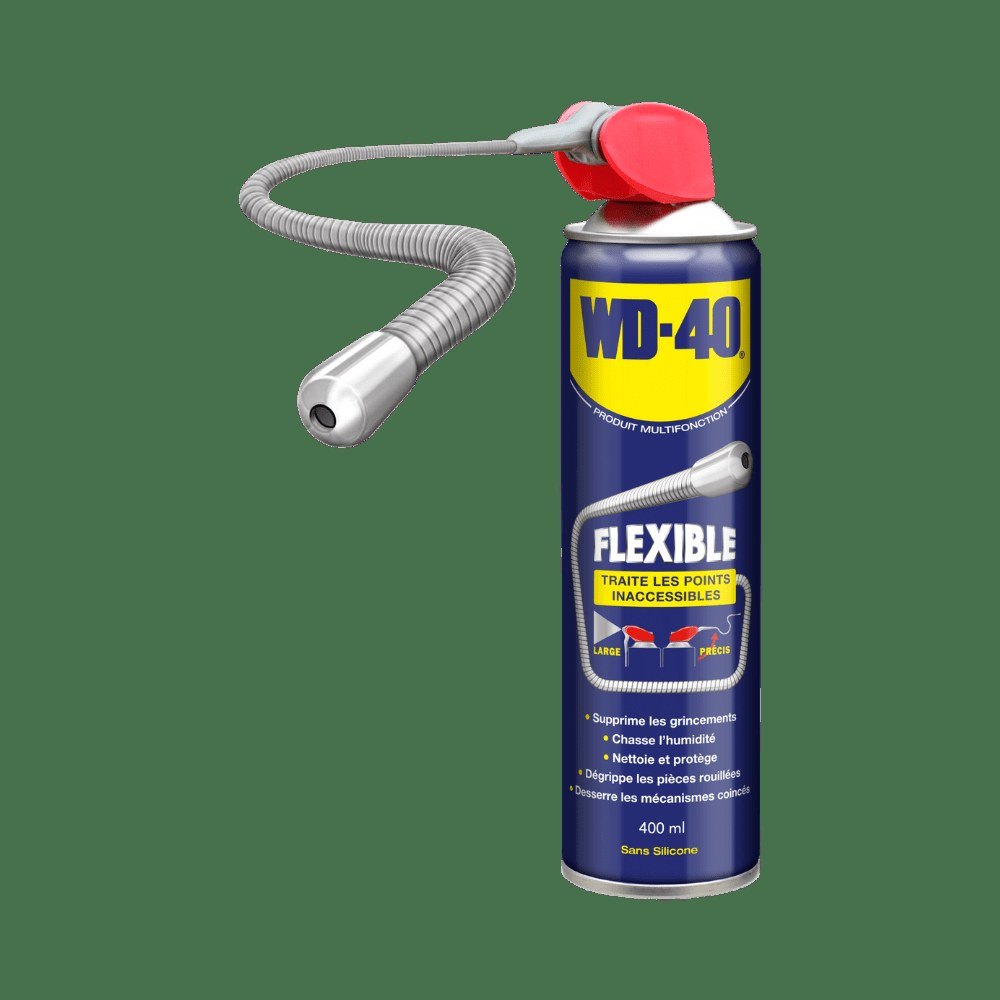
Lift out the stopper and clean hair and limescale off it with vinegar. Under the basin, find the joint between the vertical lift rod and the horizontal pivot rod: often it just needs moving to another hole and tightening. Apply WD-40 Smart Straw to the rod and pivot through the thin straw and work the lift rod several times.
If the stopper now seals the outlet properly, no replacement is needed. If not, carry on with the steps below.
Step 2
Remove the trap
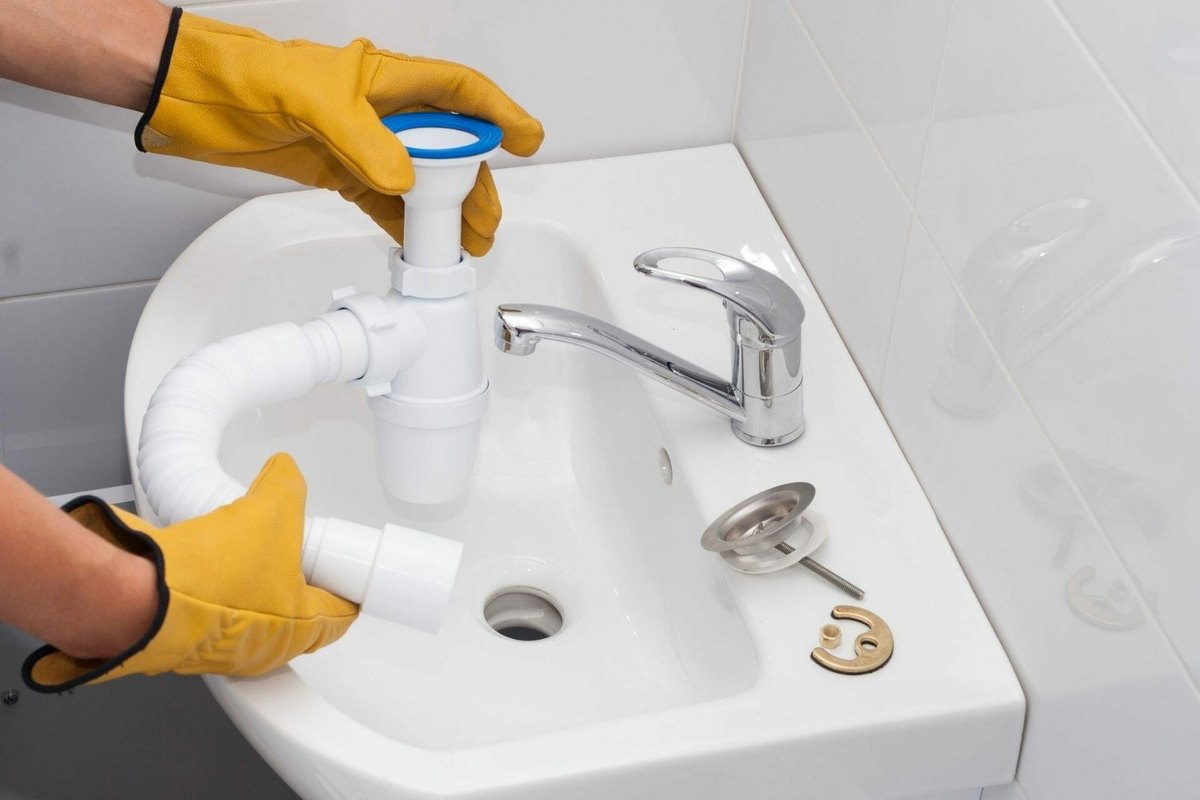
Turn off the water and place a bucket under the trap. Using water pump pliers, unscrew the bottom section of the trap that holds the water seal, then the nuts connecting it to the waste and the drain pipe. Grip plastic nuts through a cloth so they do not crack.
Step 3
Dismantle the linkage
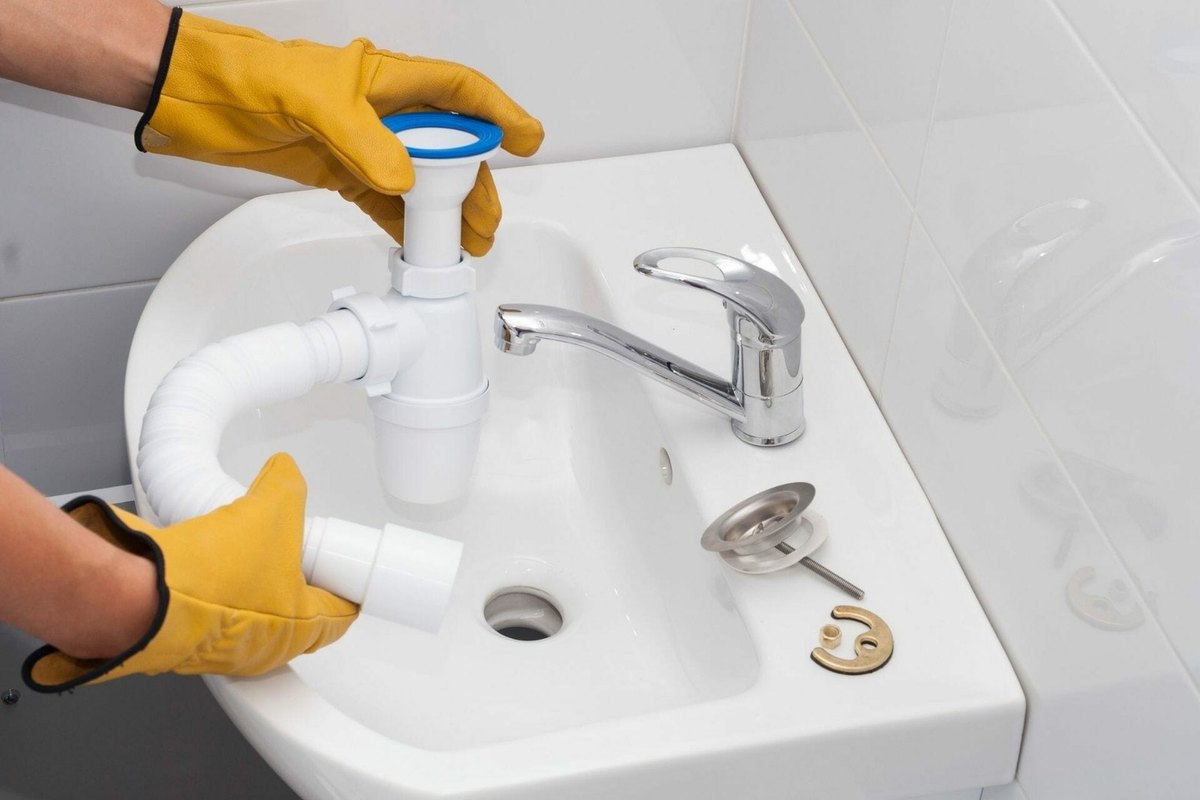
On a lever-operated waste, undo the joint between the lift rod and the horizontal pivot rod and remove both. If the mechanism has seized, apply WD-40 Specialist Penetrant and wait a few minutes: it quickly gets into the thread and frees stuck parts.
Step 4
Unscrew the old waste
Undo the bottom nut of the waste. If the old waste is stuck with scale, insert the insulated handle of a pair of pliers vertically into the outlet, put a screwdriver into one of the holes inside the waste, brace it against the handle and turn with moderate force. Then clean the basin outlet of limescale and dirt with vinegar and dry it.
Step 5
Fit the new waste
Fit the seal on the upper part of the waste and insert it into the basin outlet. Screw the lower part on from below. Turn a lever-operated waste so the pivot hole faces the wall, insert the horizontal ball rod, secure it with the clip, drop the lift rod in from above and connect the parts. A click-clack waste is even simpler as there is no linkage.
Treat the rubber seals lightly with WD-40 Specialist Silicone so they seat tightly and do not dry out.
Step 6
Refit the trap and check for leaks
Check the trap and its seals and clean them if needed. Screw the trap onto the new waste and the drain pipe. Turn the water on, fill the basin, let it drain and check every joint with a dry tissue.
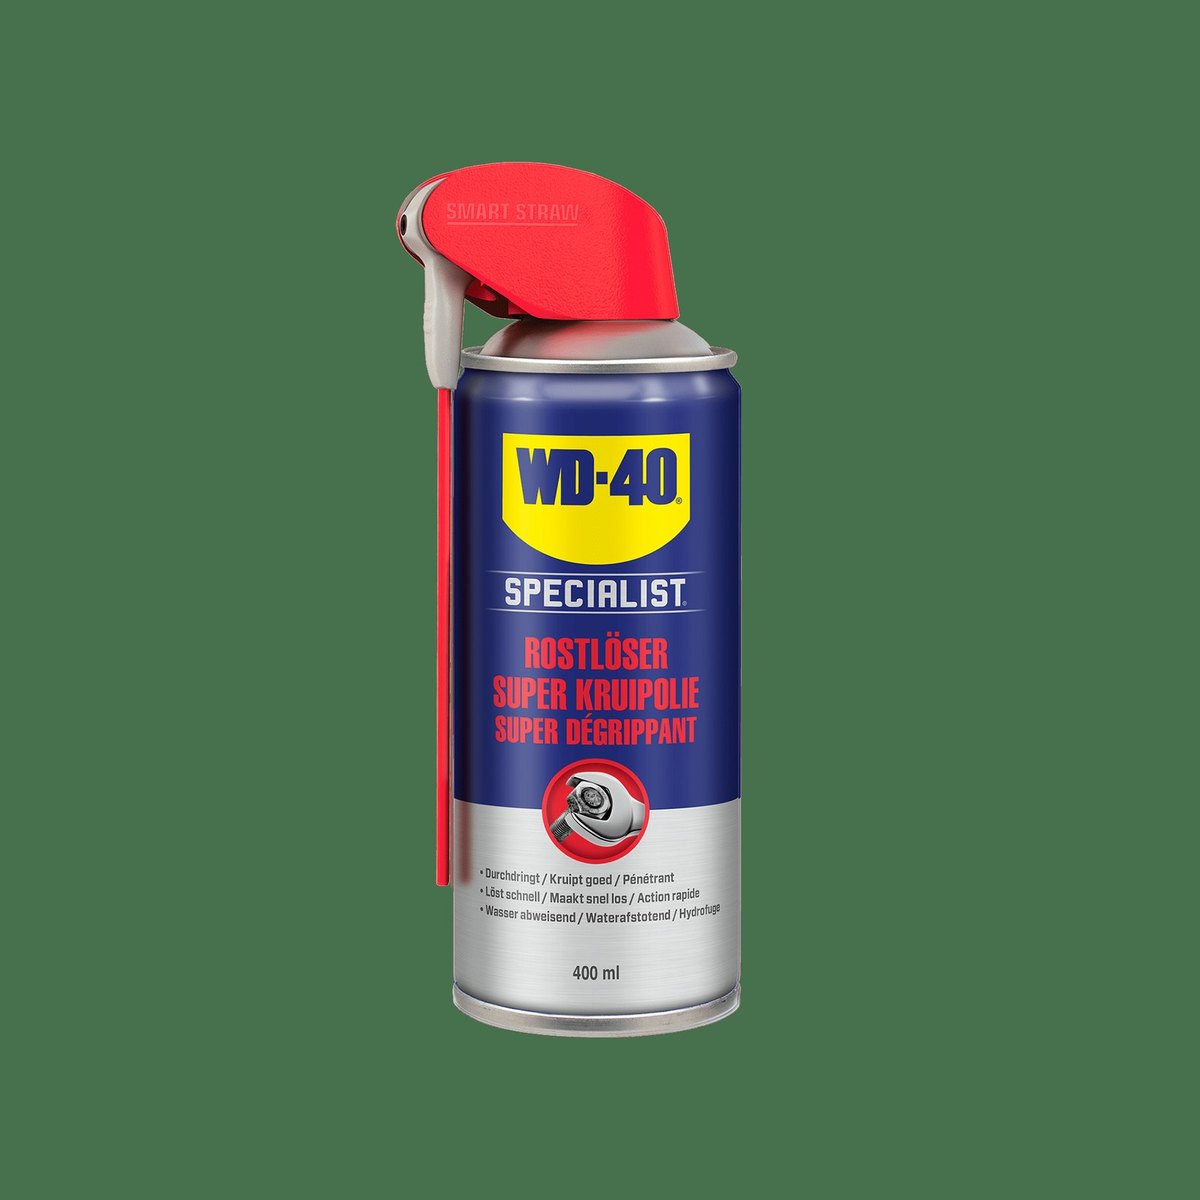
Tip: Every few months, lift out the stopper, clear the hair and lubricate the rod and pivot with a drop of
WD-40 Smart Straw. The waste will not seize and will last much longer.
What next
With regular cleaning a new waste lasts for years. Keep WD-40 Specialist Silicone for seals and rubber parts in the bathroom: it protects rubber from drying out.
These uses come from the experience of WD-40 users in many countries. Always follow the instructions and warnings on the product label.
More guides in «How to use».