We check brakes, washer fluid and the battery regularly, yet only think about the exhaust when it starts to drone, rattle or smell of fumes. Corrosion holes, a knock on a kerb or pothole, or simply age: with salted winter roads, the exhaust behind the catalytic converter does not last long.
Replacing the section from the catalytic converter back is a job you can do yourself with a lift or inspection pit and some mechanical experience. The hardest part is not fitting the new pipe but getting the old one off.
What you will need
- A new pipe or section to match the make, model and year of the car
- New clamps, gaskets and rubber hangers
- WD-40 Specialist Penetrant for seized nuts and clamps
- WD-40 Smart Straw for cleaning mating surfaces
- A socket and spanner set and a torque wrench
- A lift or pit, safety glasses and gloves
- A helper
Important: Work only on a cold system and a securely supported car: never get under a vehicle held up by a jack alone. Wear safety glasses under the car, as rust and dirt fall into your eyes.
Step 1
Free the seized fixings
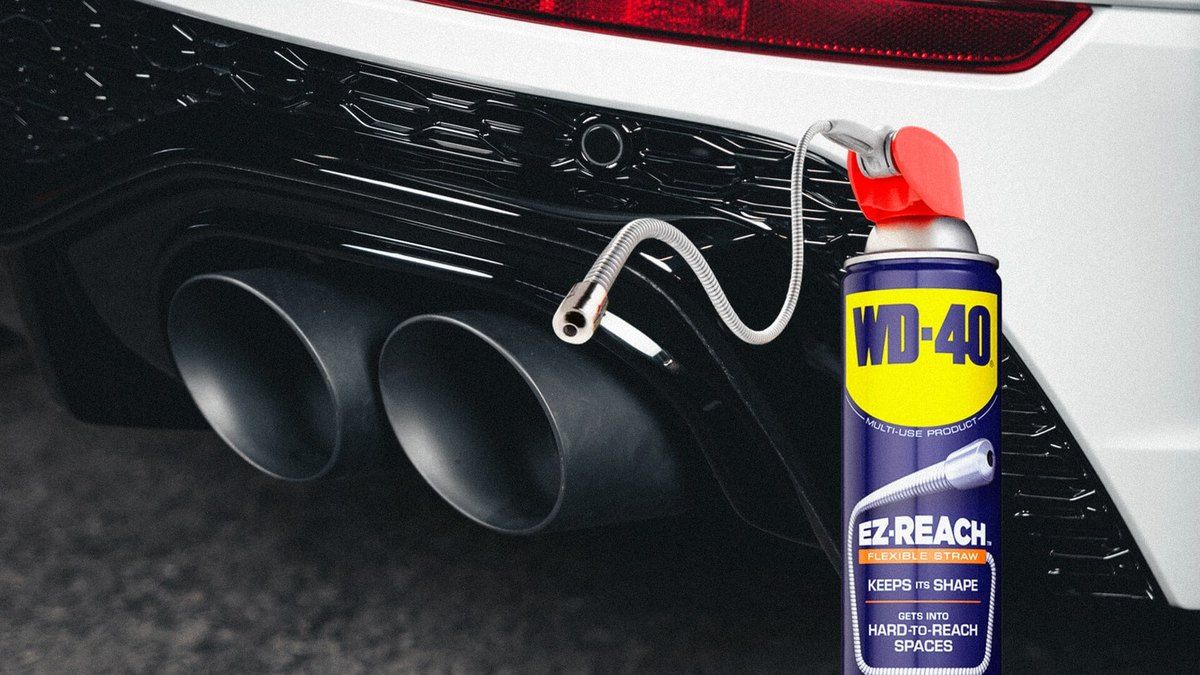
Exhaust clamps, flanges and studs sit in moisture and salt for years, so they almost always seize. Soak them generously with WD-40 Specialist Penetrant and leave it a few minutes to work into the threads and rust.
The fixing often will not budge at the first attempt. Apply again, wait and try once more: the penetrating formula gradually breaks the rust bond. Avoid jerking the spanner so you do not snap a stud in the manifold or converter.
Step 2
Remove the old pipe
Once the fixings are free, unhook the pipe from its rubber hangers. Do this with two people: the section is long and heavy, and a helper will stop it dropping onto fuel and brake lines, wiring or oxygen sensors.
Step 3
Prepare the mating surfaces
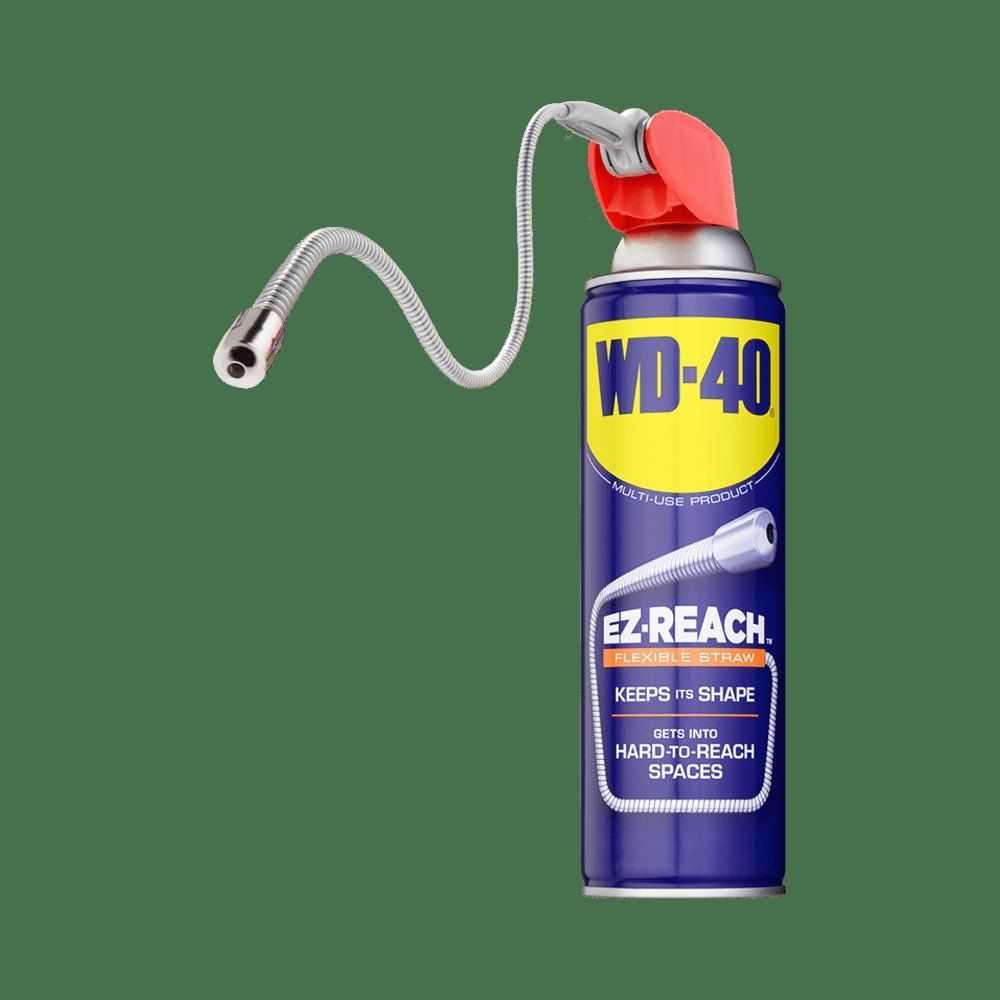
Before fitting the new pipe, treat flanges, clamps and joints with WD-40 Smart Straw and clean them with a brush. It removes dirt and built-up grease so the new parts sit true and the gaskets seal tightly.
Step 4
Fit the new pipe loosely
Install the new pipe from the front of the car towards the rear. Hang it on the rubbers, fit new gaskets and clamps, but only nip the fixings up for now. That leaves room to align the whole line.
Step 5
Align and tighten
Check that the pipe does not touch the floor pan, heat shields, suspension or fuel tank anywhere. When it sits correctly, tighten the fixings front to rear with a torque wrench to the figure given by the car or part manufacturer.
Step 6
Remove labels and check
Peel all paper labels off the new pipe: heat will bake them on for good. Start the engine and listen for leaks at the joints, then recheck the tightness once the system has warmed up and cooled down.
Tip: Treat the threads of the new clamps with WD-40 straight after fitting and again before every winter. Next time, the fixings will come undone without an angle grinder.
What next
A new exhaust lasts longer if you check the hangers and clamps once a season. Workshops doing this work daily will find WD-40 5 l with sprayer more practical. If only the silencer is the problem, see our separate guide to repairing it.
These uses come from the experience of WD-40 users in many countries. Always follow the instructions and warnings on the product label.
More guides in «How to use».