If the battery-shaped warning light stays on after the engine starts, the alternator is not charging the battery, or not charging it enough. The most common causes are a loose or damaged auxiliary drive belt, problems with the pulley or bearings, worn brushes, or a failed voltage regulator or other electrical component.
Some faults can be fixed without removing the alternator, others only show up once it is out. If the light comes on while driving you can carry on, but only on battery power: switch off unnecessary loads, because with the headlights on the battery will drain quickly. The job calls for mechanical experience and a set of spanners, so if you are unsure at any stage, leave it to a professional.
What you will need
Important: Before starting, disconnect both battery terminals, negative first. Work only on a cold engine and always support a raised car on axle stands.
Step 1
Inspect and remove the drive belt
Squealing under the bonnet often means the belt is slipping on its pulleys. To inspect it properly, remove it: lever the tensioner pulley back and the belt slides off the crankshaft, alternator, water pump, air conditioning compressor and power steering pulleys.
Belt routing can be complicated, so photograph it or sketch a diagram before you take it off.
Step 2
Check the belt and refit it
Examine the belt along its whole length: cracks, tears, separated layers or shiny glazed patches mean it needs replacing. Belts are inexpensive, so it makes sense to fit a new one and keep the old one as a spare if it is still sound. Lever the tensioner back again, route the belt as per your diagram and release the pulley gently. If the charge light still stays on, the alternator has to come out.
Step 3
Prepare the car for alternator removal
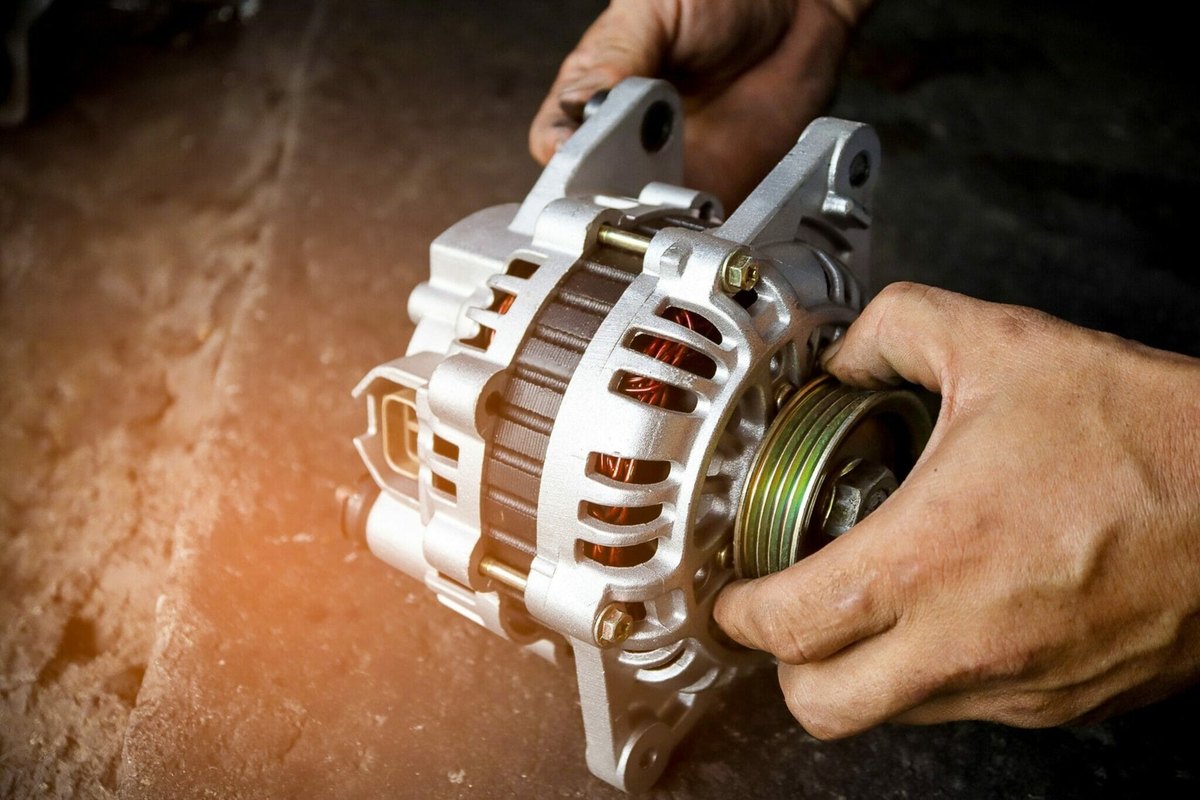
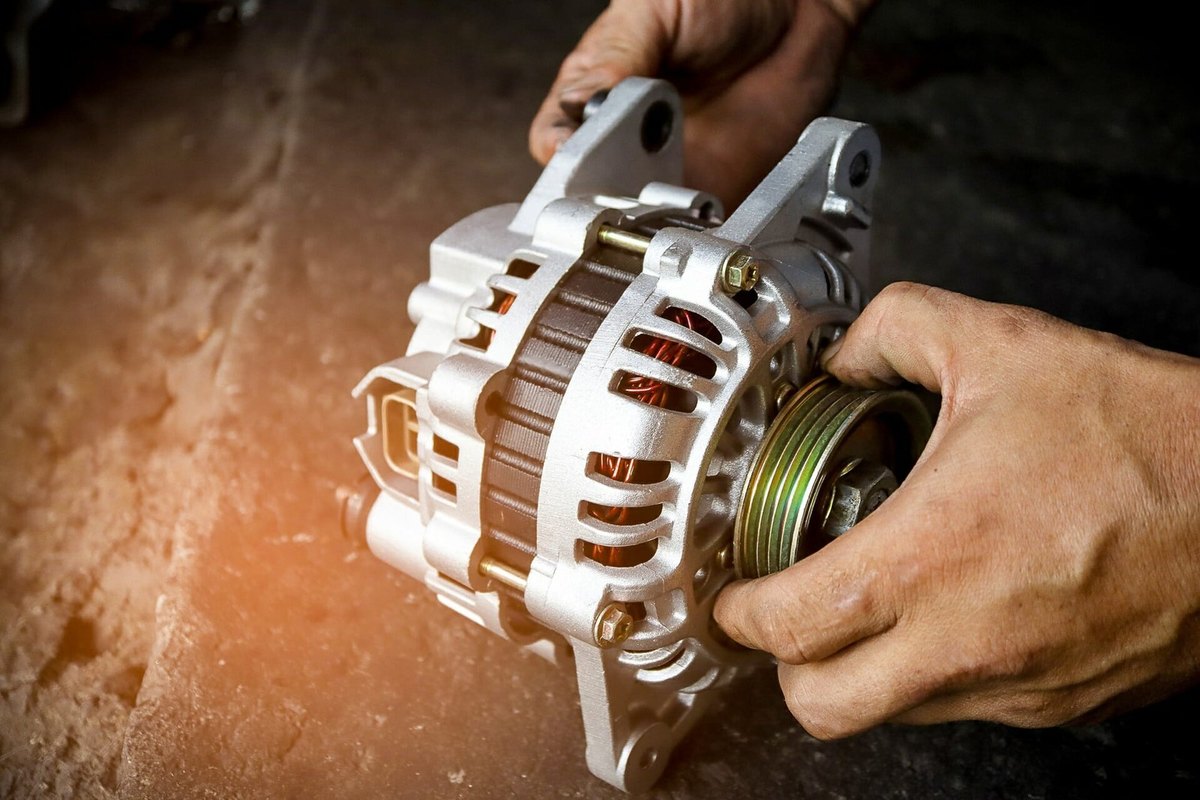
The alternator is often awkward to reach, so the car is usually raised onto axle stands and sometimes the engine undertray, an arch liner or other parts must come off. Disconnect the battery, remove the belt and unplug the main cable and connector from the alternator. Clean the connectors and terminals straight away with WD-40 Specialist Contact Cleaner, since corroded contacts can also cause weak charging.
Step 4
Undo the mounting bolts
The alternator is held by long bolts, reached with sockets or open-ended spanners depending on access. On older or high-mileage cars these bolts are often seized by dirt, road salt and corrosion. Do not force them: apply WD-40 Specialist Penetrant, give it a few minutes to work into the thread, then undo them. On older cars the alternator may sit on a slotted bracket used to tension the belt: loosen the locking bolt and swing the unit across.
Step 5
Check the freewheel pulley
You can take the alternator to an auto electrician for testing, but one check is easy to do yourself. Insert a rod through the slot in the casing (if there is one), hold the pulley and turn the fan: it should spin freely in one direction and lock in the other. If it locks both ways or spins freely both ways, the clutch is faulty.
Use the special tool to unscrew the pulley from the shaft, treat the assembly with WD-40 Multi-Use and check the action again. If the freewheel works again, refit the pulley. If not, replace the clutch or pulley.
Step 6
Refit the alternator and check charging
If the fault is internal, in the windings or regulator, an auto electrician should decide whether to repair or replace the unit. Refit the repaired or new alternator in reverse order. Make sure the belt ribs sit exactly in the grooves of every pulley and that the tensioner works properly. Reconnect the battery, positive first, start the engine and check that the charge light goes out and that the voltage at the terminals with the engine running is roughly 13.7 to 14.7 V.
Tip: After fitting, give the mounting bolts and bracket a thin coat of
WD-40 Multi-Use. Next time they will come undone easily, even after several winters of salted roads.
What next
Inspect the belt and tensioner at every service and clean the battery terminals and alternator connectors once a season. If you replaced the battery along with the alternator, see our guide to changing a car battery.
These uses come from the experience of WD-40 users in many countries. Always follow the instructions and warnings on the product label.
More guides in «How to use».