A small home safe or metal document box keeps valuables secure yet close at hand. But when the key stops turning, breaks or goes missing, access to the contents is at risk. On simple furniture and portable safes, the lock can often be replaced yourself in half an hour.
This guide covers a standard cam cylinder lock held by a nut on the inside of the door. Safes with a certified security grade and electronic or combination locks should only be serviced by the manufacturer or a specialist.
What you will need
- a new lock identical to the old one (same diameter, body length and cam type)
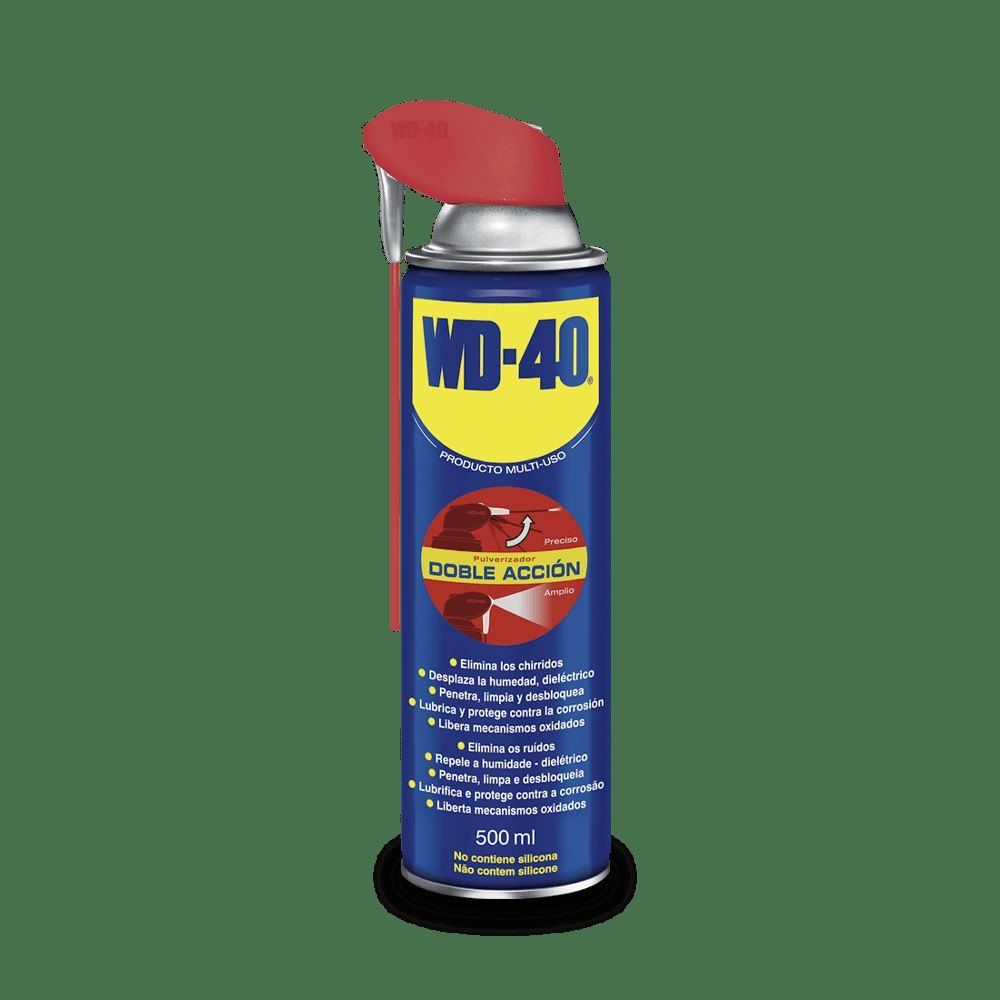
- WD-40 Multi-Use
- WD-40 Specialist Penetrant (for a seized nut)
- spanner or pliers
- drill with a metal bit (if the safe is locked and the key is missing)
- safety glasses and gloves
- clean cloth
Important: Only replace the lock on a safe you own. Drilling destroys the old lock beyond repair, so make sure the new lock fits first. Always wear safety glasses when drilling: metal swarf is sharp and flies about.
Step 1
Get an identical lock
Before taking anything apart, buy the replacement lock. Find the safe model on its label or in the manual, or measure the hole diameter, the cylinder length from the front plate to the cam and the cam shape. The simplest route is an original part from the manufacturer.
Having the new lock ready matters: if the old one has to be drilled out, the safe is unprotected until it is replaced.
Step 2
Open the safe
If the key still turns, simply open the door. If the mechanism is stiff, spray a little WD-40 Multi-Use into the keyhole and insert and turn the key a few times without forcing it.
If the key is lost or the lock is broken, drill out the cylinder. Secure the safe, put on your glasses and drill through the centre of the keyway at low speed with a metal bit, letting the bit cool now and then. Once the core is destroyed, the cam can be turned with a screwdriver and the door opened.
Step 3
Undo the old lock
On the inside of the door, find the nut that holds the lock body and the cam that hooks behind the frame. Remove the cam screw and take off the cam.
The nut is often seized. Apply WD-40 Specialist Penetrant to the thread and wait a few minutes for it to creep in and loosen the rust. The nut will then come off far more easily, with less risk of rounding it.
Step 4
Remove the lock and clean the hole
Pull the old lock out through the front of the door. Clear out any swarf if you drilled and wipe away excess product with a clean cloth. The hole and seat need to be clean and dry so the new lock sits square.
Step 5
Fit and test the new lock
Read the new lock's instructions. It is usually fitted with the key in the cylinder so you can check its action straight away. Insert the body into the hole, tighten the nut from the inside, fit the cam in the correct position and tighten its screw.
With the door still open, turn the key several times and check that the cam moves freely and stops where it should. Only then test it with the door closed.
Tip: To keep the new lock from stiffening, give the keyhole a short burst of WD-40 through the straw once a year and turn the key a few times. Keep the spare key outside the safe, in another secure place.
What next
If the safe sits in a damp cellar, garage or outbuilding, check the lock and hinges more often. WD-40 Multi-Use drives moisture out of mechanisms and works just as well on letterboxes, padlocks and furniture locks.
These uses come from the experience of WD-40 users in many countries. Always follow the instructions and warnings on the product label.
More guides in «How to use».