On older cars the rubber seals around windows and doors gradually dry out, crack and lift at the corners. Draughts get into the cabin, condensation builds up on the glass in winter, and water can seep in after a car wash or downpour.
Gluing the old rubber back often fails: with age it shrinks, gets shorter and no longer holds its shape. Replacing the seal is the more reliable fix. Below is how to do it neatly without damaging the glass, paint or trim.
What you will need
- new seal to suit your model
- flat screwdriver or plastic trim tool
- WD-40 Multi-Use for adhesive residue
- microfibre cloths, paper towels, degreaser
- fine sandpaper, masking tape
- weatherproof rubber adhesive
- WD-40 Specialist Silicone for aftercare
Important: Work with the door open and take care with tools near glass and paintwork. Use adhesive strictly to the manufacturer's instructions and in a ventilated area.
Step 1
Remove the old seal
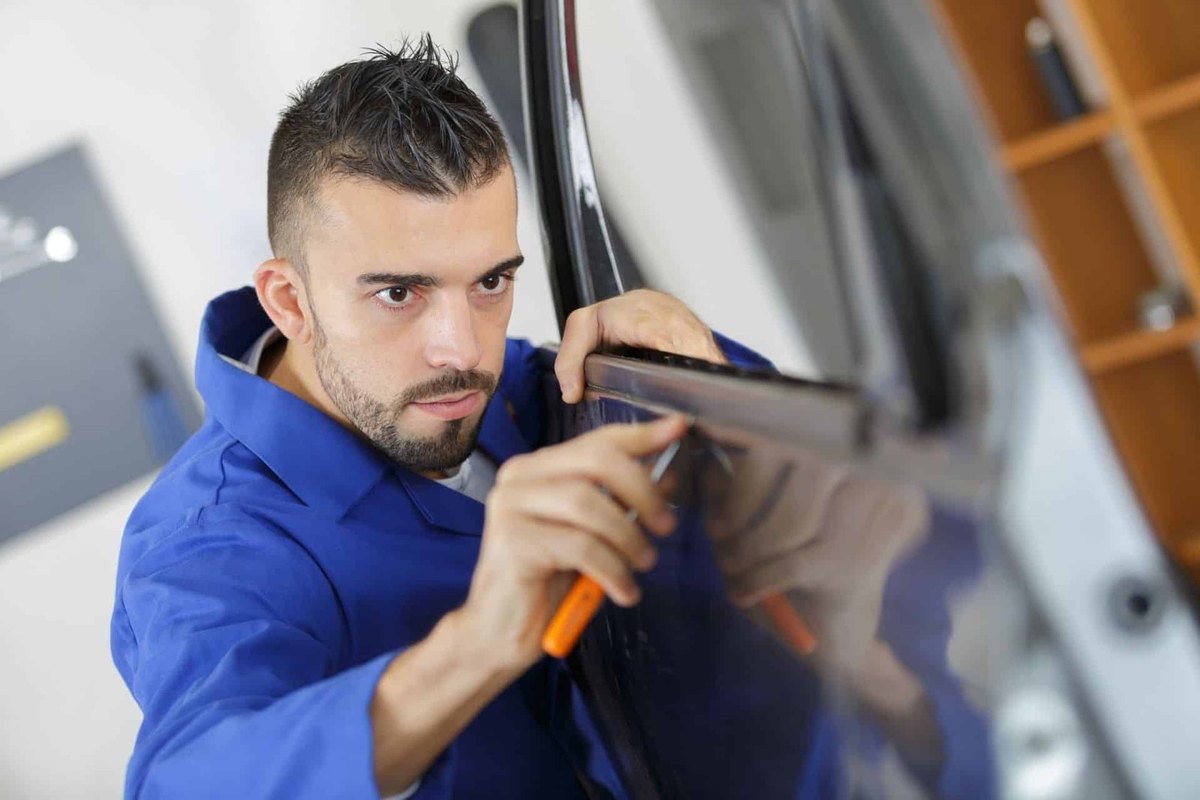
Open the door to give yourself room. Gently lever the edge of the old rubber with a flat screwdriver or plastic trim tool and pull it away. Once the first section comes free, the rest can usually be removed by hand.
Dried-out rubber crumbles, so help it along with the tool without scratching the glass, trim or paint. Mask the paint edges with tape.
Step 2
Remove adhesive residue
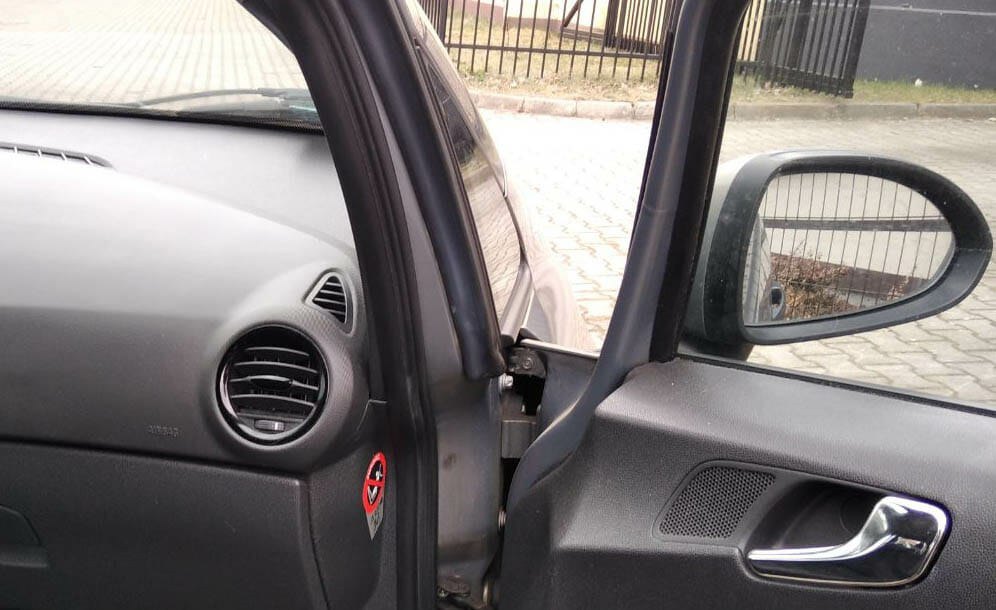
Dried glue is usually left under the old seal. Spray it with WD-40 Multi-Use and give it a few minutes to work under the adhesive and soften it.
Wipe the area vigorously with microfibre and treat stubborn spots again. Finish by wiping with a paper towel and degreasing, as new adhesive will not grip an oily film.
Step 3
Key the surface
For the new adhesive to bond well, go over the metal where the seal will sit with fine sandpaper. Keep to that area and use light circular movements so you do not damage the surrounding paint.
The surface should be smooth and clean with no lumps of old glue. Wipe it again with degreaser.
Step 4
Dry fit the rubber and apply adhesive
First dry fit the new seal and trim it to length if needed. It should sit with light pressure and no stretching.
Apply weatherproof adhesive in a thin, even line around the seat and a few dabs on the rubber itself. Do not overdo it, or glue will squeeze out from under the seal.
Step 5
Fit the new seal
Let the adhesive tack for the time stated on the pack. Start laying the rubber at a corner and work towards the next corner with light pressure, without stretching it or leaving gaps.
Once in place, press the whole seal down again along its length. Do not close the door or raise the window until the adhesive has fully cured.
Step 6
Protect the new rubber
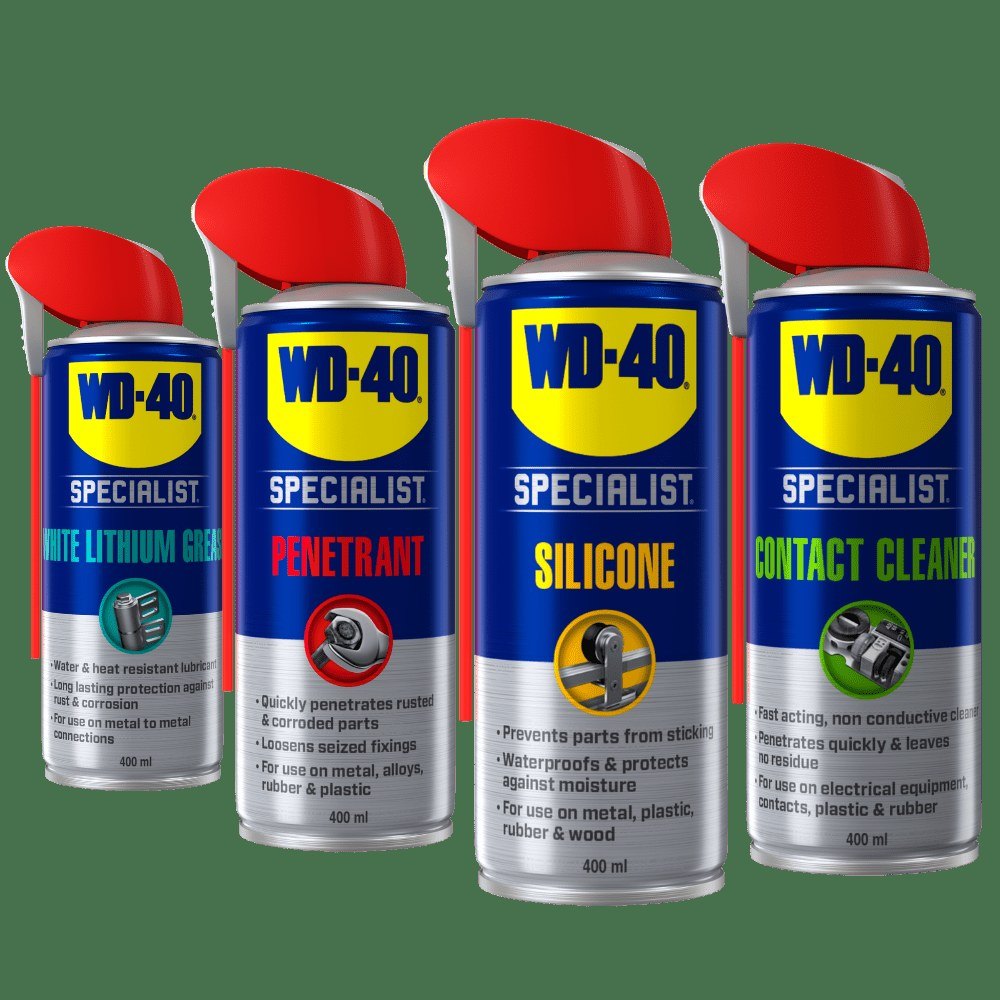
Once the adhesive has fully cured, apply WD-40 Specialist Silicone to the seal and spread it with microfibre. Silicone keeps rubber supple, repels water and stops it freezing to the door in winter.
Tip: Buy a seal made for your exact model and year. Universal rubber often has the wrong profile and the draught will remain.
What next
After replacement, treat the seals with silicone in autumn and spring and they will last much longer. See our separate guide for routine care of door and window rubber. For door hinges and locks, keep WD-40 Multi-Use to hand.
These uses come from the experience of WD-40 users in many countries. Always follow the instructions and warnings on the product label.
More guides in «How to use».