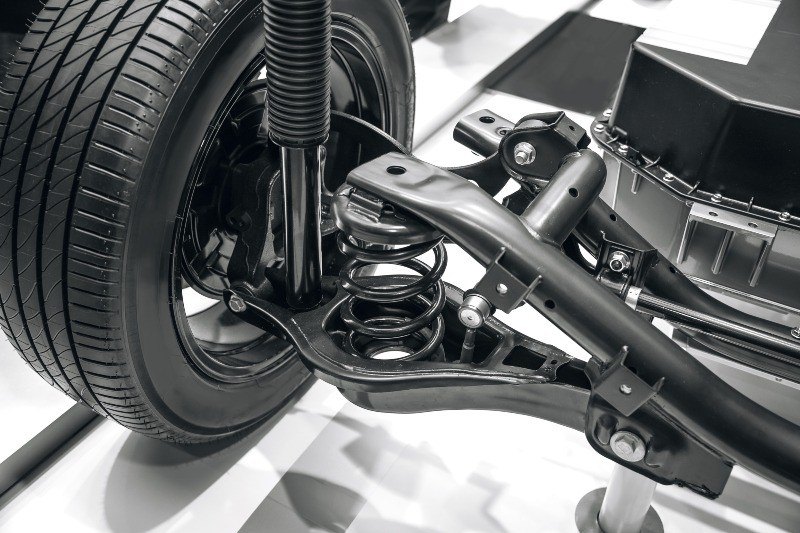
Suspension has two main parts: the spring absorbs impacts from the road, and the shock absorber damps its oscillation so the car does not bounce and the wheels stay in contact with the surface. Shock absorbers wear gradually, usually after about 100,000 km, but on potholed roads this can happen much sooner.
Signs of wear include the car bouncing for a long time after a bump, nose-diving under braking, knocking noises, oil weeping on the strut body and uneven tyre wear. Here we cover a front MacPherson strut, which is more involved than the rear because the damper sits inside the spring.
What you will need
- new shock absorbers (in axle pairs), dust boots and bump stops
- jack and axle stands
- spanner and socket set, Allen keys
- spring compressors (pair)
- torque wrench
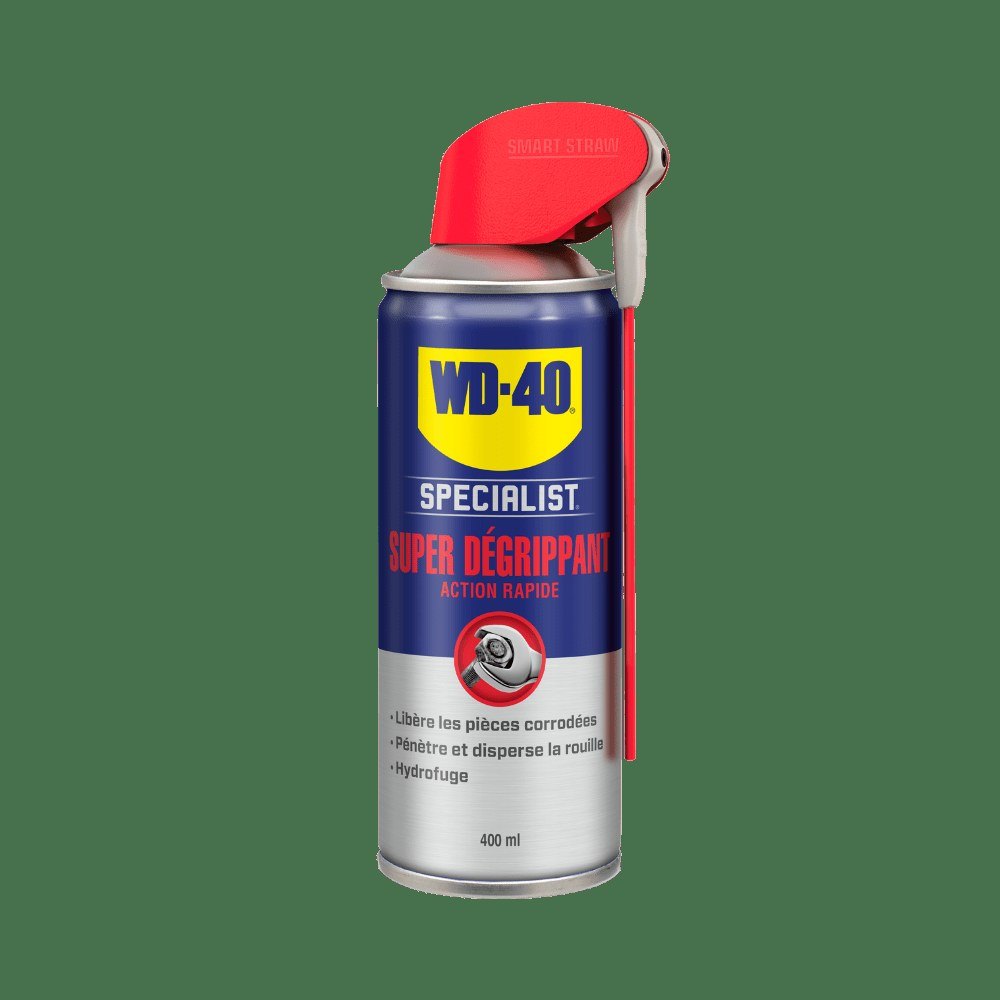
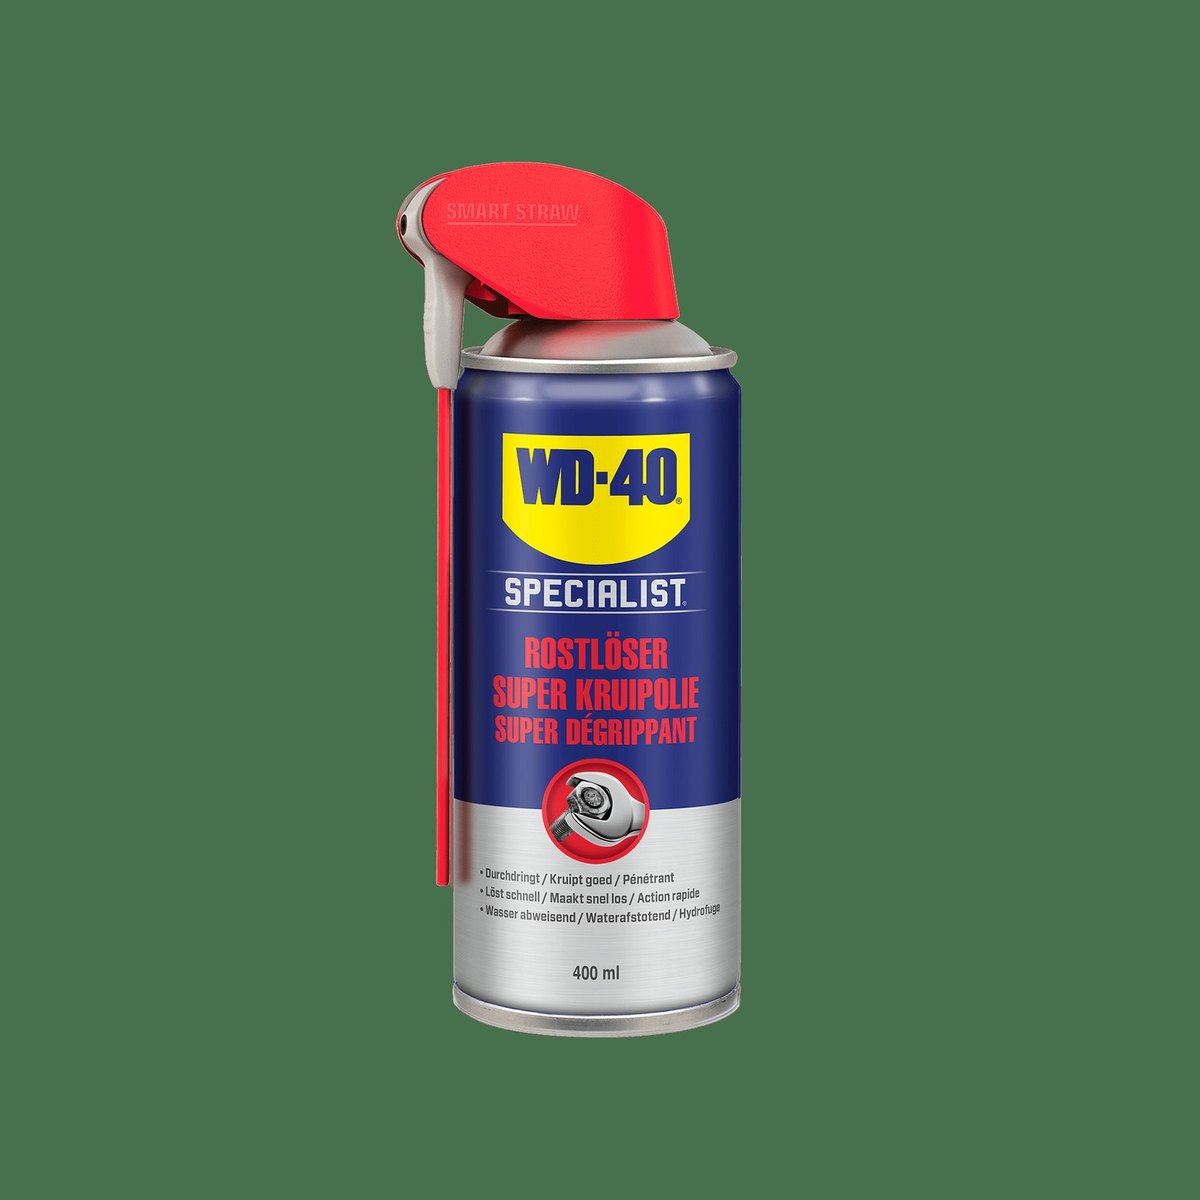
- WD-40 Specialist Penetrant for seized bolts
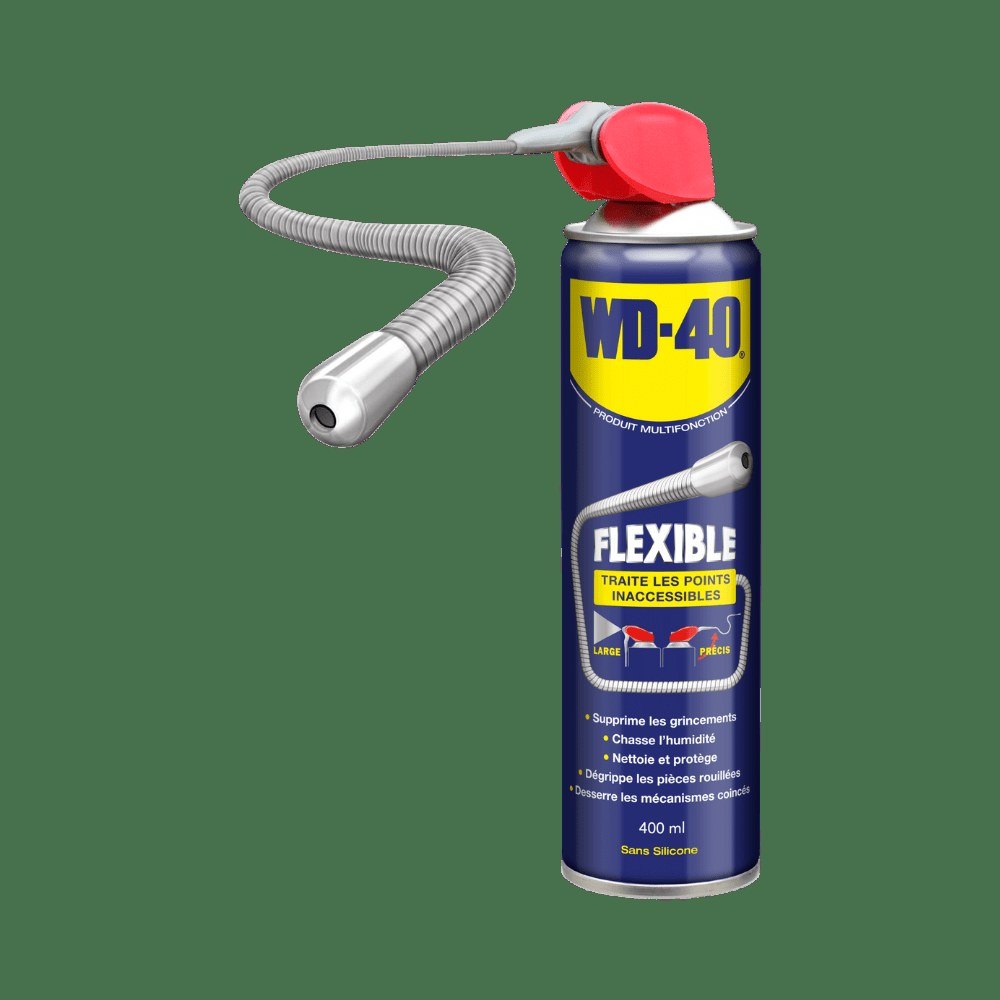
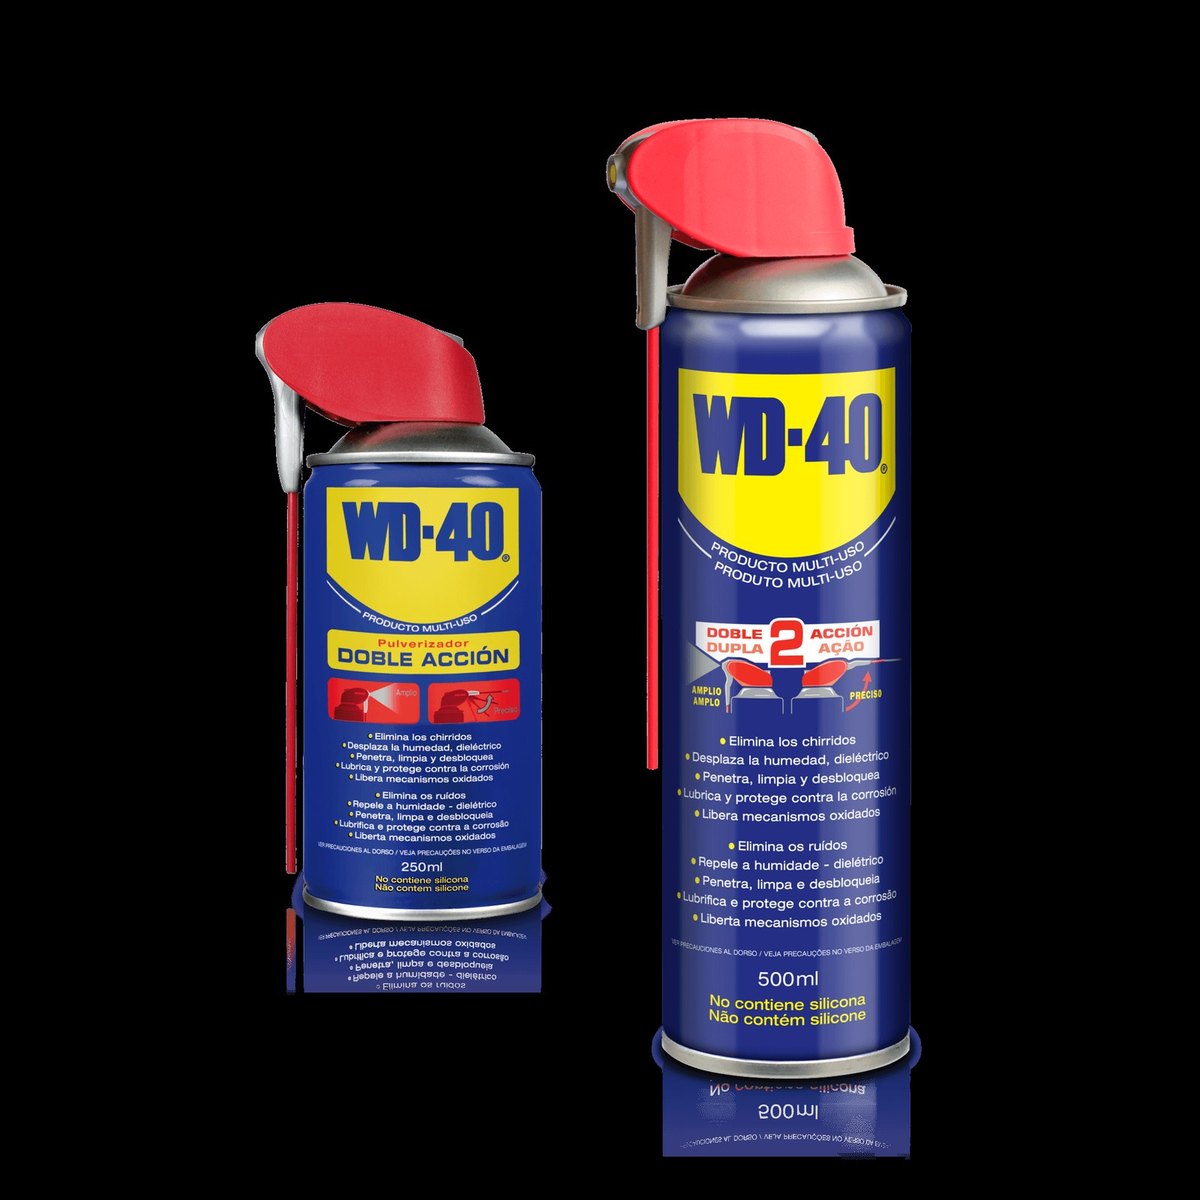
- WD-40 Multi-Use to protect fasteners
Important: A compressed spring stores a huge amount of energy: if it slips off the compressors it can cause serious injury. Use only sound compressors, fit them on opposite sides and tighten them evenly. If you lack experience, have a workshop dismantle the strut.
Step 1
Prepare the car
Shock absorbers are always replaced in pairs on the same axle, even if only one is worn, or the car will pull to one side. Park on level ground, loosen the wheel bolts, raise the front with a jack and set axle stands on both sides. Remove the wheel.
Step 2
Free the strut from surrounding parts
Gain access to the top mount: on many cars this means removing the plastic scuttle panel below the windscreen. Detach the brake hose bracket, ABS sensor wire and anti-roll bar link from the strut. Their nuts often seize after salty winters: treat them with WD-40 Specialist Penetrant and allow 10 to 15 minutes.
Step 3
Undo the lower mounting
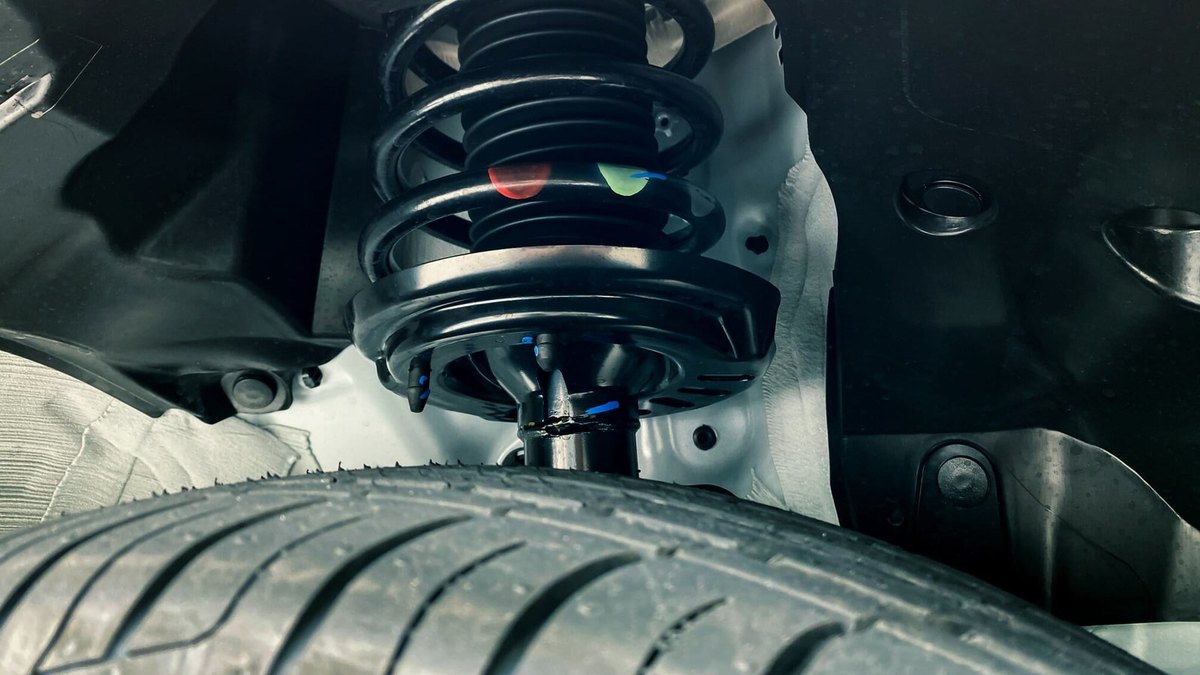
The strut is held to the hub carrier by two heavy bolts. The spring pushes on the control arm, so put a jack under the arm and raise it slightly to relieve the load. Apply WD-40 Specialist Penetrant to the threads again, wait, then remove the bolts. Mark the strut position so you do not upset the camber.
Step 4
Undo the top mount and remove the strut
Hold the piston rod with an Allen key in its end and undo the top mount nuts with a spanner. If the rod turns, apply penetrant to the thread and try again. Support the strut by hand, lower it and lift it out of the wheel arch.
Step 5
Transfer the spring to the new damper
Hook the compressors onto opposite coils and tighten them alternately until the spring is free of its seats. Undo the rod nut and remove the top mount with its bearing, the spring and the old damper.
Prime the new damper by fully compressing and extending the rod three or four times while holding it upright. Fit the new dust boot and bump stop, seat the spring according to its marks with the lower end against the stop in the spring seat, fit the top mount and tighten the nut. Only then release the compressors gradually and evenly.
Step 6
Refit the strut and torque it up
Reassemble in reverse order. Tighten the top nuts and lower bolts with a torque wrench to the manufacturer's values. Refit the hose, ABS wire and anti-roll bar link. A thin film of WD-40 Multi-Use on exposed threads protects them from moisture and salt, but keep it off rubber parts and brakes.
Repeat on the other side, refit the wheels and always have the wheel alignment checked.
Tip: Do the final tightening of the lower bolts and anti-roll bar link nut with the car standing on its wheels under its own weight. This keeps the bushes and mounts from being preloaded in a twisted position, so they last longer.
What next
Check the dampers for leaks at every service and whenever the car starts to bounce. Treat exposed suspension fasteners with WD-40 Specialist Penetrant each season, so the next repair does not turn into a fight with rust.
These uses come from the experience of WD-40 users in many countries. Always follow the instructions and warnings on the product label.
More guides in «How to use».