The blade is the hardest-working part of a lawn mower. Its edges, sharpened at a precise angle, cut the grass, while the raised wings create airflow under the deck that carries clippings into the collector. Striking stones, branches and soil blunts and bends the blade: the grass is torn rather than cut cleanly, the lawn turns yellow and the mower vibrates.
Whether you are sharpening or replacing it, the blade has to come off. Here is how to do it safely, how to deal with a seized bolt and what to watch for when fitting the new blade.
What you will need
Important: Switch the mower off and wait for the blade to stop completely. On a petrol model pull off the spark plug cap; on an electric one unplug it or remove the battery. Tilt a petrol mower with the carburettor and air filter facing up so they do not flood with fuel or oil. Always wear gloves.
Step 1
Clean under the deck
Close the fuel tap, tip the mower back onto its handle and lift the front wheels. Use a wooden scraper and brush to remove dried grass and soil from the deck, then hose it down together with the discharge chute to the collector. Clean the head of the bolt holding the blade to the shaft especially well. Let the water drain and dry everything thoroughly.
Step 2
Treat the blade bolt
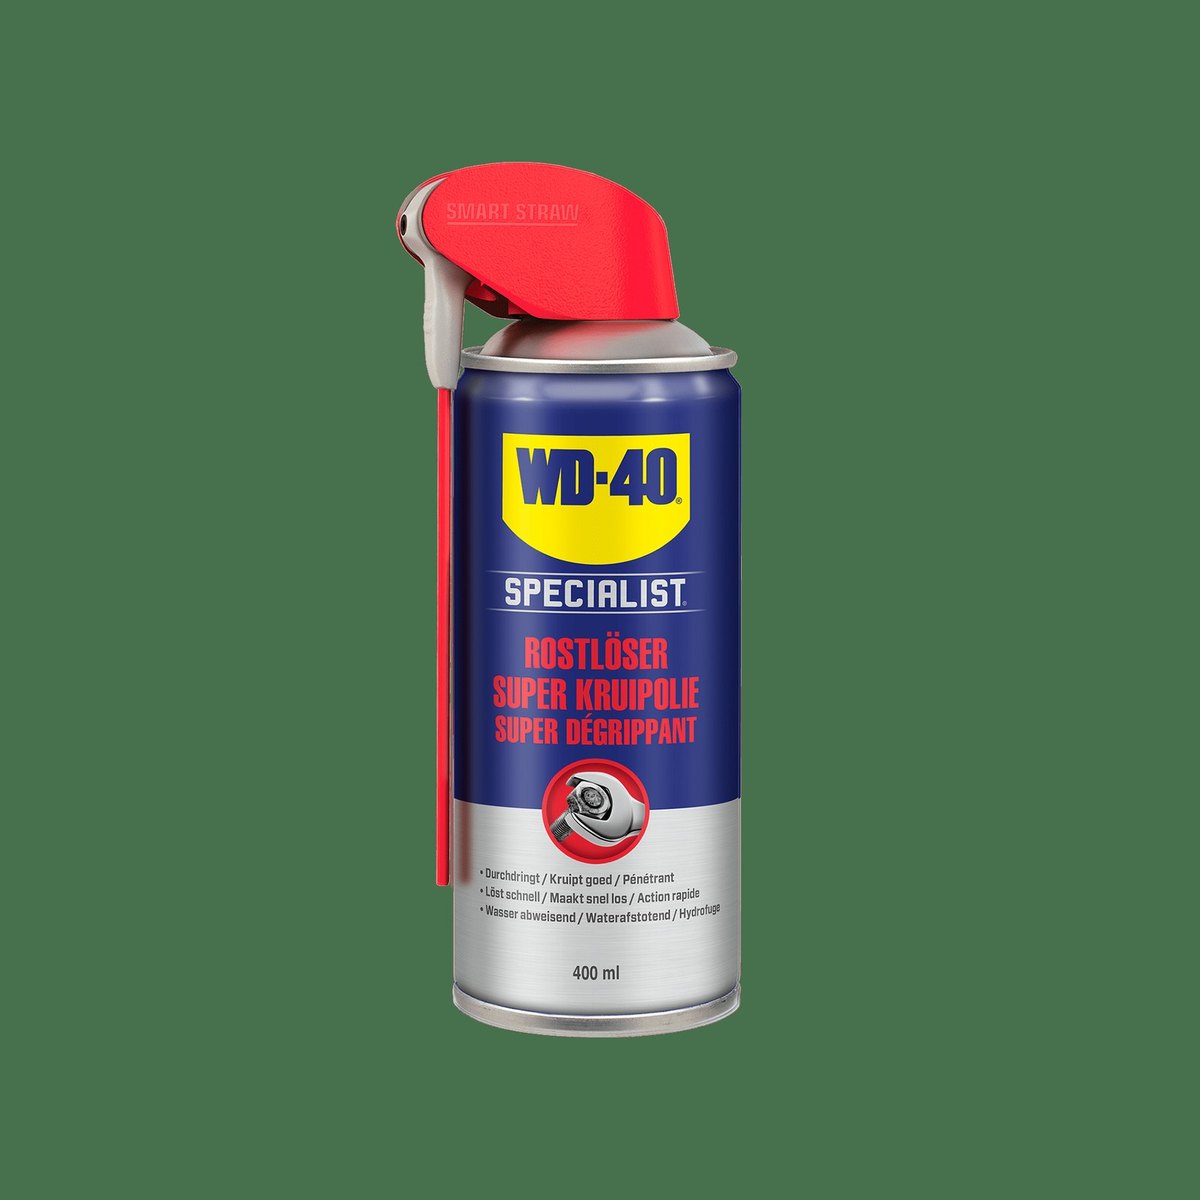
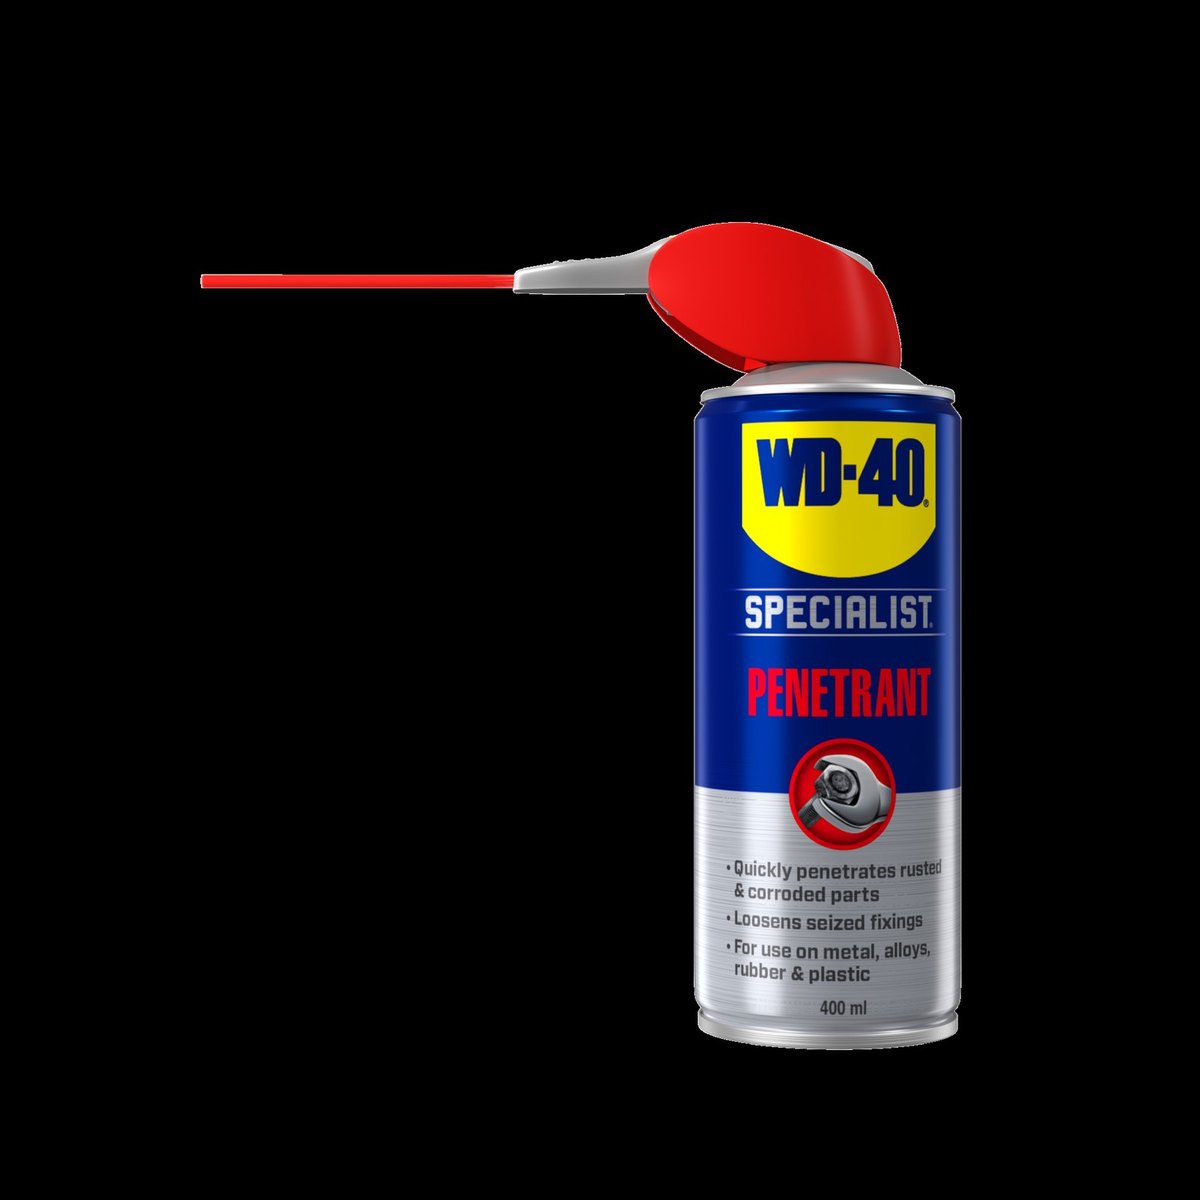
The blade bolt often seizes with dirt, moisture and rust. Spray WD-40 Specialist Penetrant around the bolt head and give it a few minutes to work into the thread. It is water resistant, so it works even on a damp part.
Step 3
Remove the blade
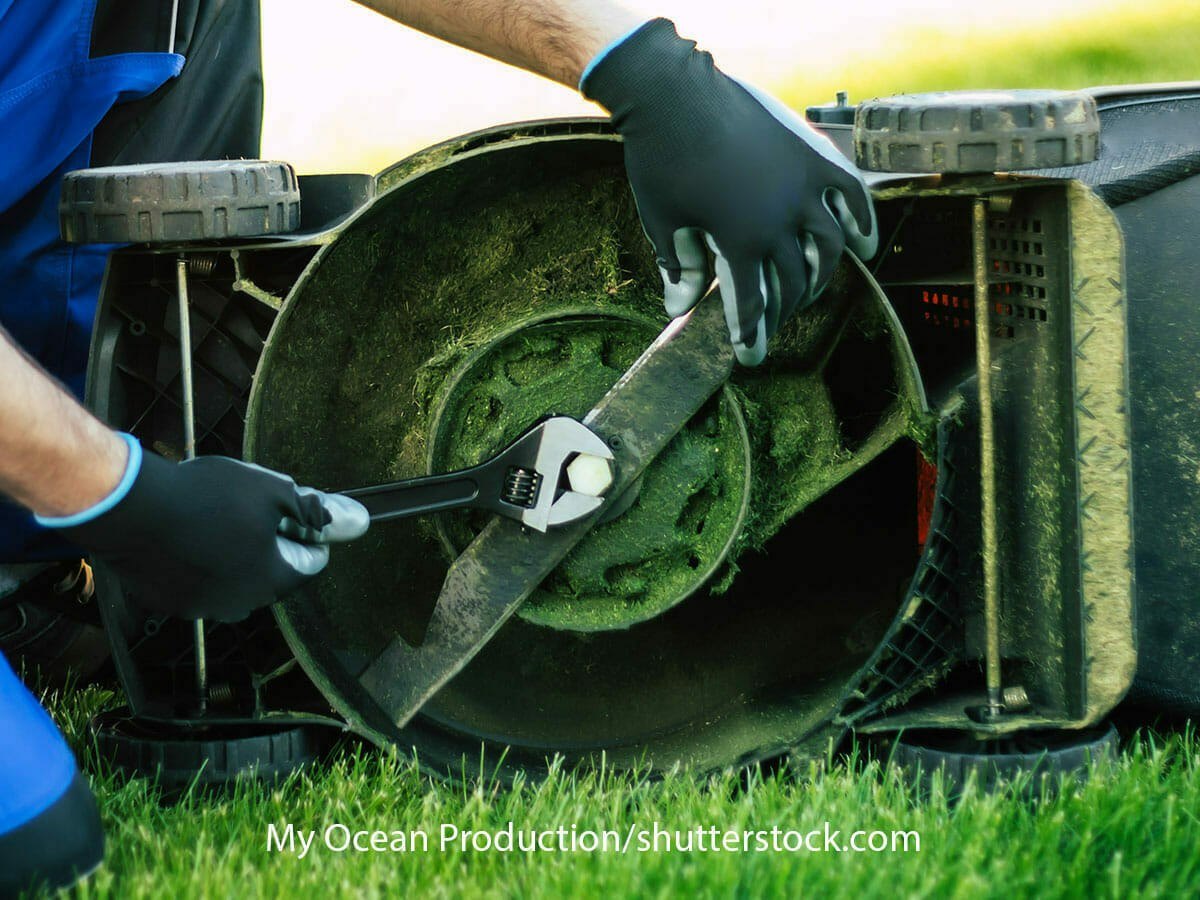
Use the mower's own spanner or an open-ended or ring spanner of the right size. To stop the blade turning, wedge a block of wood between it and the deck. Hold the blade with a gloved hand and undo the bolt. Note or photograph the order of the washers and the blade's orientation.
Step 4
Assess the blade
Check the sharpness and shape. A blunt but straight blade can be sharpened. If it has already been sharpened several times and the metal is noticeably thinner, replace it. A blade that is bent, cracked or has broken wings must always be replaced: even if straightened, it will remain unbalanced and make the mower vibrate.
Step 5
Choose a new blade
The new blade must match the original in length, centre hole and shape. The easiest way is to take the old blade to a parts dealer. Manufacturers often offer compatible blades that may perform even better than the original.
Step 6
Fit the blade
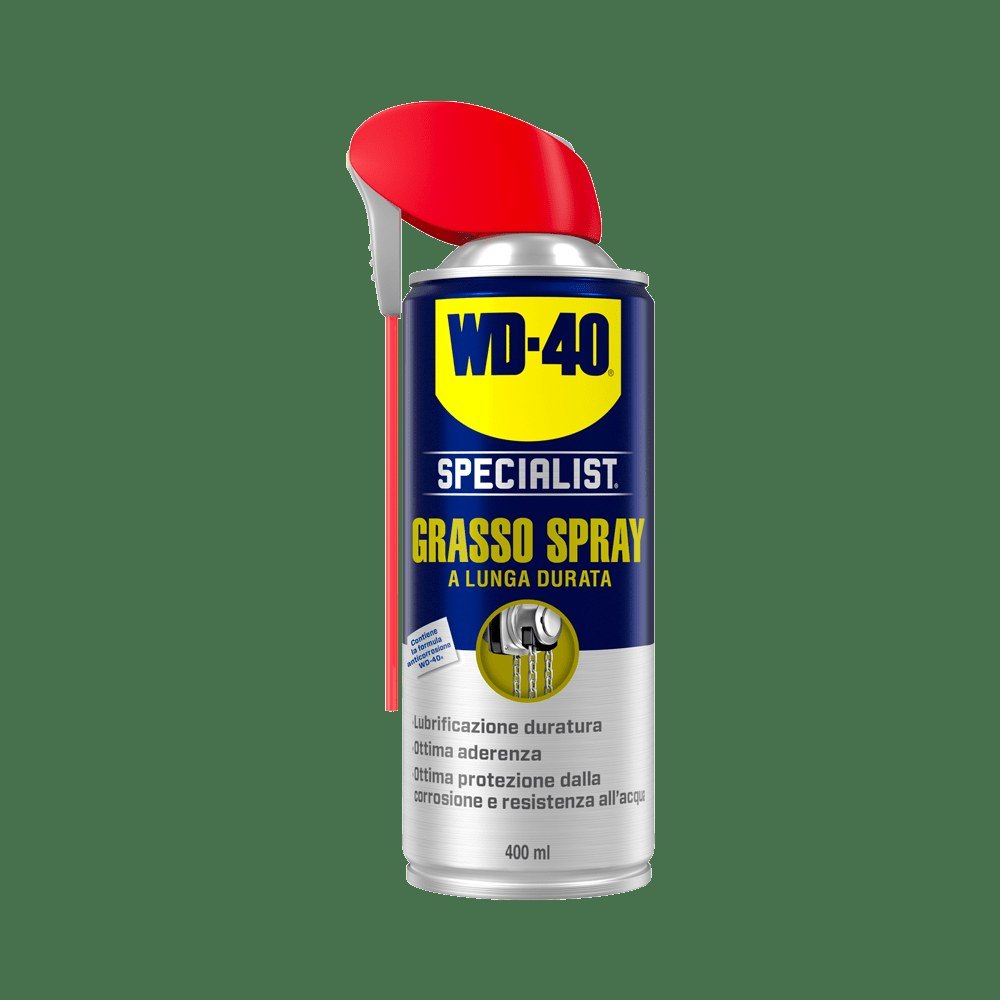
Clean the bolt thread with a brass brush. Apply WD-40 Specialist White Lithium Grease to the thread and seat: it stays put against centrifugal force and water, protects against corrosion and makes the next removal easier.
Fit the blade with the wings facing up towards the deck, in the same position as the old one, add the washers and tighten the bolt to the torque given in the mower manual while holding the blade with the wooden block.
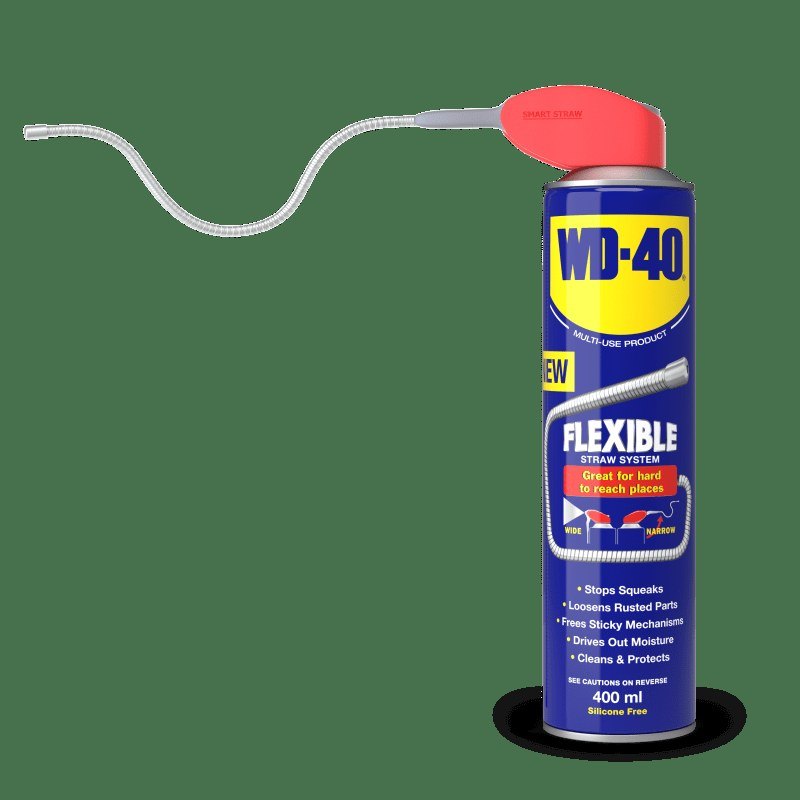
Tip: After washing, treat the deck inside and out with
WD-40 Multi-Use: it drives out moisture, protects the metal from rust and helps stop fresh grass sticking.
What next
Check the blade several times a season and after every strike on a stone or root. A sharp, balanced blade gives a clean cut, protects the lawn from disease and reduces the load on the engine.
These uses come from the experience of WD-40 users in many countries. Always follow the instructions and warnings on the product label.
More guides in «How to use».