When a sink waste wears out, water no longer stays in the basin and the plug barely moves or is stuck altogether. The cause is usually limescale, worn seals and seized linkage rods.
You can replace the drain yourself without calling a plumber. It takes about an hour, a few simple tools and a new waste kit. The key is not to rush and to have everything ready before you start.
What you will need
Important: Turn off the water before you start. Tighten plastic trap nuts by hand or with pliers through a cloth: too much force easily cracks them.
Step 1
Remove the trap
Turn off the water and put a bucket under the trap. Unscrew the bottom section of the trap with its sealing ring, drain the water, then undo the nuts connecting the trap to the waste and to the drain pipe.
Only grip plastic nuts with pliers through a cloth so you do not damage the thread.
Step 2
Disconnect the linkage
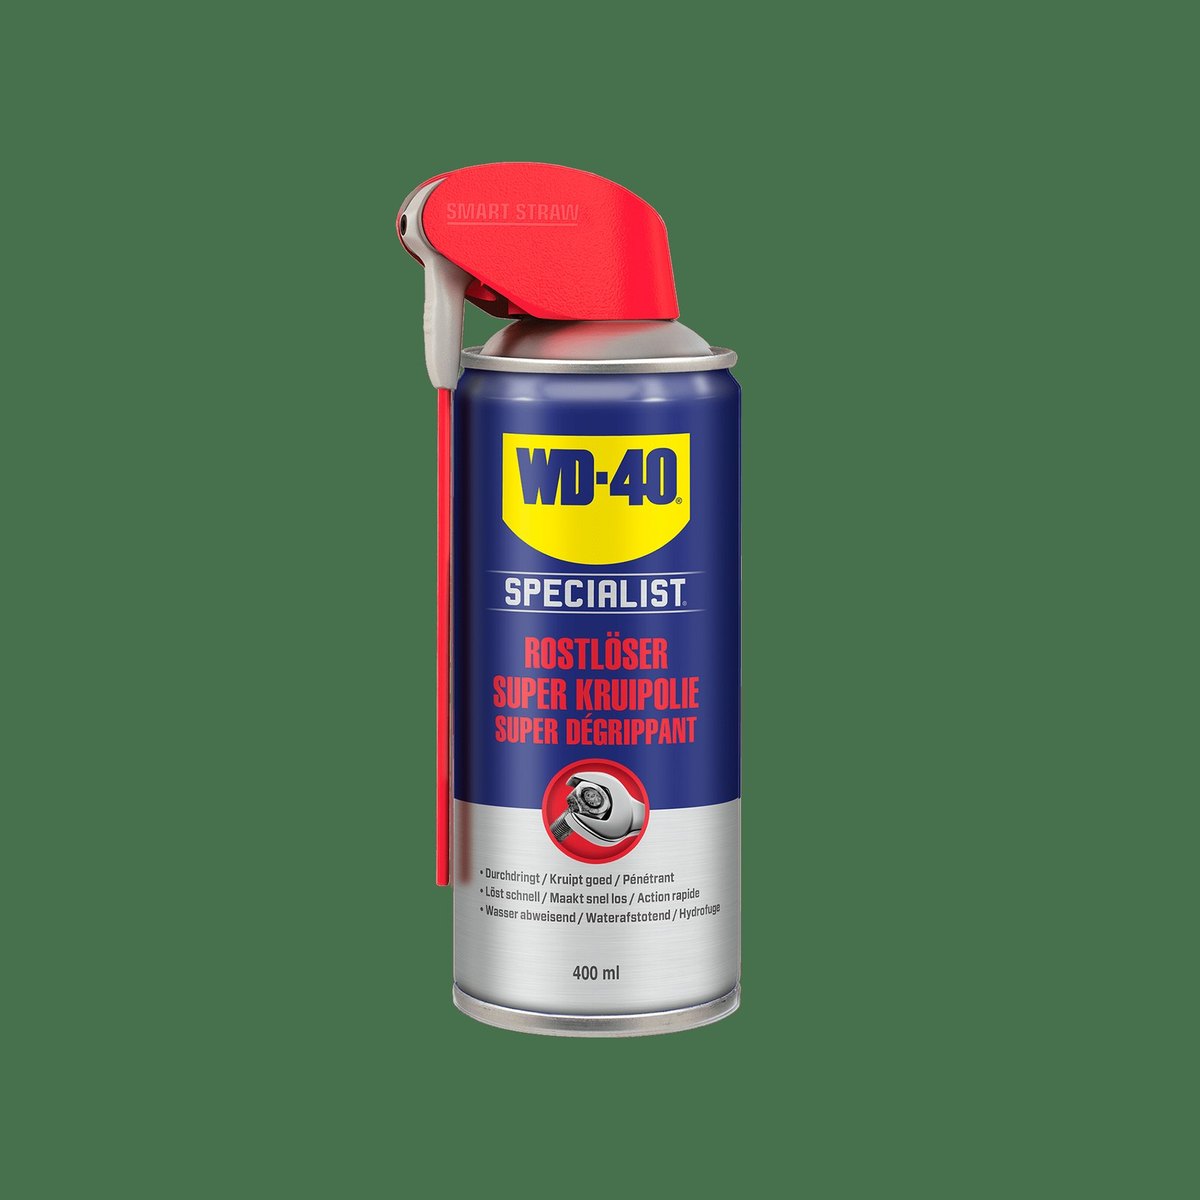
If you have a lever-operated waste, dismantle the mechanism first: undo the joint between the vertical rod and the horizontal pivot rod and remove both. If the joint has seized with limescale, apply WD-40 Specialist Penetrant, wait a few minutes and try again: it gets into the thread and frees seized parts.
Step 3
Unscrew the old drain
Undo the bottom nut of the waste under the sink. An old drain stuck with scale can be turned from above: insert the insulated handle of a pair of pliers vertically into the drain, brace a screwdriver against one of the cross bars inside and, holding the handle, unscrew the drain with moderate force. Apply penetrant to the thread beforehand.
Step 4
Clean the sink outlet
Clean the seat for the new drain thoroughly. Remove limescale and old sealant with a vinegar-soaked cloth, rinse and dry. A clean surface here is what makes the new drain watertight.
Step 5
Fit the new waste
Fit the seal on the upper part of the drain and insert it into the sink outlet. From below, screw the lower part onto the upper part. For a lever-operated waste, turn it so the pivot hole faces the wall, then assemble the mechanism: insert the horizontal ball rod and secure it with the clip, drop the lift rod in from above and connect the two. A click-clack waste is even simpler as it has no linkage.
Treat the rubber seals lightly with WD-40 Specialist Silicone: they will seat more evenly and stay supple for longer.
Step 6
Refit the trap and check
Check the trap seals and clean the trap and rings if needed. Screw it onto the new waste and the drain pipe. Turn the water back on, fill the basin, then let it drain and carefully inspect every joint for leaks.
Tip: In hard water areas, treat the waste linkage and rod with a drop of
WD-40 Multi-Use every few months so the mechanism does not seize and you will not need another replacement soon.
What next
A new waste lasts for years if you keep it clear and occasionally remove hair and limescale. Keep WD-40 Specialist Silicone handy for rubber seals in the bathroom and toilet.
These uses come from the experience of WD-40 users in many countries. Always follow the instructions and warnings on the product label.
More guides in «How to use».