Kerb scrapes, stone chips and the marks left by winter salt quickly spoil alloy wheels. Salt gets under damaged lacquer and the aluminium starts to corrode in white blotches.
Cosmetic damage can be put right in your own garage over a weekend. You need abrasives, filler and aerosol paint, and above all patience between coats.
What you will need
- jack, axle stands, wheel brace
- abrasive paper P80, P240, P320, P500, P600
- aluminium filler
- acetone or silicone remover for degreasing
- wheel primer, paint and clear lacquer in aerosols
- masking tape, cloths, respirator and gloves
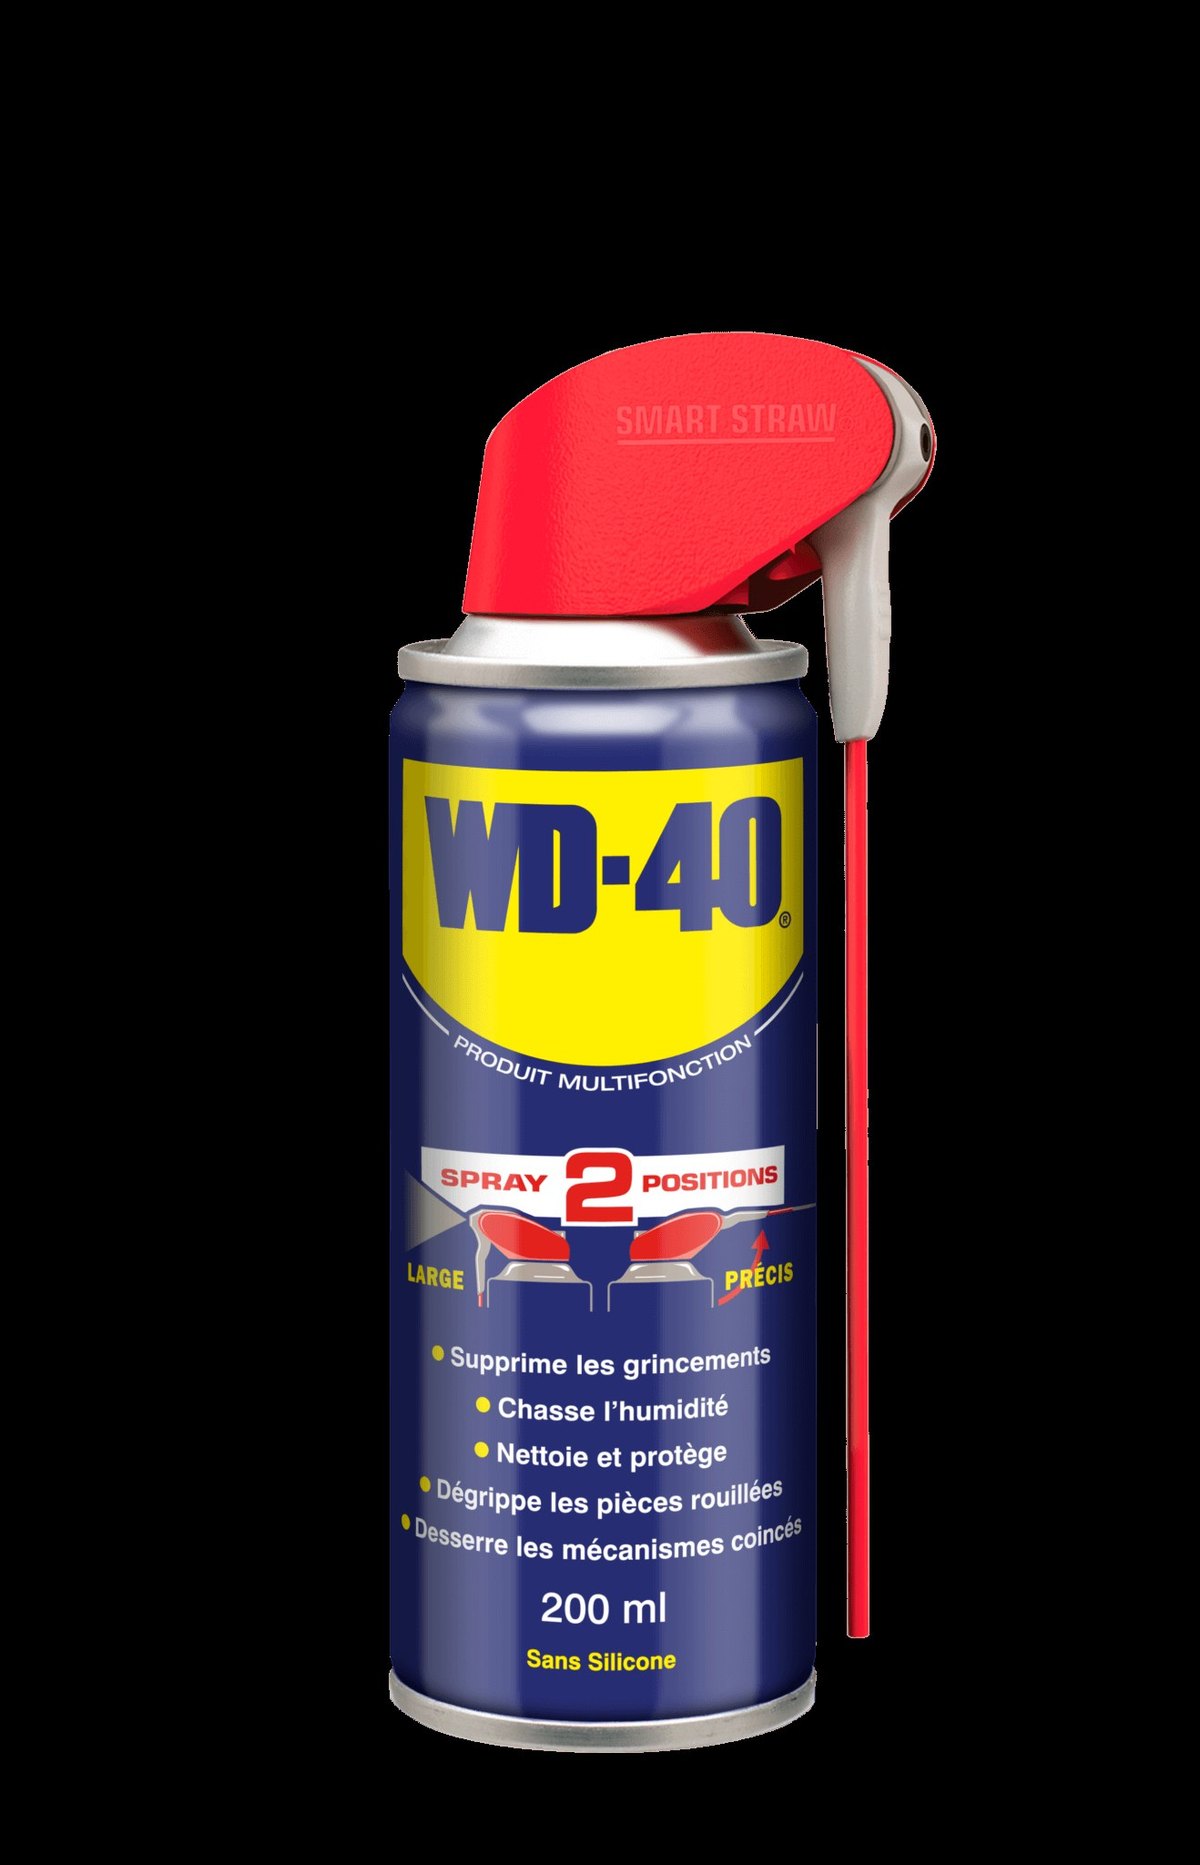
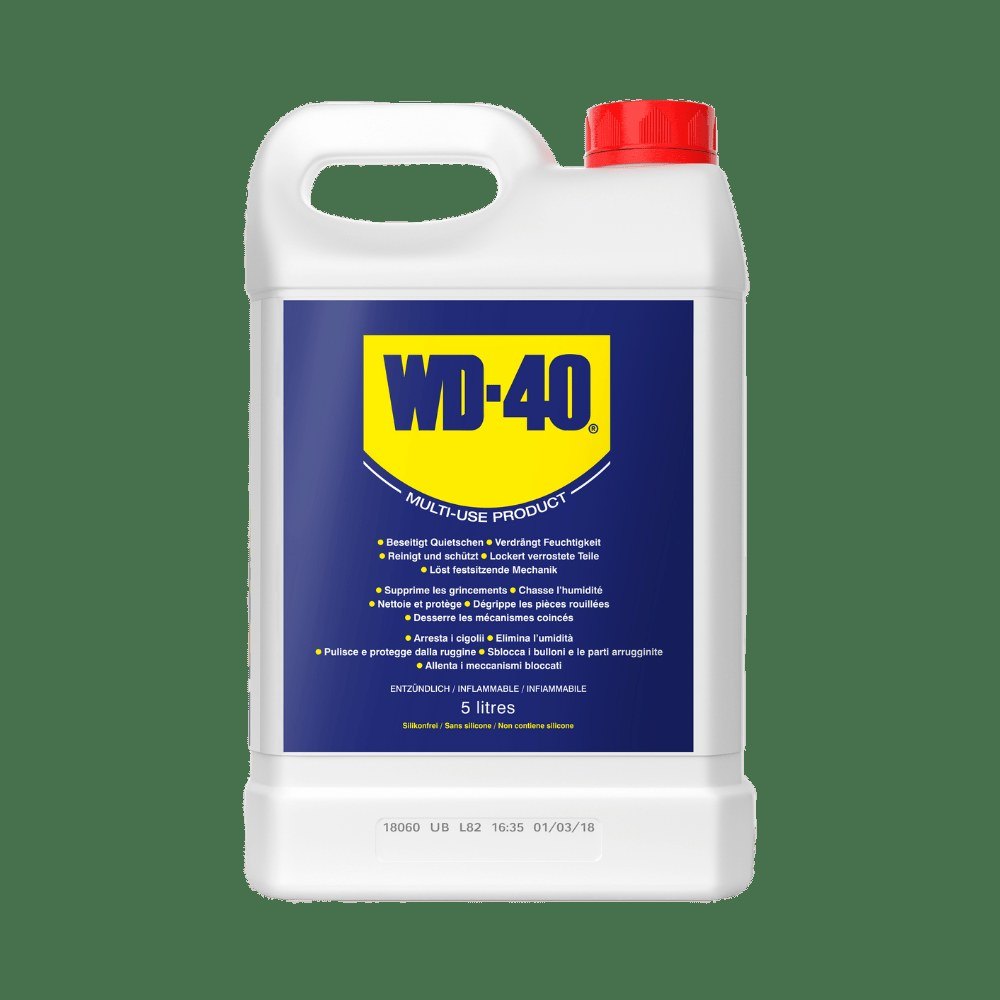
- WD-40 Multi-Use for removing tar and grime
- WD-40 Specialist Penetrant for seized wheel bolts
Important: Never repair a cracked, dented or buckled wheel yourself: it is a safety issue, and such a wheel must be straightened by a specialist or replaced. Wear a respirator when sanding, paint only in a well-ventilated space, and never work under a car supported only by a jack.
Step 1
Remove and clean the wheel
Raise the car and support it on axle stands. If the wheel bolts are seized, apply WD-40 Specialist Penetrant, wait 5-10 minutes, then undo them. Have the tyre removed at a tyre shop and take off the centre cap.
Spray WD-40 Multi-Use over the whole wheel: it dissolves tar, road film and grease. After a few minutes wipe it off, then wash the wheel with water and detergent so no oily film remains.
Step 2
Repair the scratches
Sand scratches and chips flat with P80 paper, by hand on a block or with a sander. Remove the dust.
Apply aluminium filler to the damage, let it harden and level it with P240 paper.
Step 3
Key the surface for paint
Sand the whole wheel with P320, then P500. No glossy patches should remain, or the paint will not adhere.
Dust off and mask any areas you are not painting, including the hub mounting face.
Step 4
Degrease, prime and paint
Wipe the wheel thoroughly with acetone or silicone remover on a clean cloth. This step is essential: any trace of grease or lubricant will ruin adhesion. Let it dry.
Apply 2-3 thin coats of primer, starting with hard-to-reach areas, flatting with P600 between coats. Then build up the paint in thin coats with the intervals stated on the can, up to 5-6 coats in total.
Step 5
Lacquer and let it cure
Apply several thin coats of wheel lacquer, again working from awkward areas to the face. Lacquer protects against moisture, salt and minor impacts.
Let the wheel cure for about 24 hours before the tyre is refitted. Before mounting, brush rust off the hub face and tighten the bolts with a torque wrench to the vehicle maker's figure.
Tip: Paint at +15 °C or above and in low humidity: in a cold, damp garage paint and lacquer dry slowly and can turn cloudy. In winter, wait for warmer weather or heat the space first.
What next
Wash restored wheels every 2-3 weeks, and in winter after every drive on salted roads. Remove tar spots with WD-40 Multi-Use followed by a wash, and before seasonal wheel changes treat tight wheel bolts with WD-40 Specialist Penetrant.
These uses come from the experience of WD-40 users in many countries. Always follow the instructions and warnings on the product label.
More guides in «How to use».