Sockets are not only replaced when they break: it is often part of a renovation or a new room layout. The job itself is not difficult, but you are dealing with mains electricity, so safety comes first.
Below is the step-by-step order for a standard earthed socket in a wall box. If the wall has old aluminium wiring, signs of melting, or you are not confident, call an electrician.
What you will need
- flat and cross-head screwdrivers
- voltage tester or tester screwdriver
- new socket of the same type
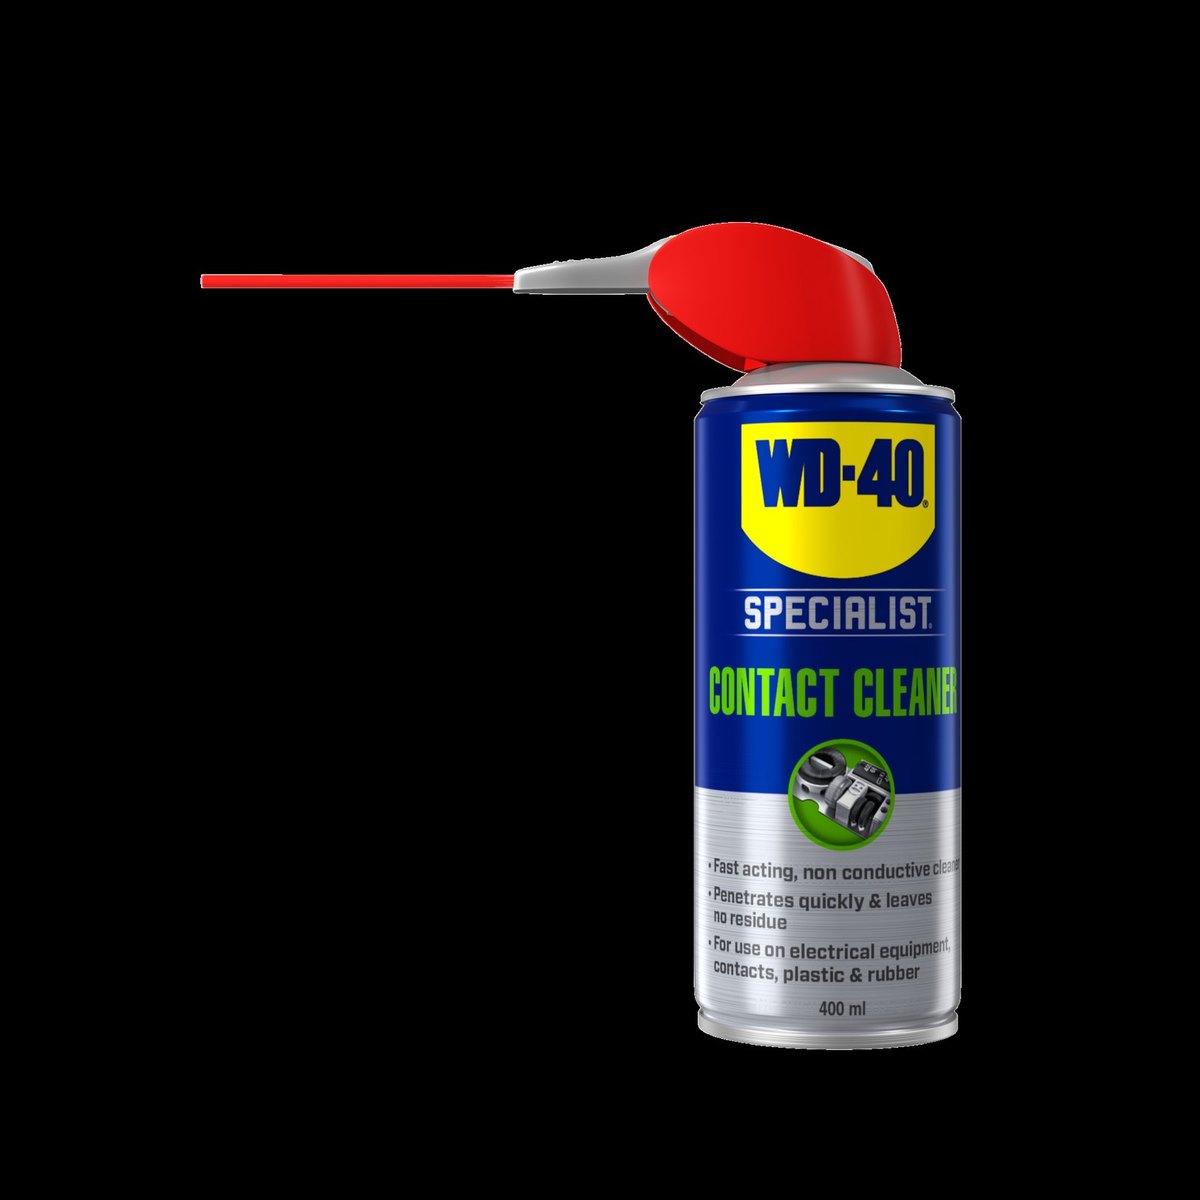
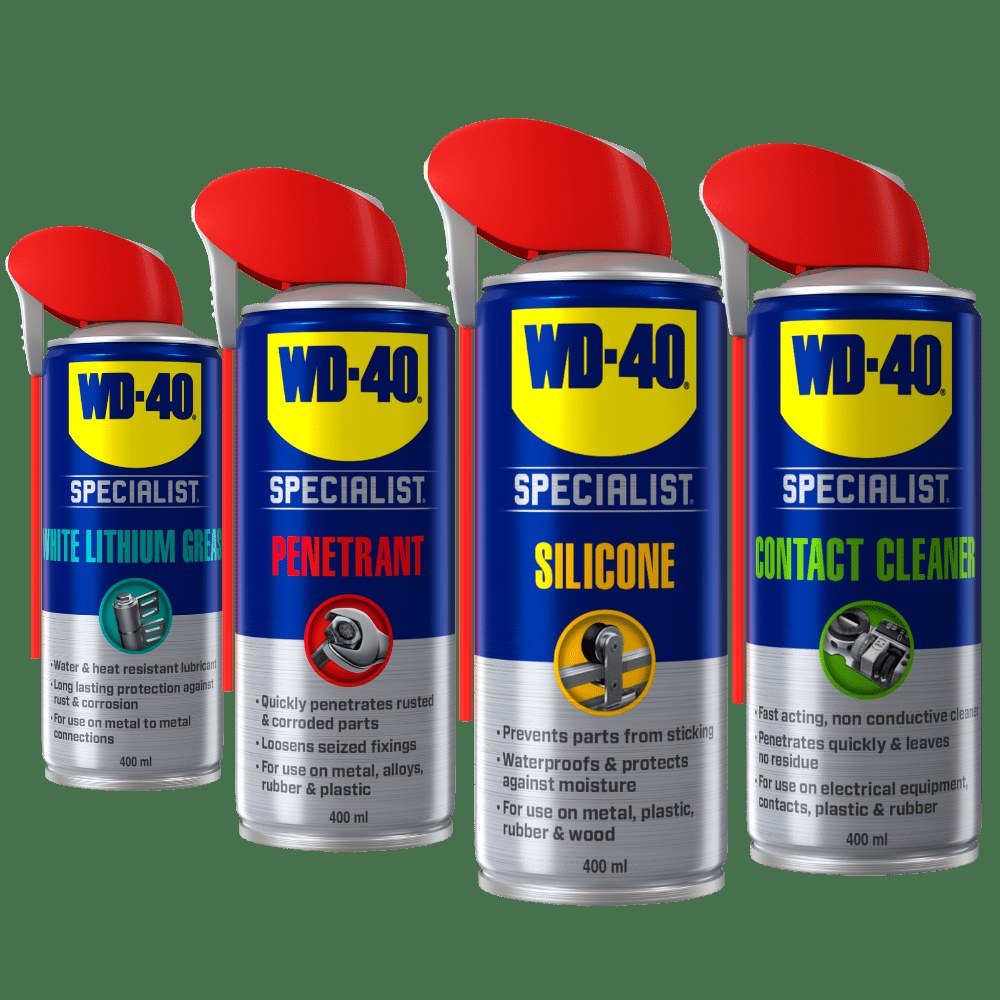
- WD-40 Specialist Contact Cleaner to clean the contacts and wire ends
- pliers and a wire stripper (if needed)
Important: Work only with the circuit breaker off and the absence of voltage confirmed. Never apply any product to a live socket.
Step 1
Isolate the power and test
Switch off the breaker that feeds this socket at the consumer unit, or better still the main switch for the whole home. Tell everyone in the house so nobody switches it back on.
Test both holes of the socket with the tester. If it does not light in either the left or the right hole, there is no voltage and you can start work.
Step 2
Remove the old socket
Undo the central screw and take off the cover plate. Then loosen the two side screws of the expanding claws that hold the mechanism in the wall box.
Ease the socket out of the box carefully without pulling on the wires.

Step 3
Clean the contacts
Over the years dust, oxidation and carbon build up inside a socket. Spray the terminals with WD-40 Specialist Contact Cleaner: it quickly dissolves dirt, dries without residue and makes the wires easier to release.
Check the insulation: darkening or melting points to poor contact or overload, and those sections need to be cut away.
Step 4
Disconnect the wires
There are usually three wires: brown or another colour for live, blue for neutral and green-yellow for earth. Take a photo or note which wire went where.
Loosen the terminal screws and pull the wires out. Treat the ends with Contact Cleaner. If the cores are darkened or nicked, cut the end off and strip about 1 cm of insulation.
Step 5
Fit the new socket
Remove the cover plate from the new socket. Connect live and neutral to the two working terminals and the green-yellow wire to the earth terminal linked to the earth contacts. Tighten the screws firmly without stripping them and give each wire a gentle tug.
Fold the wires neatly into the box, seat the mechanism straight and tighten the claw screws so it is held firmly. Refit the cover plate and its central screw.
Step 6
Switch on and check
Switch the breaker back on. The tester should light in one of the holes, and an appliance plugged in should work with no sparking or smell.
If the breaker trips or the socket gets warm, isolate the power immediately and check the connections, or call an electrician.
Tip: While the socket is out, check the wall box: if it is cracked or the claws no longer grip, replace it too. A socket that wobbles in the wall quickly wears its contacts and starts to overheat.
What next
After replacement, inspect the sockets used for heavy loads such as heaters, water heaters and washing machines once a year. Remove dust and discoloration from the contacts with the power off using WD-40 Specialist Contact Cleaner.
These uses come from the experience of WD-40 users in many countries. Always follow the instructions and warnings on the product label.
More guides in «How to use».