In Ukraine the boating season usually ends in October, and then the boat sits for half a year, ashore, in a shed or on a mooring. Over that time humidity, temperature swings, frost and condensation do more harm than a whole summer of use. Rust on chrome, mould in the cabin, a flat battery and seized fittings in spring are the direct result of rushing in autumn.
Wherever your boat spends the winter, work through five areas: exterior, cabin, battery, engine and cover.
What you will need
Important: Switch off the main battery isolator before working on electrics. Do not apply products to clear plastic windows or to deck mats you walk on, as they will become slippery.
Step 1
Wash and protect the exterior
The hull and deck have the most contact with water, and at sea with salt as well. Wash them with fresh water, remove weed and grime along the waterline and let them dry.
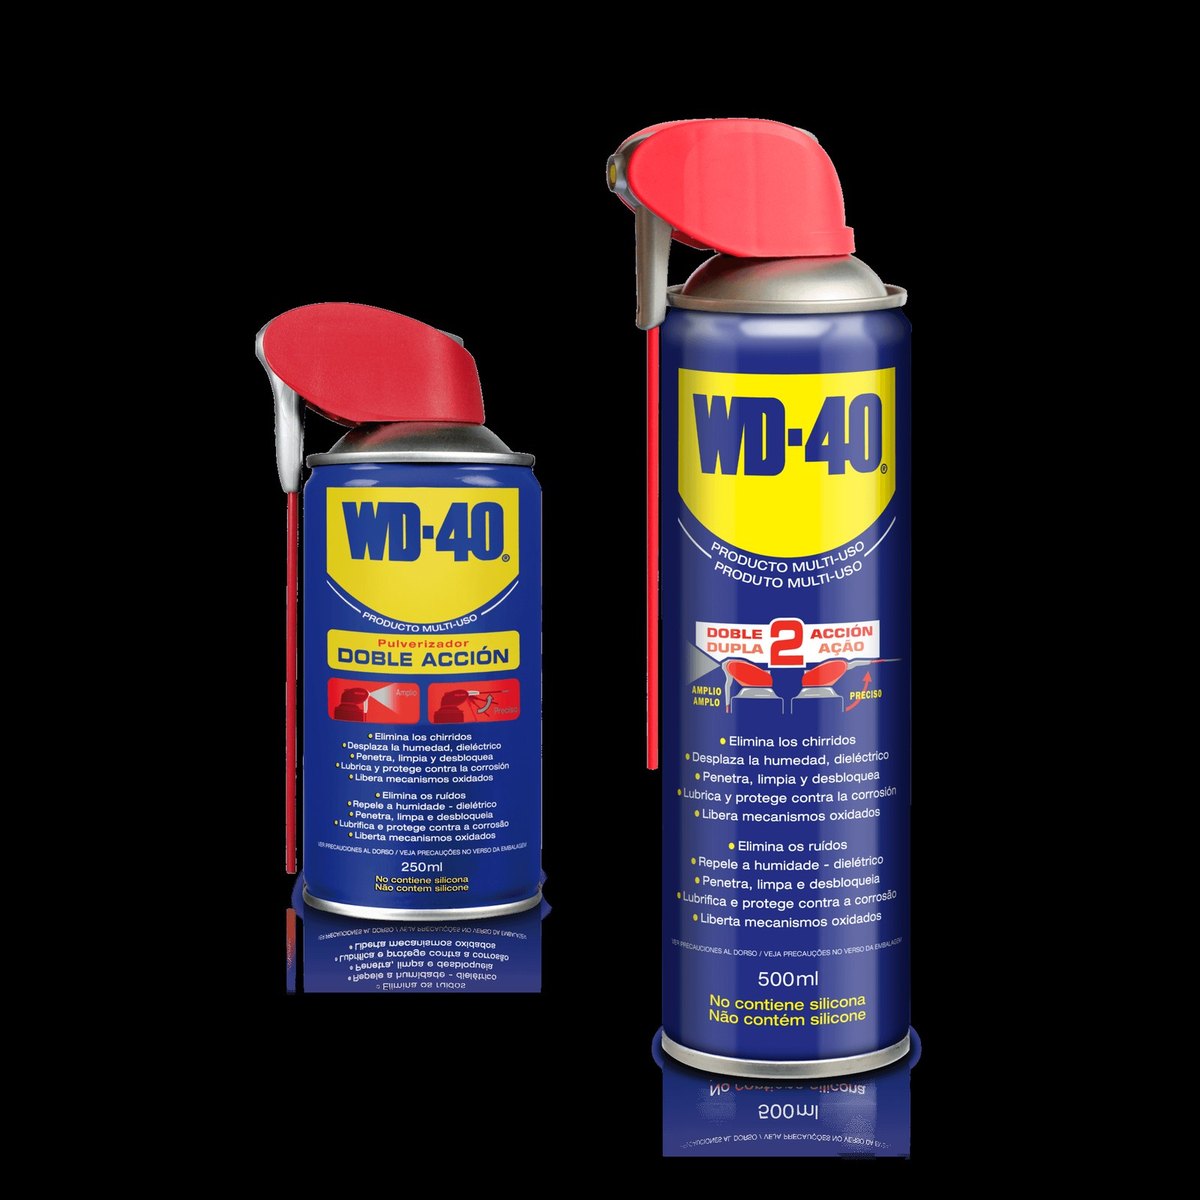
Treat metal and chrome fittings (guardrails, cleats, hinges, rails) with WD-40 Trigger Pro and buff with a clean microfibre cloth: the thin film displaces moisture and guards against rust all winter. Go over external moving parts where salt gathers in the gaps, such as hatch hinges, locks and latches, with WD-40 Smart Straw.
Step 2
Prepare the cabin
The main job inside is to prevent mould. Take home textiles, cushions and life jackets to dry. Wipe surfaces with an anti-mould cleaner, especially in the heads and under lockers.
Leave non-electric moisture absorbers inside and, if you can, air the boat every few weeks. Always drain fresh water from tanks and pipes, as freezing water splits hoses and pumps.
Step 3
Look after the battery
Check the voltage with a multimeter: the battery should go into winter fully charged. Disconnect the terminals (negative first) and brush corrosion off the posts and clamps.
Treat the terminals and connectors with WD-40 Specialist Contact Cleaner, which removes remaining dirt and moisture and evaporates quickly. Ideally take the battery into a warm, dry room and top up the charge every month or two.
Step 4
Lay up the engine
Flush the outboard with fresh water to remove salt, sand and scale. Then apply WD-40 Multi-Use to external metal parts and the throttle and gear linkages, leave it for a few minutes and wipe off the excess with a dry cloth.
This is a good time for routine servicing: oil change, filters and impeller check. Carry out the rest of the lay-up (fuel and cooling systems) according to the engine maker's manual.
Step 5
Cover the boat
Fit a sturdy, ventilated cover that does not rest on wet surfaces: under airtight plastic, condensation builds up faster than in the open. Clear snow after heavy falls so the cover does not sag.
Tip: Before you leave the boat, photograph the condition of the fittings and note what needs replacing. Order parts over winter, when workshops have no queues.
What next
Visit the boat a few times during winter to air the cabin and check the cover and battery charge. In spring a quick pass with WD-40 Multi-Use over the moving parts, reconnect the battery and you are ready for the water.
These uses come from the experience of WD-40 users in many countries. Always follow the instructions and warnings on the product label.
More guides in «How to use».