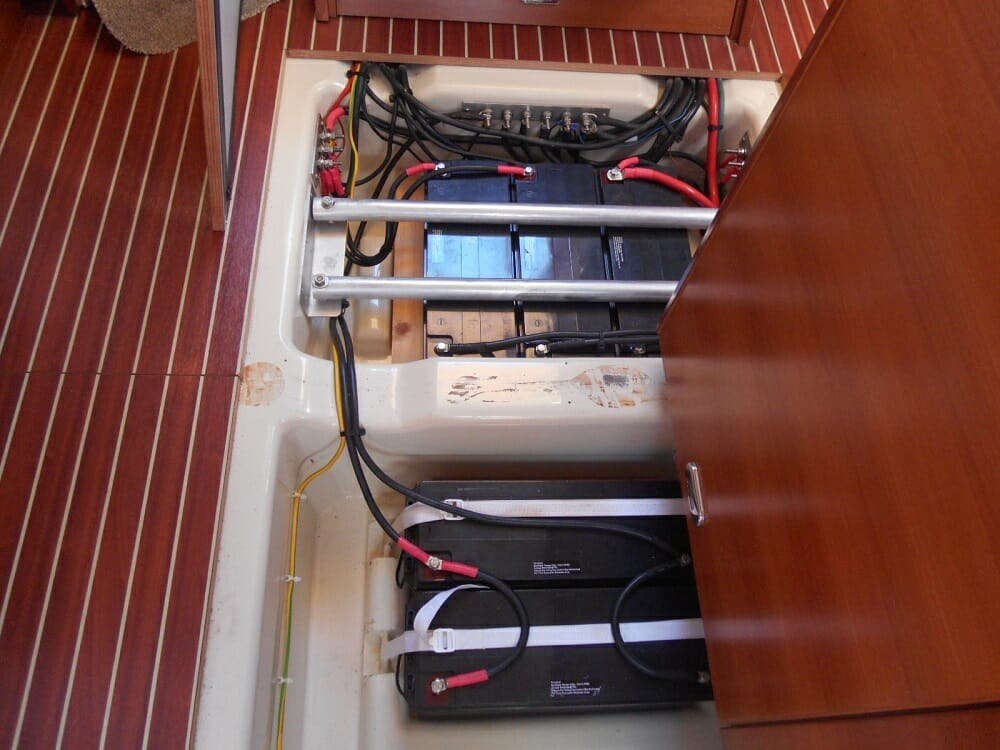
A boat battery must deliver 12 V and a high current every time you start the engine. Modern batteries are sealed, so there is no more topping up with distilled water. The owner's job comes down to two things: keeping it charged and looking after the terminals.
Boats use maintenance-free lead-acid batteries, but more often AGM and gel types. AGM batteries deliver strong peak currents and suit engine starting, while gel batteries tolerate rolling and heeling and are better at powering equipment with a steady, moderate current. Lithium iron phosphate (LiFePO4) batteries are increasingly common too: lighter and able to discharge more deeply, but with their own charging rules set by the maker.
What you will need
Important: Wear safety glasses and gloves, work in a ventilated compartment and keep naked flames away. Remove the negative terminal first, then the positive, and refit in reverse order. Never rest tools on the battery: shorting the posts causes sparks and burns.
Step 1
Check the voltage
Never let the battery go completely flat: deep discharge triggers sulphation, which permanently damages the plates. Measure the voltage across the posts with a multimeter after the battery has rested for a few hours. A fully charged lead-acid battery reads around 12.7 V, AGM and gel around 12.8 V.
As it discharges the voltage falls, and below roughly 10.9 V the battery can no longer deliver energy. The practical rule: do not let it drop below 12 V and recharge in good time.
Step 2
Charge it properly
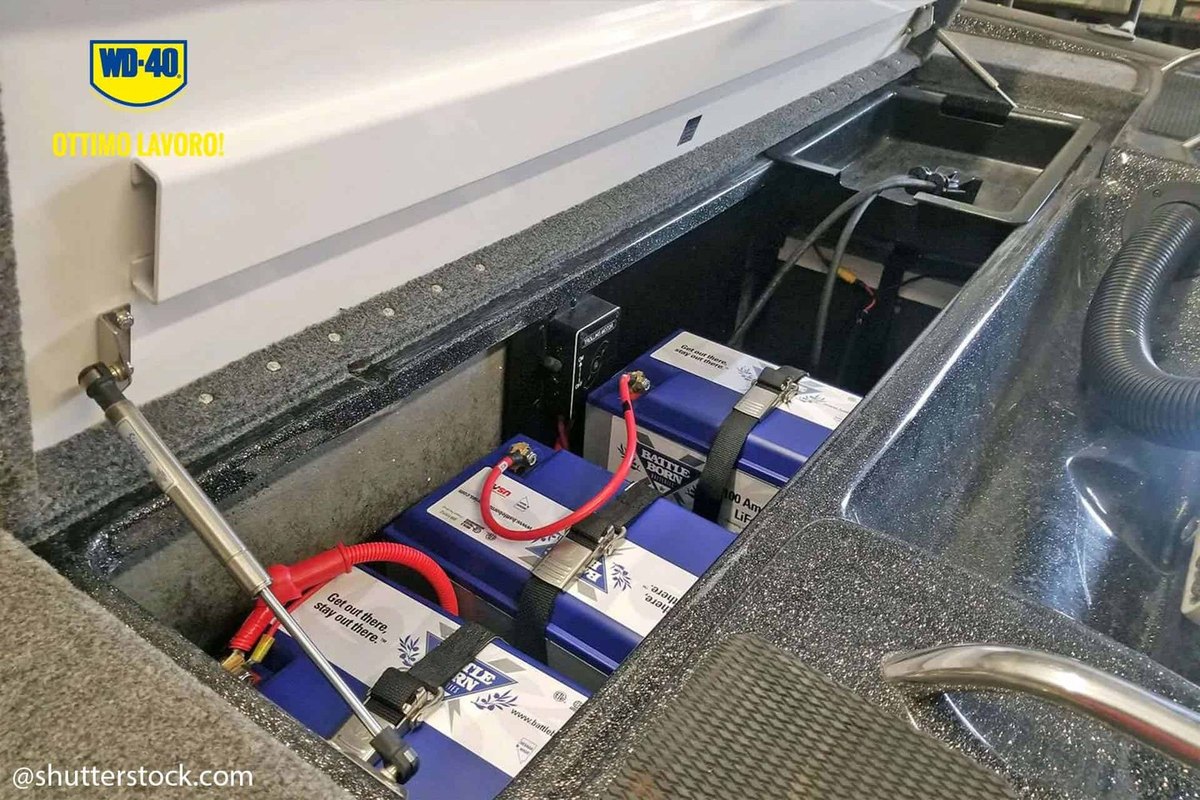
If the boat goes out rarely, charge the battery regularly, not just before a trip. Use an electronic charger set to your battery type: it supplies a low current, about a tenth of the capacity, charging slowly without harming the plates, and switches to maintenance mode once the battery is full.
You usually do not need to remove the battery to charge it, but for winter it is best kept in a warm, dry room.
Step 3
Clean the posts and clamps
Damp speeds up self-discharge, and salty air quickly corrodes the positive post in particular. Loosen and remove the clamps, wipe the posts with a cloth and go over them with very fine abrasive paper, then a brass brush so you do not leave deep scratches.
Use the same brush on the outside of the clamps. Clean inside them with a round brush or cotton bud, twisting it several times.
Step 4
Treat the contacts with cleaner
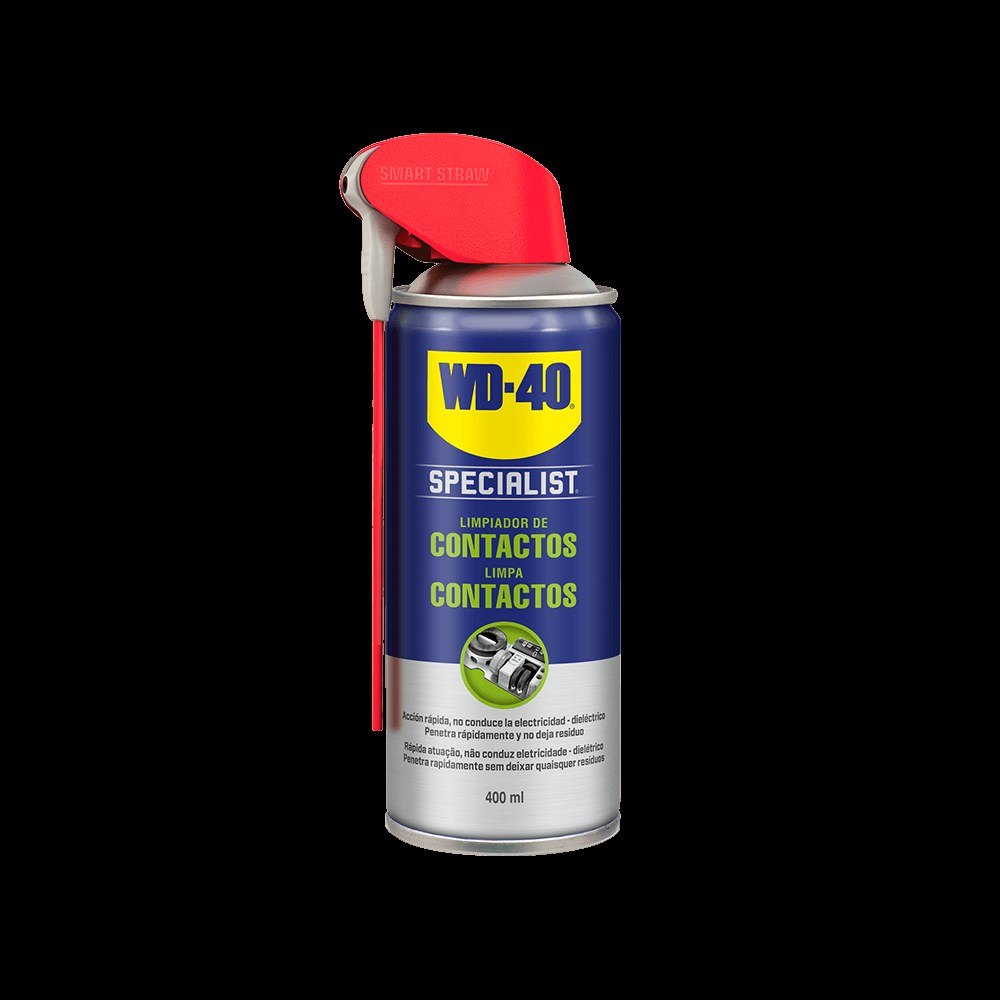
Spray WD-40 Specialist Contact Cleaner onto the posts, clamps and cable lugs. It quickly reaches awkward spots, dissolves greasy deposits and grime, and evaporates without residue, leaving the contact clean and dry.
Step 5
Protect and reconnect
Once dry, refit the clamps (positive first, then negative) and tighten them firmly. Treat the outer metal of the clamps, the battery hold-down and the lugs with WD-40 Smart Straw through the thin straw: the film displaces moisture and holds back corrosion.
Finally apply terminal protection grease and refit the protective caps for an extra barrier against salt spray.
Tip: Note the battery voltage on your phone each time you check it. If under the same conditions it drops faster week by week than before, the battery is ageing and is better replaced before the season than in the middle of a lake.
What next
Check the voltage monthly and inspect the terminals at the start and end of each season. While you are at it, go over other metal fittings on the boat that suffer from damp with WD-40 Multi-Use.
These uses come from the experience of WD-40 users in many countries. Always follow the instructions and warnings on the product label.
More guides in «How to use».