Brake pads need replacing when the friction material wears thin. Signs include metallic grinding when braking, longer stopping distances and a vibrating pedal. Many cars have a wear sensor that lights a warning lamp on the dashboard.
The procedure is similar on most cars, but caliper design and pad mounting vary by model, so check the service information for your car before you start. Pads are always replaced as a set on both wheels of the same axle so braking stays even.
What you will need
- new pads identical to the old ones
- jack, axle stands, wheel chocks
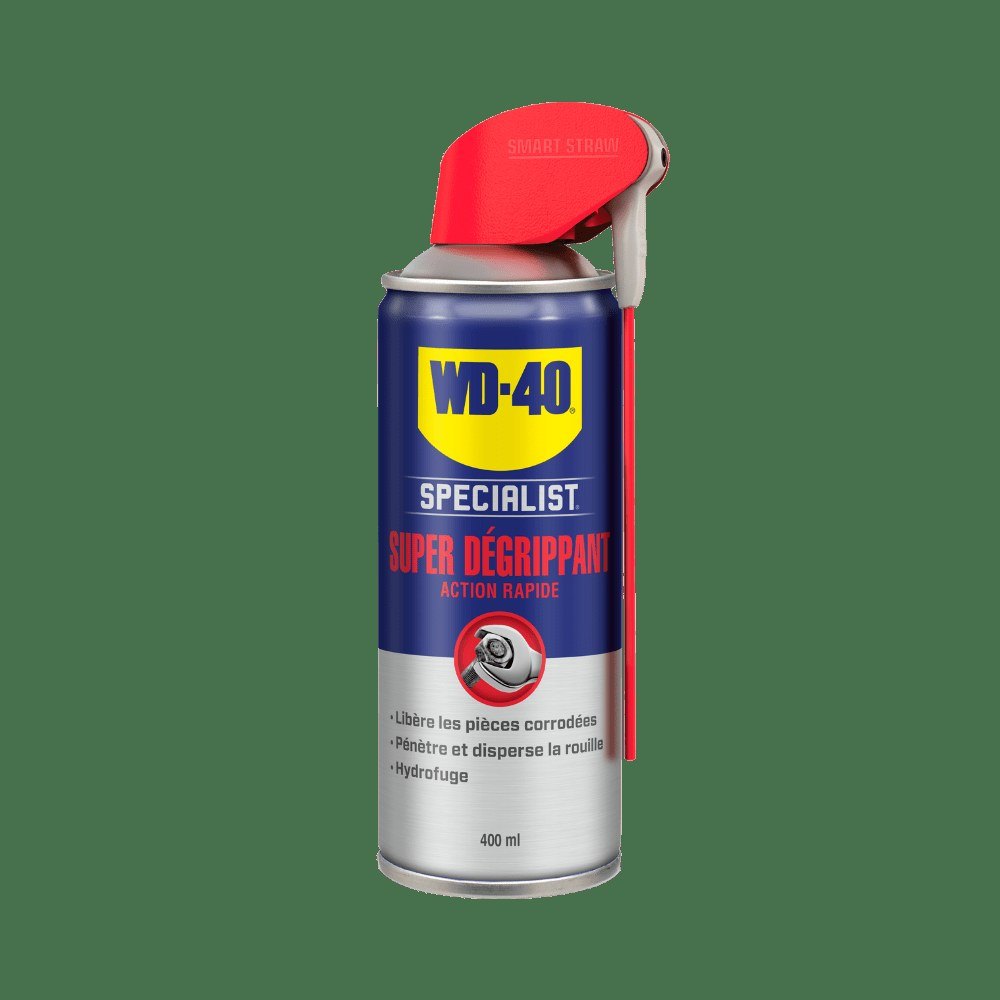
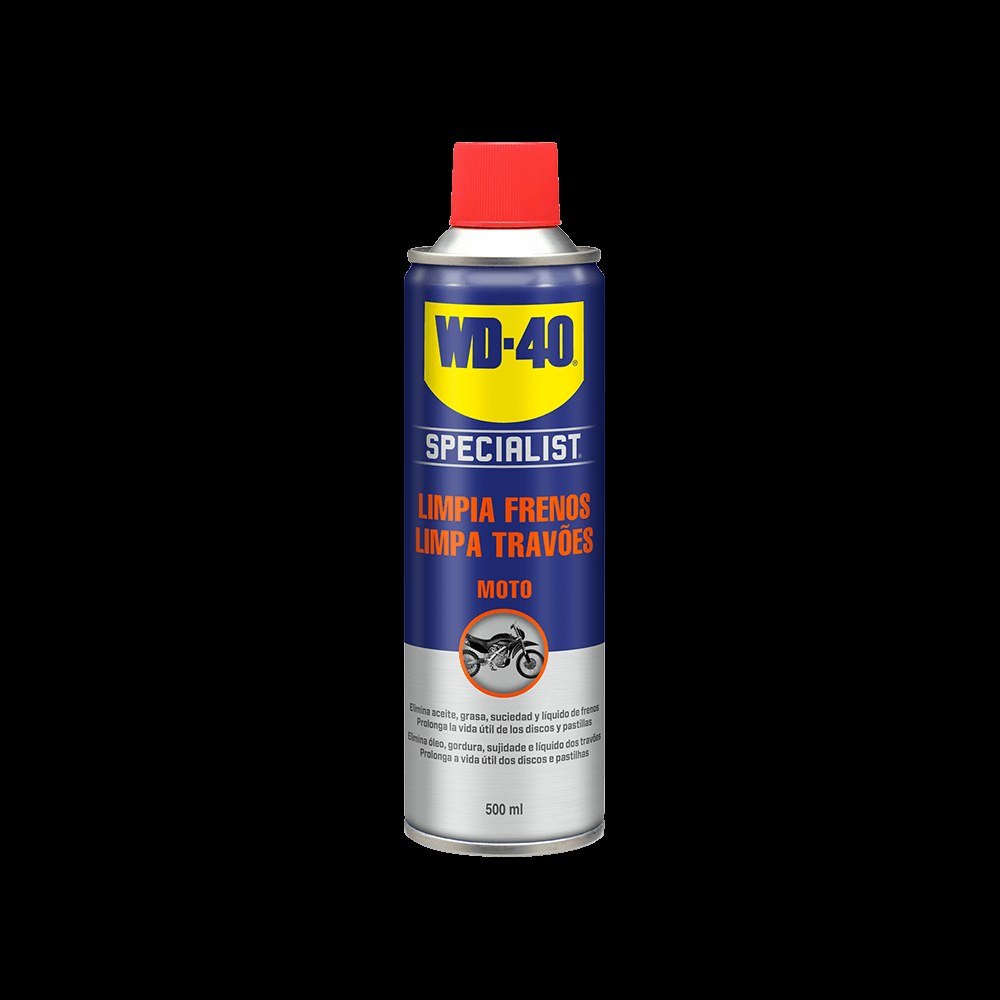
- WD-40 Specialist Penetrant
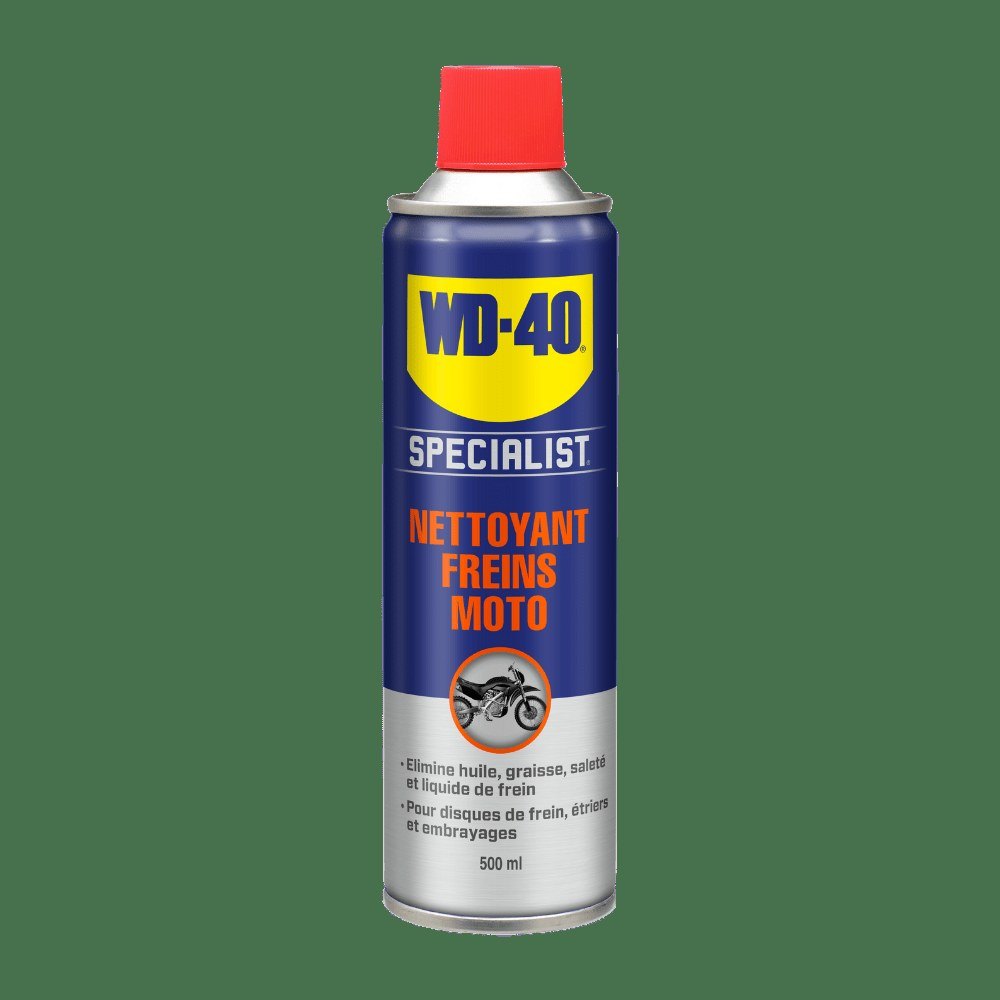
- dedicated brake cleaner (residue-free)
- piston retraction tool or a G-clamp
- anti-squeal paste for pads, thread locker
- brake fluid of the correct specification, rags, paper towels
Important: Brakes are a safety system. Never work under a car supported only by a jack, keep lubricant and WD-40 away from pads and discs, and tighten bolts to the manufacturer's torque. If in doubt, use a garage.
Step 1
Prepare the car
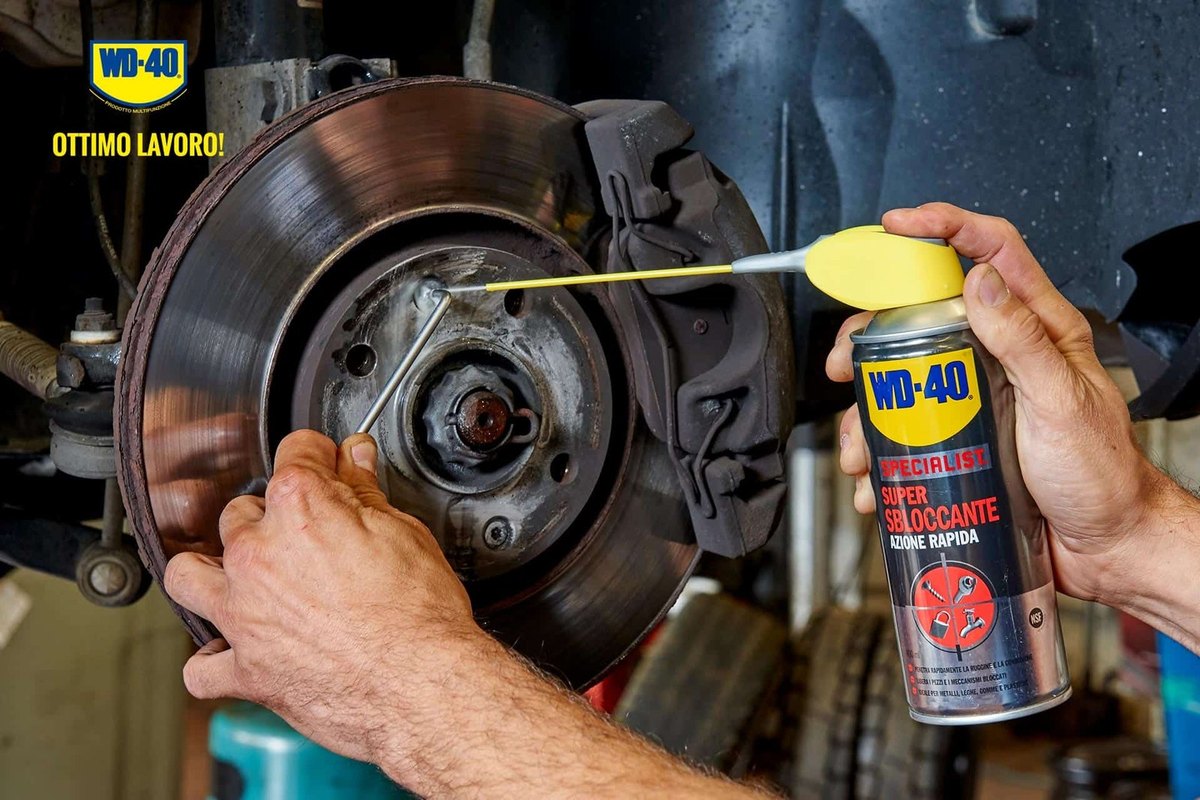
Park on level ground, apply the handbrake and chock the wheels on the other axle. Slightly loosen the wheel bolts while the car is still on the ground. After winter the bolts are often seized, so treat them with WD-40 Specialist Penetrant beforehand.
Jack the car up, put it on an axle stand and remove the wheel. Open the bonnet and take the cap off the brake fluid reservoir: when the piston is pushed back, fluid returns to the reservoir and the level rises.
Step 2
Remove the caliper
Unplug the pad wear sensor connector if there is one. Undo the two bolts or guide pins holding the caliper to the bracket. If they will not move, apply WD-40 Specialist Penetrant and give it a few minutes. Some cars also have a spring or clip to remove.
Do not disconnect the brake hose. Hang the caliper from a hook or wire so the hose is not strained. Clean a dirty caliper with brake cleaner and a clean rag.
Step 3
Remove the old pads and push back the piston
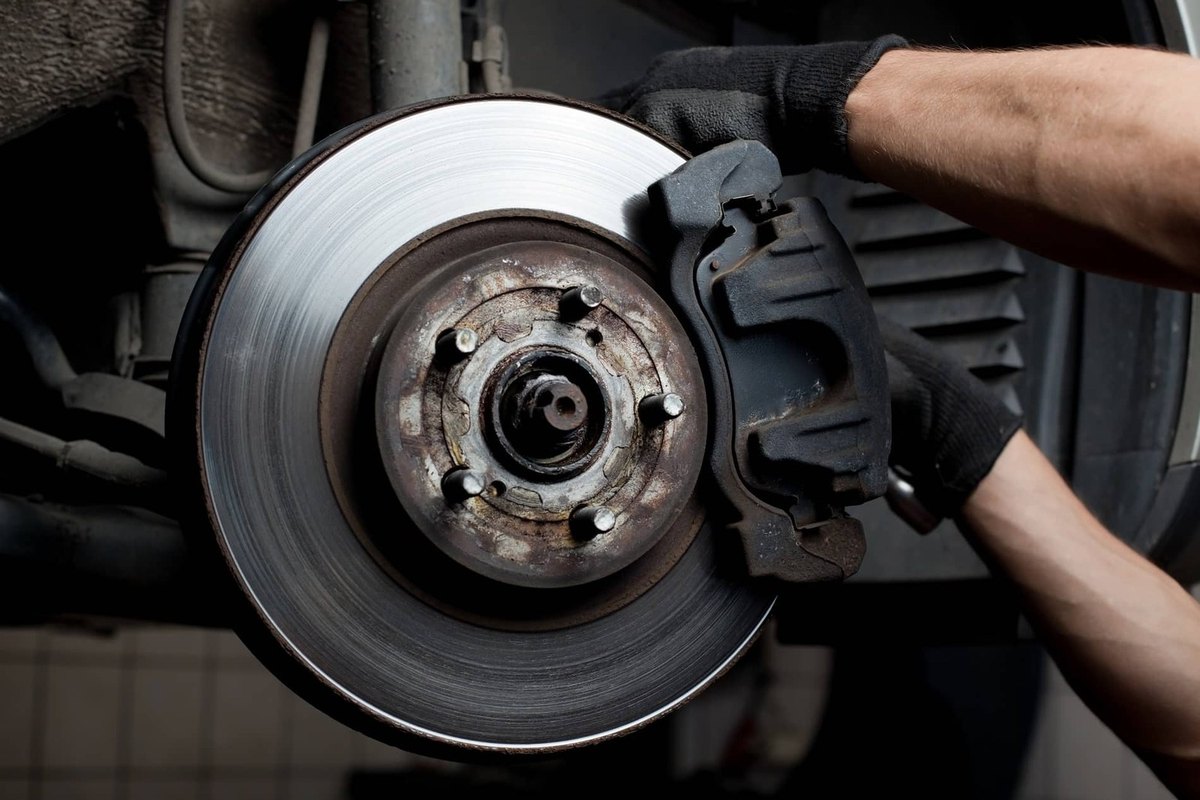
The outer pad usually lifts out of the bracket easily. The inner pad, in contact with the piston, may be tighter. Push the piston fully back into its bore with a retraction tool or a G-clamp acting through the old pad, and it will come out without effort.
Watch the reservoir so the fluid does not overflow. Clean the bracket and pad seats and inspect the disc: if it is badly worn or deeply scored, replace it too.
Step 4
Fit the new pads
Make sure the new pads are identical to the ones removed. Apply a thin layer of anti-squeal paste only where the pads rest on the bracket and on the back of the backing plate, never on the friction surface.
Fit the pads on both sides of the disc and check that they sit square.
Step 5
Refit the caliper
Place the caliper back on the bracket over the new pads and reconnect the wear sensor and ABS connectors. Put a little thread locker on the bolt threads so vibration cannot loosen them, then tighten to the manufacturer's torque.
Refit the wheel, lower the car and tighten the wheel bolts in a diagonal pattern.
Step 6
Restore pressure and test the brakes
Close the fluid reservoir, minding the level sensor cable. Pump the brake pedal several times until it feels firm, then check the fluid level again and top up if needed.
Test the brakes at low speed somewhere safe. For the first 100 to 150 km avoid hard or emergency braking so the pads can bed in.
Tip: While the wheel is off, brush the hub mating face and the stud threads clean and give them a light coat of
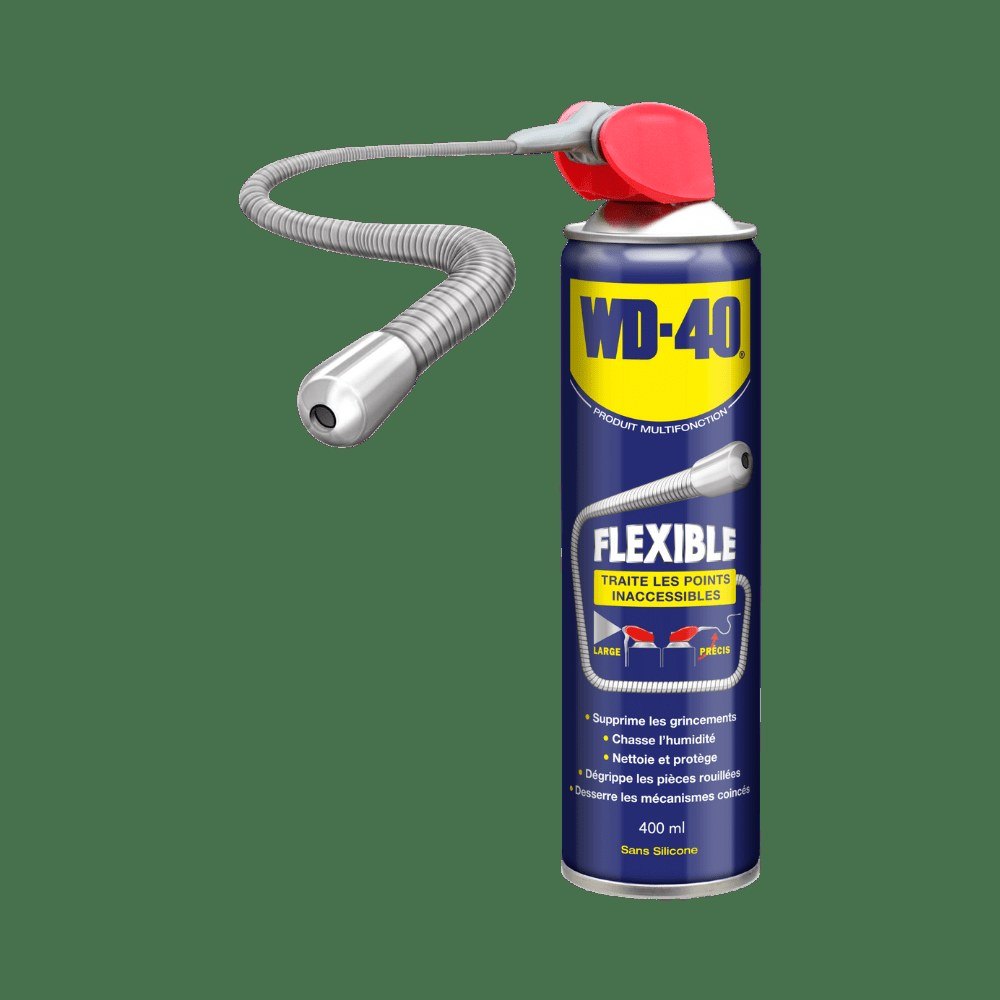
WD-40 Multi-Use, keeping it away from the disc. Road salt and moisture will do less damage and the wheel will come off easily next time.
What next
Check pad thickness at every seasonal tyre change. Depending on driving style, pads typically last around 30,000 to 50,000 km. Keep WD-40 Specialist Penetrant in the garage for seized bolts and WD-40 Multi-Use to protect fasteners from rust.
These uses come from the experience of WD-40 users in many countries. Always follow the instructions and warnings on the product label.
More guides in «How to use».