Working indicators are a legal requirement, and a faulty one is quickly noticed by other drivers and the police alike. A failed bulb usually shows itself as fast flashing on the dashboard.
The hardest part of the job is not the bulb but getting to it, as access differs on every model. Below is the general sequence for front and rear indicators and side repeaters.
What you will need
Important: Switch off the engine and all lights. Never force a headlight or tail light unit out, as you may tear the wiring or break the mountings. If you are unsure how your unit comes off, check the vehicle handbook.
Step 1
Find access to the bulb
Front indicators are usually reached from under the bonnet: the bulb sits either in the headlight unit with the dipped and main beams or in a separate housing. On some cars access is through the wheel arch liner.
Rear indicators are most often changed from inside the boot after removing a trim panel or light cover. Park the car somewhere well lit.
Step 2
Remove the old bulb
In the simplest case, unplug the connector and turn the bulb holder anticlockwise: the bulb comes out with the holder. On other models you first remove a plastic cover and then unplug the connector.
Check the old bulb: a blackened glass or broken filament confirms it was the culprit.
Step 3
Remove the light unit if necessary
If you cannot reach the holder, the headlight unit has to come out. Undo the fixings with the right tool. Treat screws seized by salt and moisture with WD-40 Specialist Penetrant first and give it a few minutes.
Ease the unit out without force so as not to damage the wires, unplug the connector and reach the indicator bulb holder.
Step 4
Replace a side repeater
A wing-mounted repeater usually comes off by sliding it sideways and unclipping it. Then unplug the connector and take the bulb out of its holder.
A mirror-mounted repeater is more involved: first unclip and disconnect the mirror glass, then undo its holder and the mirror cover before you can reach the repeater.
Step 5
Clean the connectors and fit the new bulb
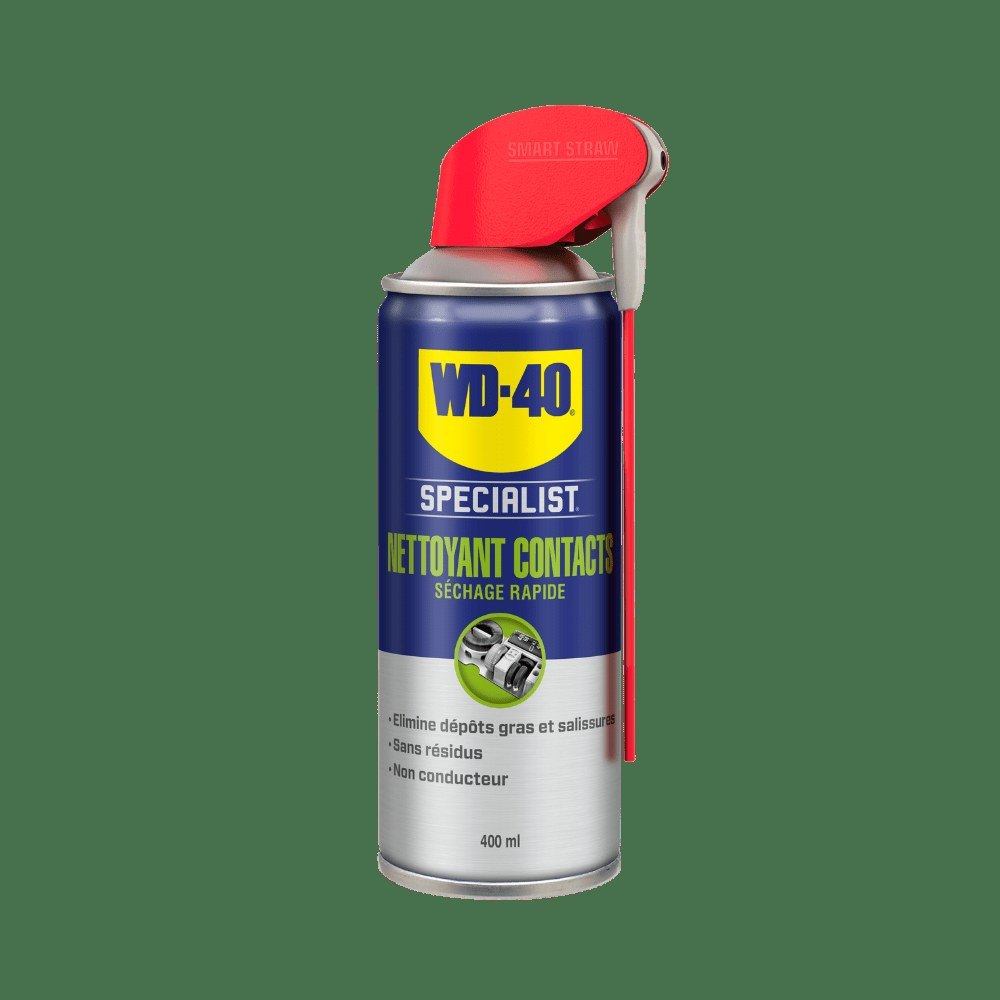
Before fitting, treat the connector, holder and contacts with WD-40 Specialist Contact Cleaner. It dissolves oxidation, dust and moisture that cause poor contact, and evaporates quickly without residue.
Hold the new bulb by its base, not the glass, as grease from your fingers harms the glass. If you have to touch the glass, wear gloves or use a cloth. Fit the bulb, plug in the connector and reassemble in reverse order.
Step 6
Check that it works
Switch on the indicator and the hazard lights and walk round the car. The flash rate should be back to normal.
If it still flashes fast or does not light, check the fuse and connector, and the bulb on the other side.
Tip: Replace indicator bulbs in pairs on both sides: the other bulb of the same age often fails within weeks, and a matching light tone looks neater.
What next
Check all exterior lights at least once a month and before a long journey. In winter, when road salt gets into the light units, treat their connectors with WD-40 Specialist Contact Cleaner once a season and protect the fixing threads with WD-40 Multi-Use.
These uses come from the experience of WD-40 users in many countries. Always follow the instructions and warnings on the product label.
More guides in «How to use».