Fresh mortar rinses off a trowel or spatula with plain water in a minute. Leave the tool overnight, though, and the cement hardens, bonds firmly to the metal and makes the tool heavy and inaccurate. This matters most for measuring tools: a crust on a spirit level or straight edge leads to errors.
If you have no time to clean straight away, at least drop the tools into a bucket of water. If the cement has already set, mechanical cleaning, a mild vinegar solution and a final protective coat of WD-40 Multi-Use will sort it out.
What you will need
- Bucket of water
- White vinegar
- Hammer and rubber mallet
- Wire brush and brass brush
- Drill with a wire brush attachment or a bench grinder with a wire wheel
- Plastic or metal scraper, abrasive sponge
- WD-40 Multi-Use, or WD-40 5 L with sprayer for a work crew
- Safety goggles and gloves
Important: Always wear safety goggles when using a hammer or a drill-mounted wire brush: cement chips and brush bristles fly off. Do not strike blades hard, or you may bend them.
Step 1
Give the tools an initial wash
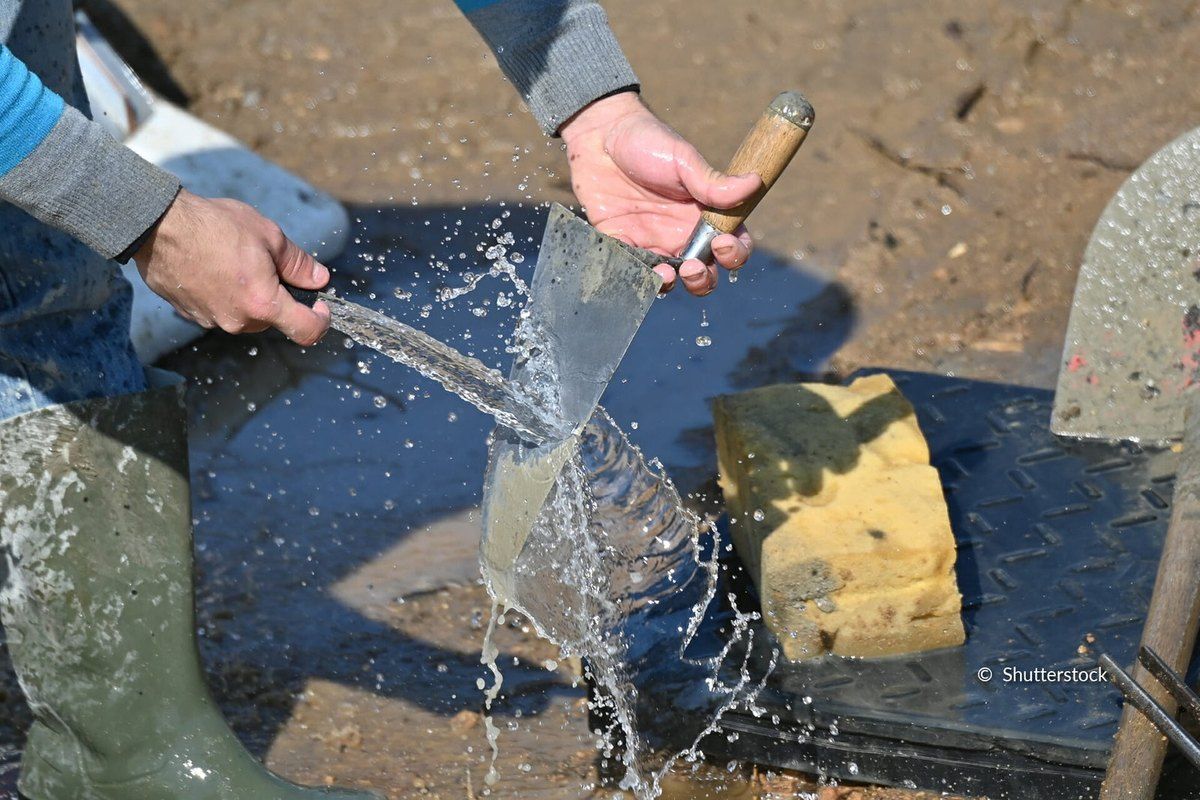
Rinse and roughly brush trowels, shovels, spatulas and buckets to remove anything loosely attached. Running water is easiest, but a large bucket works too.
Keep the hardened residue wet throughout the cleaning: wet cement gives way more easily.
Step 2
Knock off the large lumps
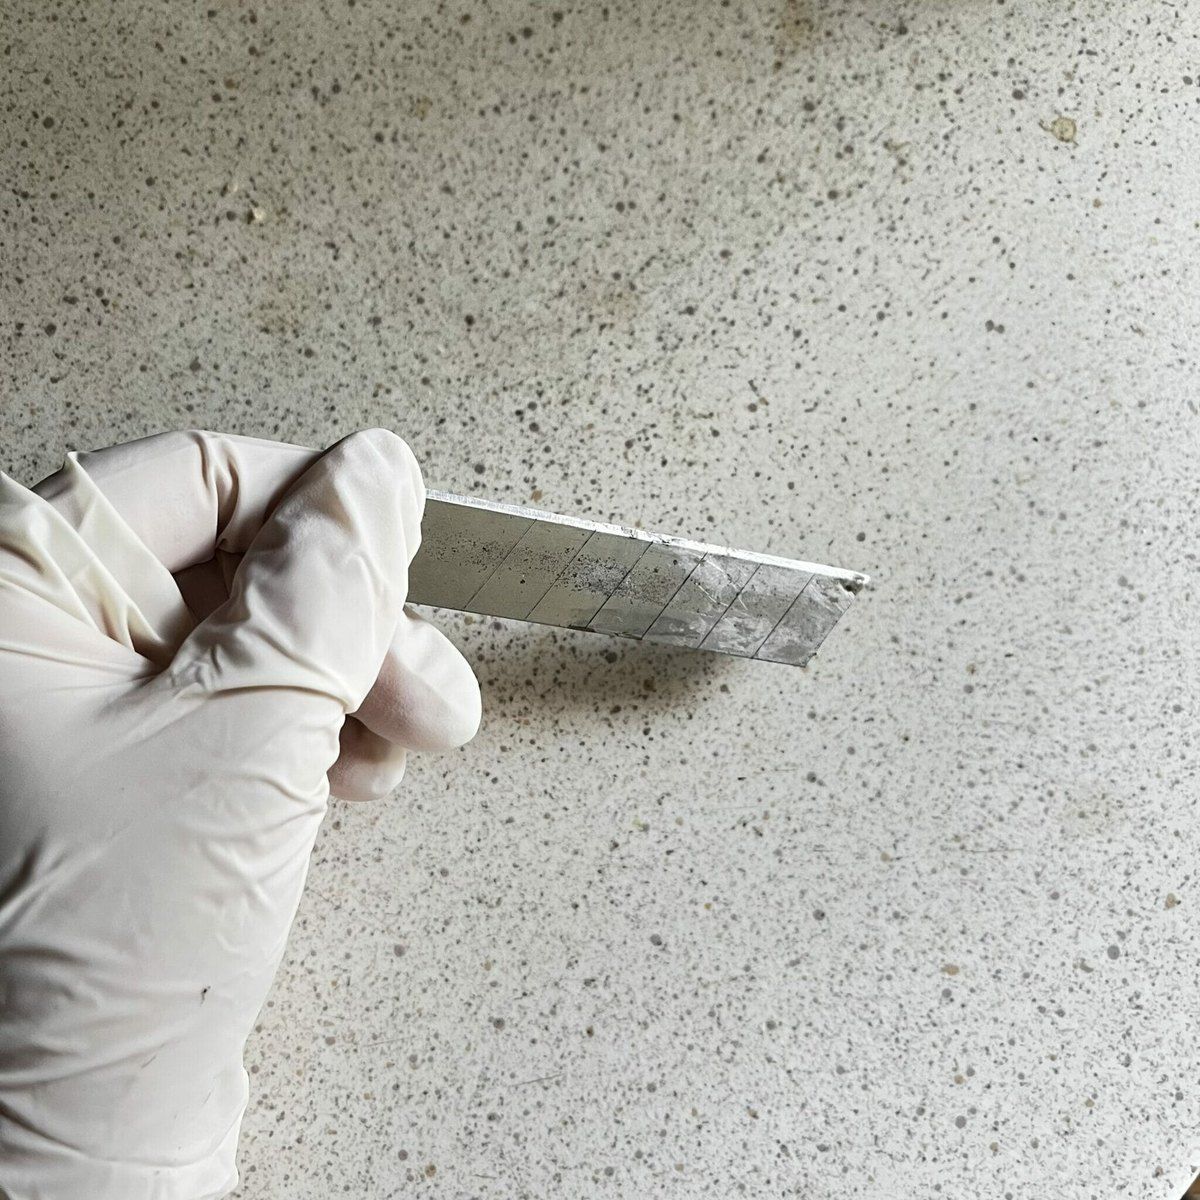
Tap the hardened crust on shovels, trowels and spatulas with a hammer or mallet. The impact cracks thick layers so they fall off in pieces. Strike flat and without excessive force so you do not bend the thin blade.
Step 3
Finish with a wire brush and vinegar
Scrub the stubborn residue firmly with a wire brush several times. Wetting the brush and the metal with warm water and a splash of vinegar weakens the bond between the cement and the metal, so the job goes much faster.
For shovels and trowels with a thick crust, a wire brush attachment on a drill or a bench grinder gives quicker, more thorough results.
Step 4
Rinse, dry and protect
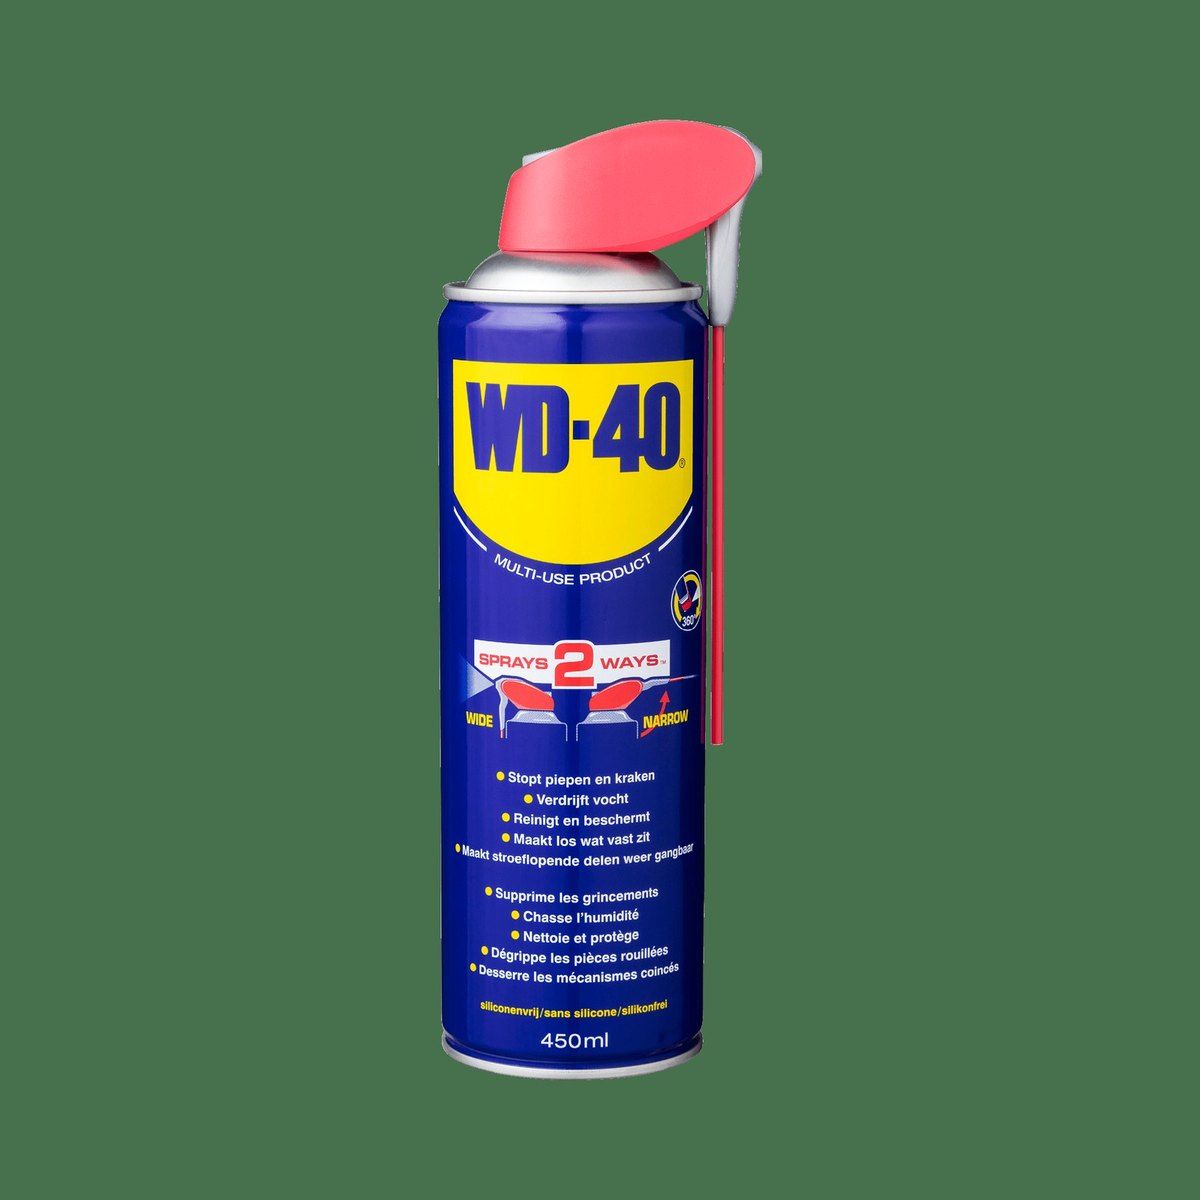
Once the cement is gone, rinse the tool in clean water to remove the vinegar and dry it thoroughly. Then spray WD-40 Multi-Use onto the metal parts and spread it with a rag. It displaces moisture from the metal surface, lifts any thin lime film and protects against oxidation.
Step 5
Clean levels and straight edges with care
Aluminium straight edges and spirit levels are softer than steel, and levels contain fragile glass vials. Do not use a hammer here: lift large lumps carefully with a scraper and remove the rest with a brass brush by hand or a kitchen scouring sponge. Finish with a thin coat of WD-40 Multi-Use and wipe scales and working faces dry.
Step 6
Prepare tools for work and storage
Before working with mortar or fast-setting compounds, apply a thin film of WD-40 Multi-Use to clean tools: the mix sticks less and washes off more easily. With chemical anchors and resins, clean tools immediately after use, as they cure within minutes.
Before putting tools away for winter in a garage or cellar, treat all metal parts once more. For a crew with dozens of trowels, WD-40 5 L with a sprayer is more economical, and for the pivots of tin snips use WD-40 Smart Straw.
Tip: Keep a bucket of water next to your workstation and drop tools in every time you take a break. The mortar will not have time to set, and at the end of the day everything rinses off in minutes.
What next
Clean tools treated with WD-40 Multi-Use will not rust in a damp cellar or garage and will be ready to go in spring. Repeat the protection after each big job and before long-term storage.
These uses come from the experience of WD-40 users in many countries. Always follow the instructions and warnings on the product label.
More guides in «How to use».