Spanners, pliers, screwdrivers, scissors, scrapers and trowels serve us for years, yet their care is easy to put off. Tools that come into contact with water, mortar, paint or soil rust first, and joints and springs start to stick. Cold garages and sheds where condensation forms all winter, and wet seasons when tools go back into the box damp, make things worse.
Rusty tools work less well and wear out faster. Surface rust is easy to remove yourself as long as it has not eaten deep into the metal, and the right treatment after each job means you will rarely need to scrub anything at all.
What you will need
Important: Wear gloves and safety glasses: brushing sends particles of rust and dirt flying. Do not overdo the sandpaper and wire brush on precision and cutting surfaces, or you may change their shape.
Step 1
Clean the dirt off your tools
Pliers, screwdrivers and hammers usually stay fairly clean, but scrapers, trowels, brushes and tools used with mortar build up a layer under which rust develops unseen. It is best to clean them straight after use, before mortar, glue or paint hardens.
Soften dried-on dirt with water or a suitable solvent, brush it off, and wipe away grease marks and resin with a rag and WD-40 Multi-Use.
Step 2
Dry thoroughly
After washing, dry each tool completely with paper towels, paying attention to joints, teeth and threads. Leave any moisture and rust will be back within days. Let paintbrushes air-dry; a few drops of WD-40 between the bristles help keep them supple.
Step 3
Remove light rust
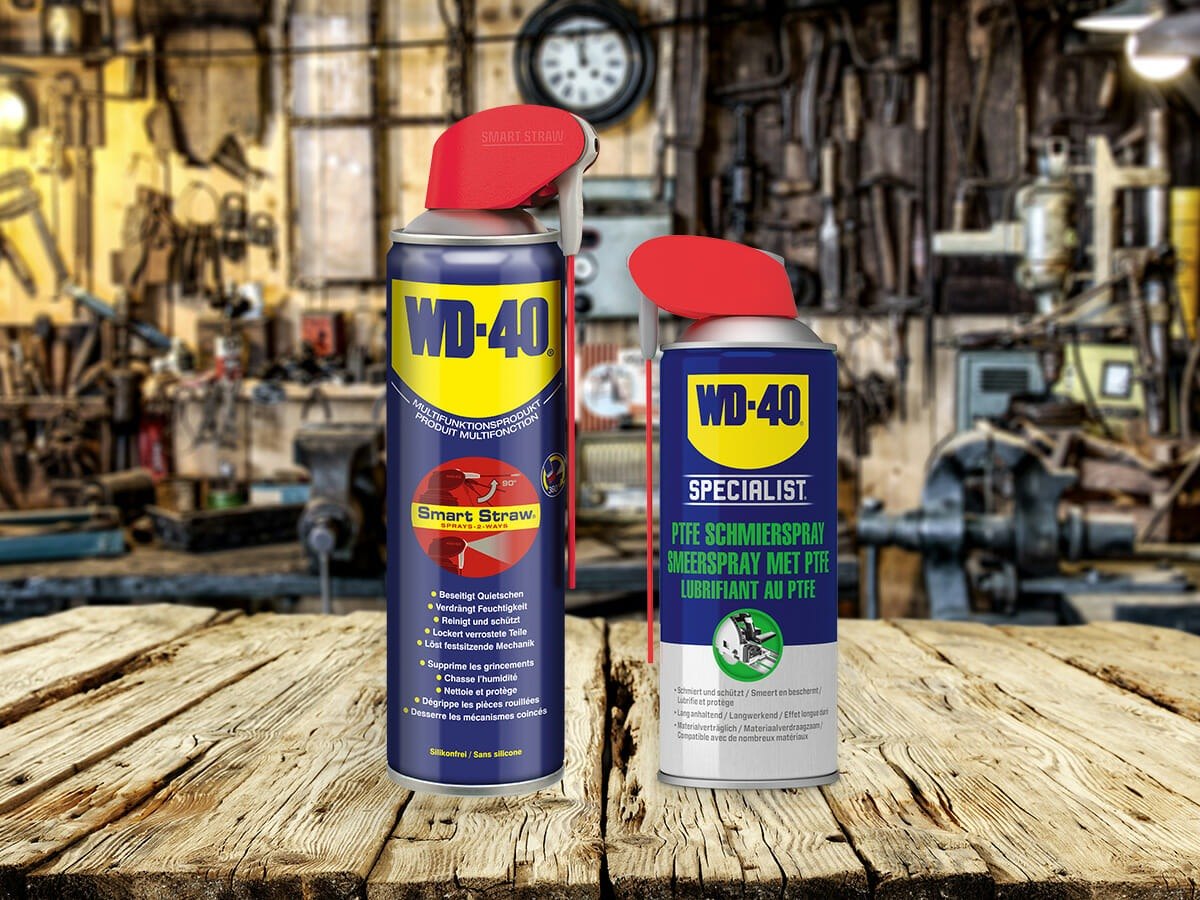
Orange bloom and early rust spots usually come off easily. Apply WD-40 Multi-Use to the affected area, give it a few minutes to get under the rust, then rub with a microfibre cloth, brass brush or fine sandpaper. Wipe away the loosened rust with a dry rag.
If it does not all come off first time, repeat. WD-40 displaces moisture from the pores of the metal and leaves a thin protective layer at the same time.
Step 4
Soak off heavy rust
If a tool has been lying in a shed for years under a thick coat of rust, a brush and lubricant will only loosen it. In that case submerge it in WD-40 Specialist Rust Remover Soak in a plastic container and leave it for the time stated on the label; badly affected items can stay in longer. After soaking, rinse with water, dry and protect it straight away, because freshly cleaned metal soon picks up new surface rust.
If deep pitting is visible after cleaning, the metal has already lost some of its thickness. The tool will still be useful, but replace it for critical work.
Step 5
Lubricate joints and cutting tools
Blow out pliers, cutters, secateurs, scissors and clamps with compressed air, focusing on pivots and joints where dust collects. After sharpening, lubricate cutting tools with WD-40 Specialist PTFE lubricant: it helps the blades glide and turn on their pivot and does not attract as much dust as ordinary grease. Open and close the handles a few times and wipe off the excess.
Step 6
Protect tools for storage
Before putting tools away in a box or for winter in an unheated garage, treat the metal surfaces with WD-40 Specialist Corrosion Inhibitor. It forms a long-lasting protective film that keeps moisture away from the metal.
Keep the toolbox itself dry: line the bottom with a cloth and never put wet tools inside.
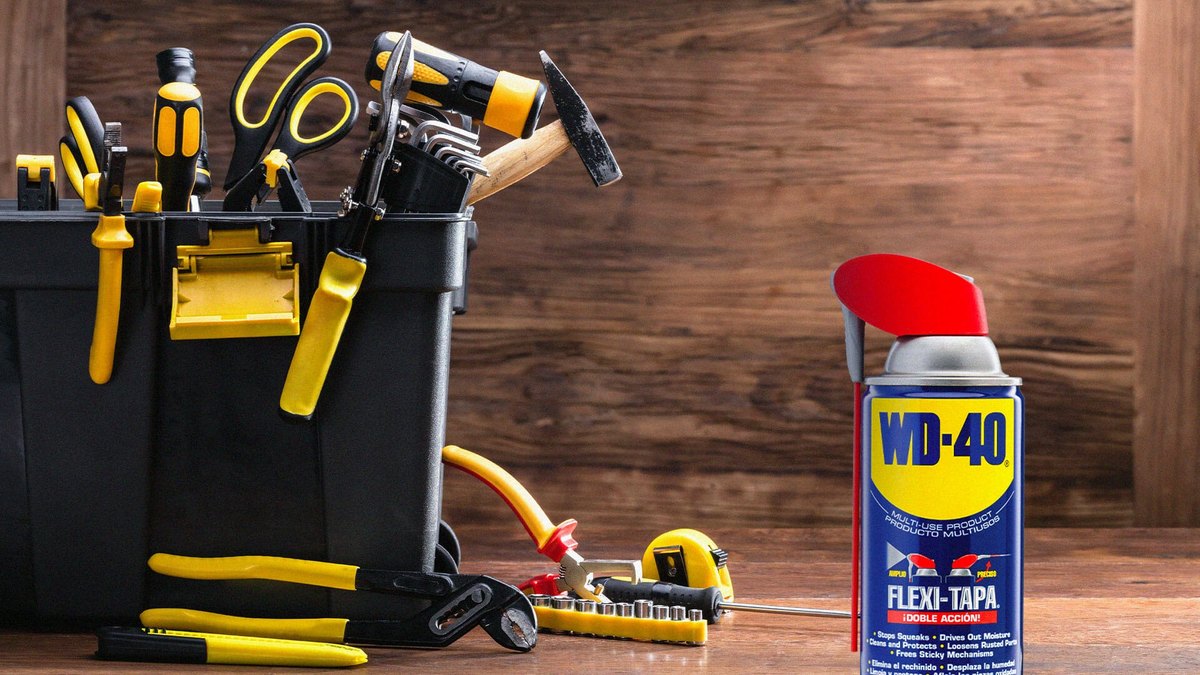
Tip: The simplest prevention takes a minute: after every job, wipe the tool with a dry rag and give it a quick spray of
WD-40 Multi-Use. Tools with no moving parts just need a wipe with a damp cloth and a thorough dry.
What next
Carry out a full clean and lubrication at least once a year, and twice for tools kept in a damp garage or shed: in spring and in autumn. For a busy workshop it is more convenient to buy WD-40 Multi-Use in a larger size.
These uses come from the experience of WD-40 users in many countries. Always follow the instructions and warnings on the product label.
More guides in «How to use».