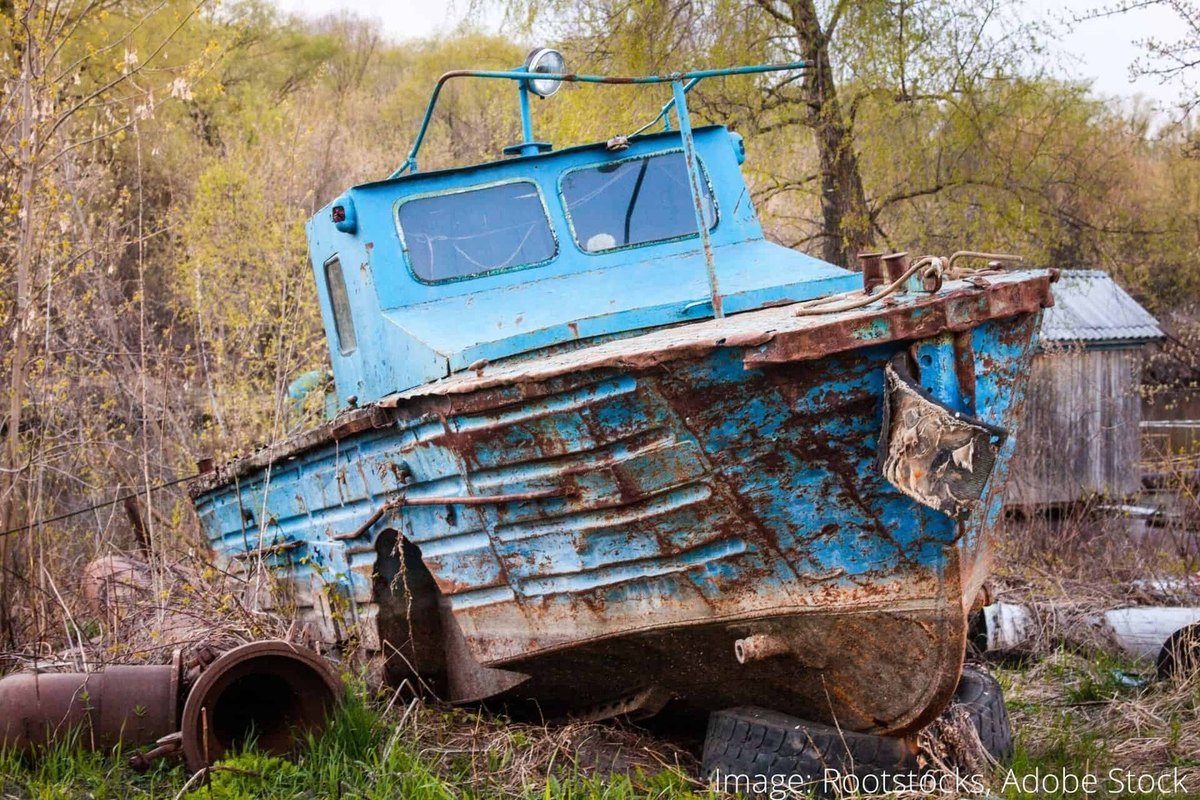
On a boat, rust attacks everything made of iron or steel: fittings, hatch hinges, stanchions, anchor gear, deck bolts and the exterior parts of the engine. Water, river mist and, at sea, salt speed up oxidation, so a small rust spot can turn into a weakened fitting and orange streaks down the hull within a single season.
Fighting rust has two parts: removing what is already there and stopping it from forming again. Below is a step-by-step guide to both, bearing in mind that most boats spend the winter ashore or in unheated storage.
What you will need
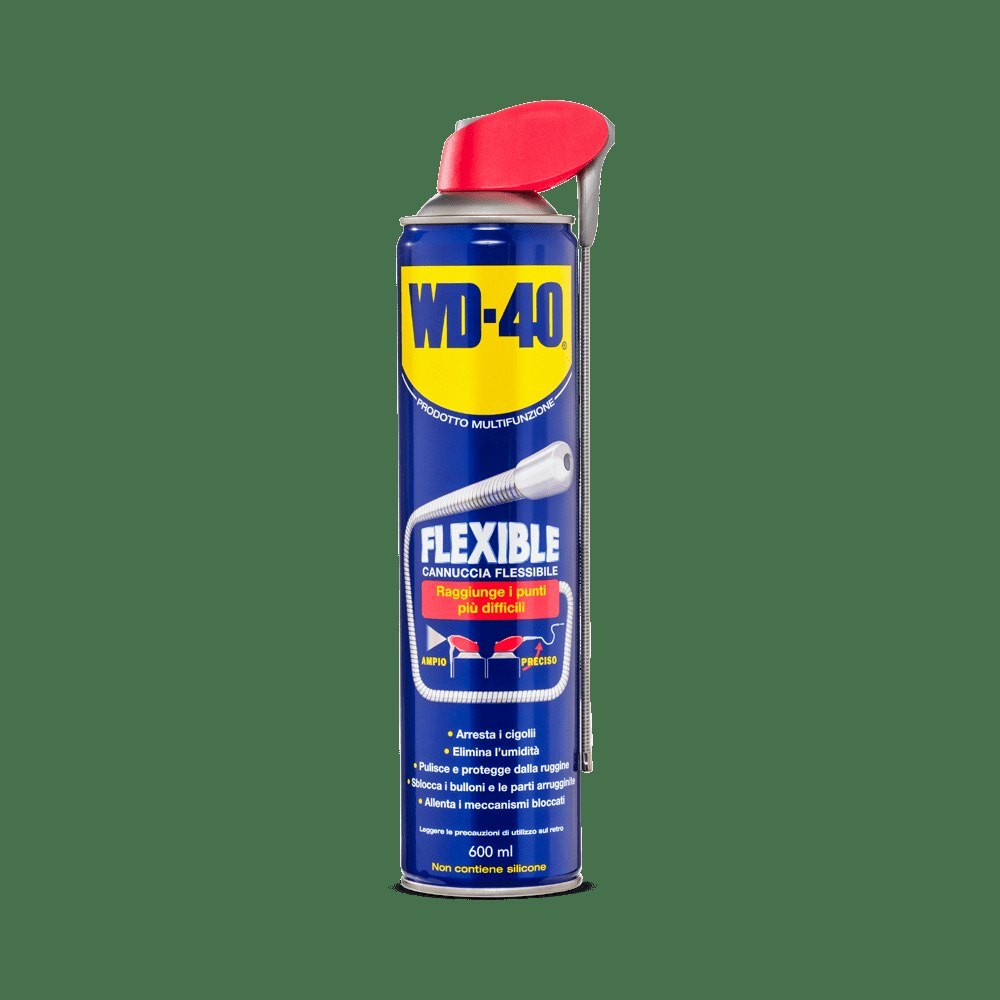
- WD-40 Multi-Use to protect and displace moisture
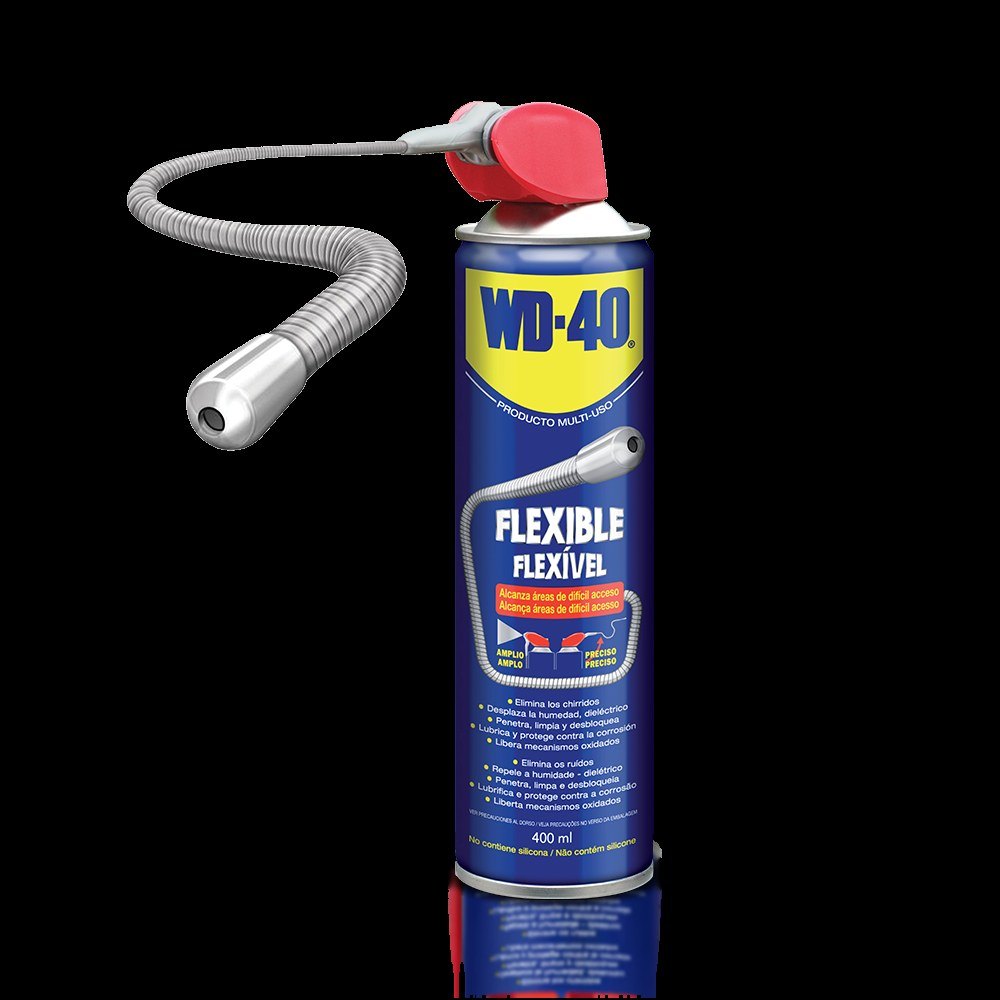
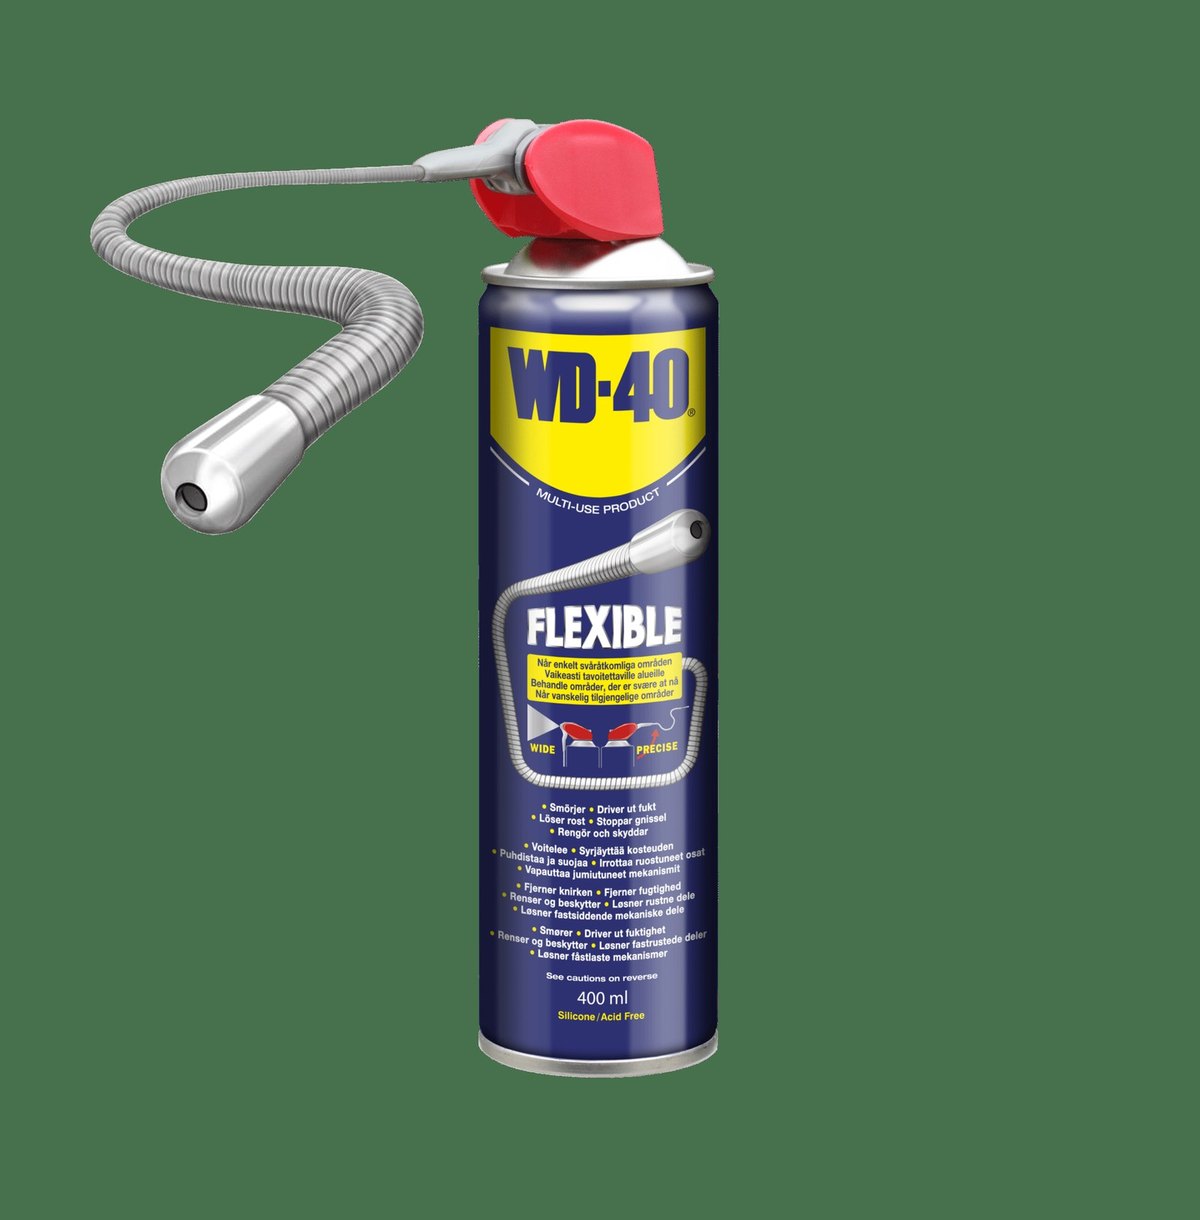
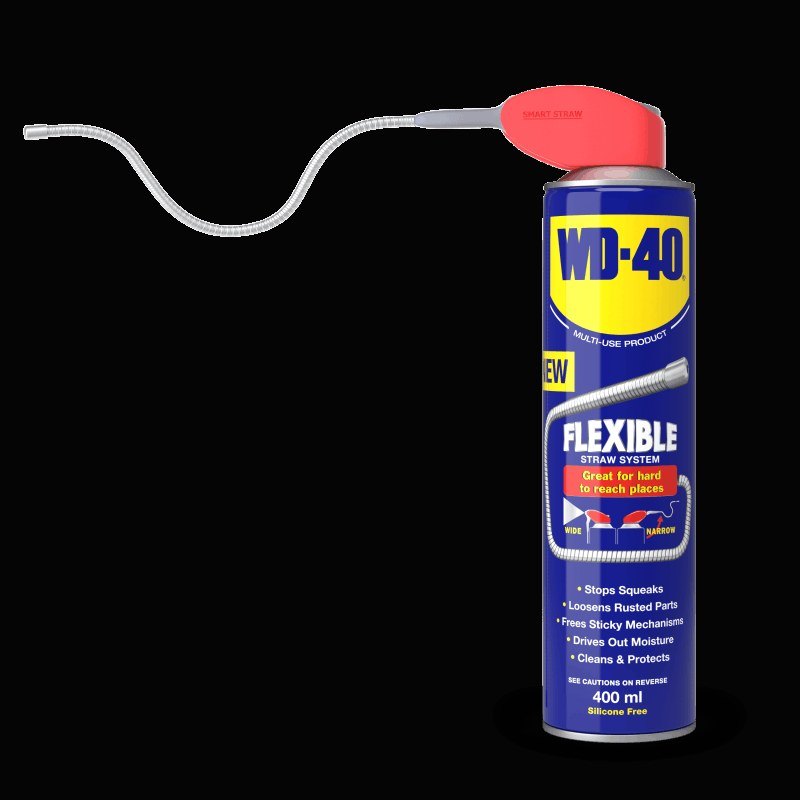
- WD-40 Smart Straw for tight compartments and fittings
- WD-40 Specialist Penetrant for seized bolts and nuts
- Fresh water, a sponge and microfibre cloths
- Wire brush and sandpaper in several grits
- Rust converter, anti-corrosion primer and paint
- Gloves and safety glasses
Important: Always wear gloves and safety glasses when removing rust: rust particles can injure eyes and chemical products irritate skin. Apply primers and paints only with good ventilation, never in a closed cabin.
Step 1
List the metal parts
Walk round the boat and write down every metal part: anchor fitting and chain, stanchions, hatch hinges and catches, steering linkage, winches, deck bolts and screws, exterior engine parts. Mark the most vulnerable spots where water collects.
The list makes sure nothing is missed and lets you repeat the treatment systematically.
Step 2
Wash and dry the parts
Wash each part with fresh water to remove dirt, silt and salt deposits, which would only accelerate corrosion under a protective layer. Then dry thoroughly: moisture trapped underneath defeats the whole job.
Work in dry weather without heavy dew.
Step 3
Remove existing rust
Take off surface rust with a wire brush or sandpaper, starting coarse and moving to fine. Large areas go faster with a brush on a drill, but do not remove more metal than necessary.
Treat seized bolts and nuts with WD-40 Specialist Penetrant first and give it 10-15 minutes so they can be undone without rounding the flats. The goal is bare metal with no trace of rust.
Step 4
Use a converter on deep corrosion
Where rust has bitten deep and cannot be removed completely, apply a rust converter following the manufacturer's instructions. It turns the remaining corrosion into a dense film that holds primer well.
Stainless steel is not treated this way: cleaning and rinsing is enough.
Step 5
Prime and paint
Brush anti-corrosion primer onto clean, dry metal in thin, even coats with no gaps. Let each coat dry and lightly sand with fine paper between coats.
Finish with two coats of protective paint compatible with the primer.
Step 6
Protect the metal with lubricant
Spray WD-40 Multi-Use onto the metal parts, especially where they attach to other structures, and spread it with a microfibre cloth. Give moving parts, hinges and threads an extra coat.
In tight compartments and around the steering linkage the WD-40 Smart Straw puts a precise jet where a cloth cannot reach. Work top to bottom on vertical surfaces.
Tip: Watch for dull patches and a light haze on bright metal: these are the first signs of corrosion. Treated with lubricant straight away, they never get the chance to become rust.
What next
Repeat the treatment at least twice a year: in autumn before winter storage and in spring before launching. Record the dates against your parts list. WD-40 Multi-Use suits hinges and moving parts exposed to water, and keep WD-40 Specialist Penetrant on board for seized fixings.
These uses come from the experience of WD-40 users in many countries. Always follow the instructions and warnings on the product label.
More guides in «How to use».