A staircase is used every day, so wear is inevitable: worn treads, flaking paint, tired old carpet. At the same time, the stairs set the look of the hallway, and renovated treads change the whole space.
You can renovate a staircase yourself as long as you take your time and work carefully. Below is the route from stripping the old covering to painting or fitting new tread covers.
What you will need
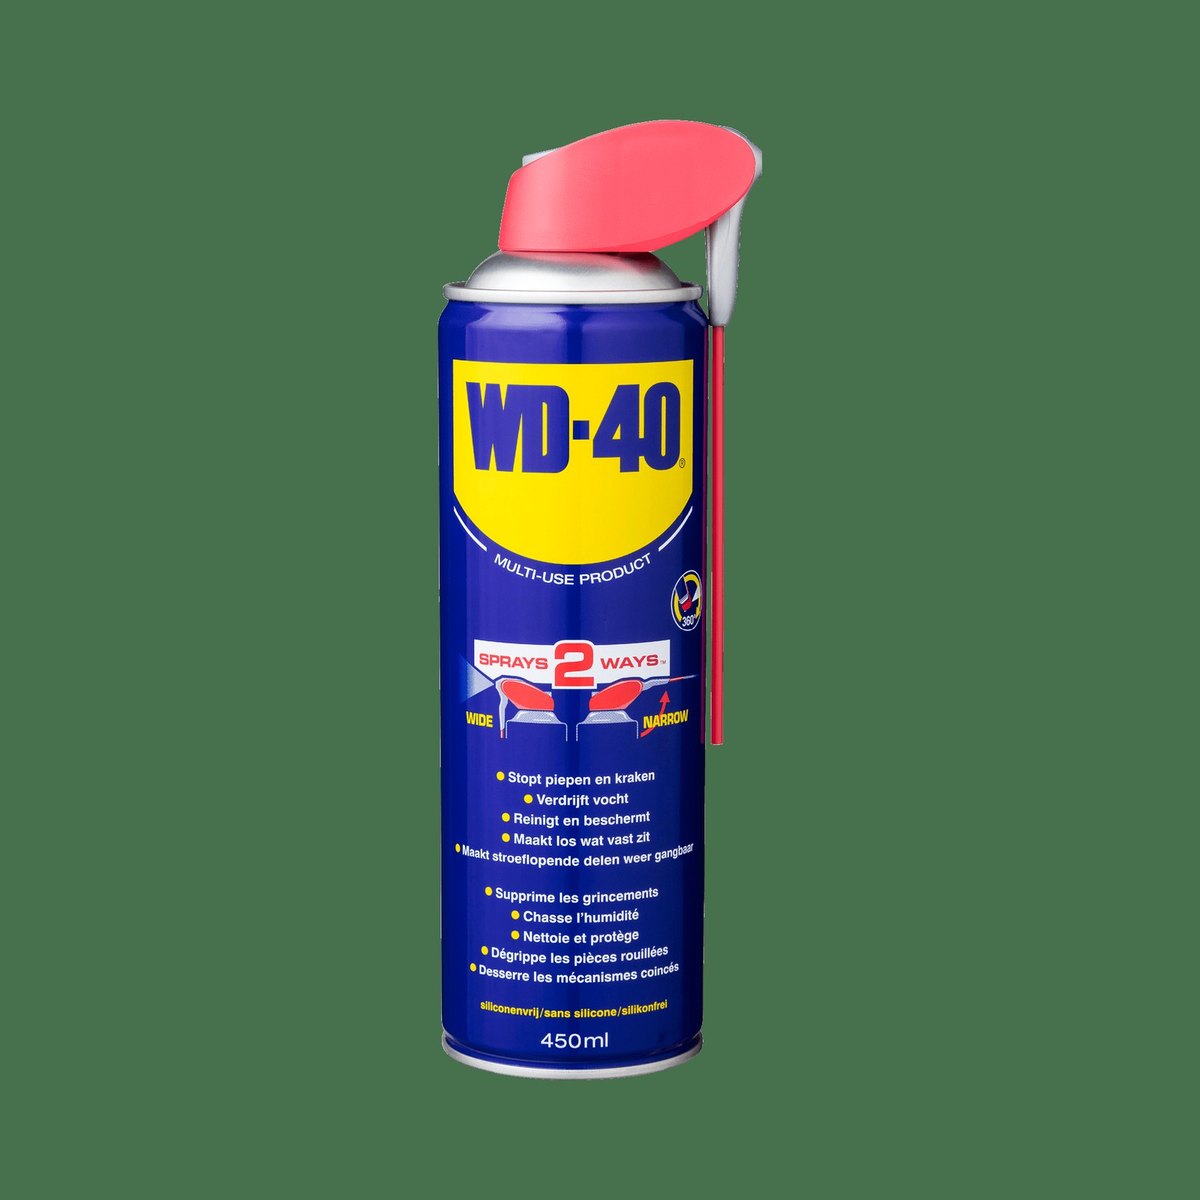
- WD-40 Multi-Use to remove glue residue
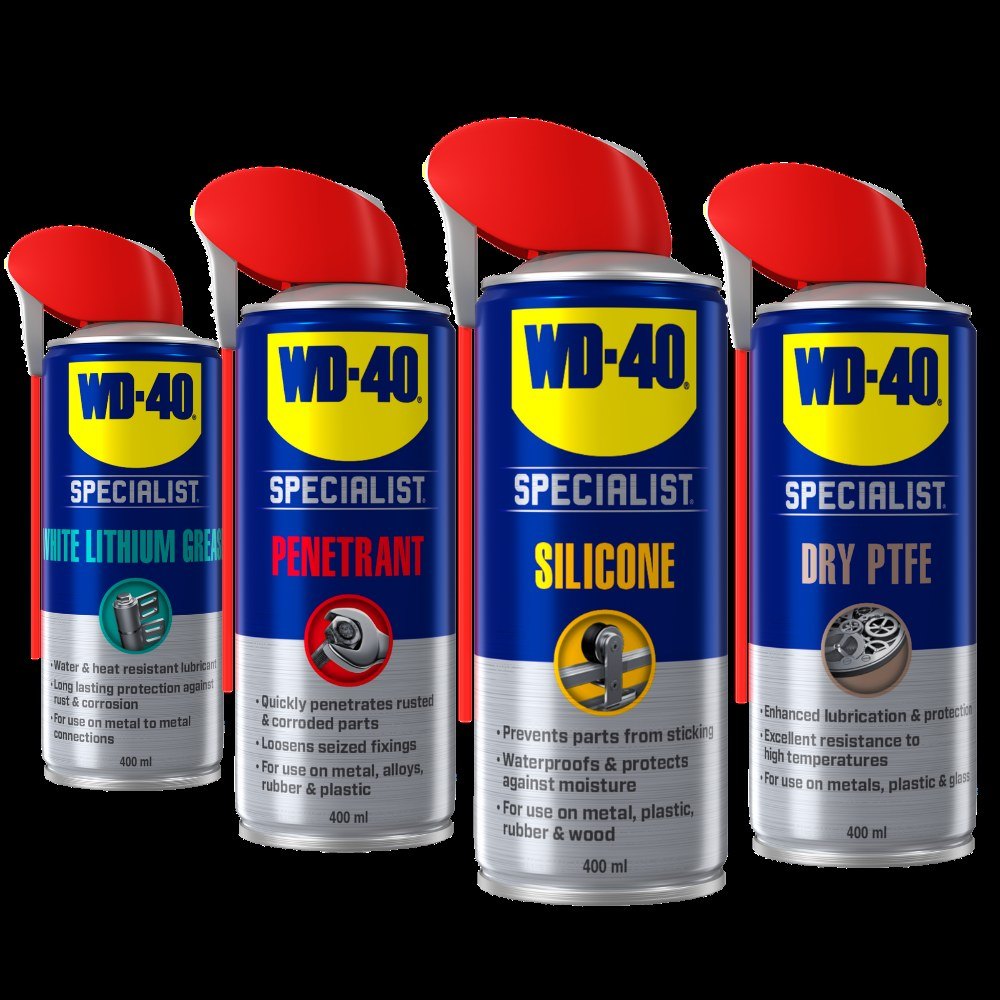
- WD-40 Specialist Penetrant for rusty nails and screws
- A scraper, pliers, a nail puller
- Sandpaper, P80 and P120, a sander
- A dust mask, safety glasses, gloves
- Flexible sealant, wood paint or varnish, anti-slip strips
- For tread covers: a stair template tool, a jigsaw, construction adhesive
Important: Wear a dust mask and safety glasses when sanding and stripping, and keep the area ventilated. Do not apply lubricant to a surface you plan to paint without degreasing it thoroughly afterwards.
Step 1
Strip the old covering
Old carpet or vinyl on stairs is usually held with glue, nails and staples. Wear a dust mask when removing it: dust builds up underneath for years, and some underlays can trigger allergies.
If glue marks remain on the treads, spray them with WD-40 Multi-Use, leave for a few minutes and wipe or scrape off the residue. Pull out all staples and nails; treat rusty, seized ones with WD-40 Specialist Penetrant first so they come out without splitting the wood. If you will paint the stairs, also remove any half-round nosing strip.

Step 2
Sand the treads
Sand from the top down so dust does not settle on finished treads. P80 paper removes glue and old varnish, P120 smooths the surface. Old paint comes off more easily with a heat gun and a scraper.
Wipe the wood with a damp cloth: the grain will rise and the surface will feel rough. Sand again with fine paper, and the grain will not rise after priming, so you will use less paint. Finally, degrease and remove all dust.
Step 3
Fill gaps and paint
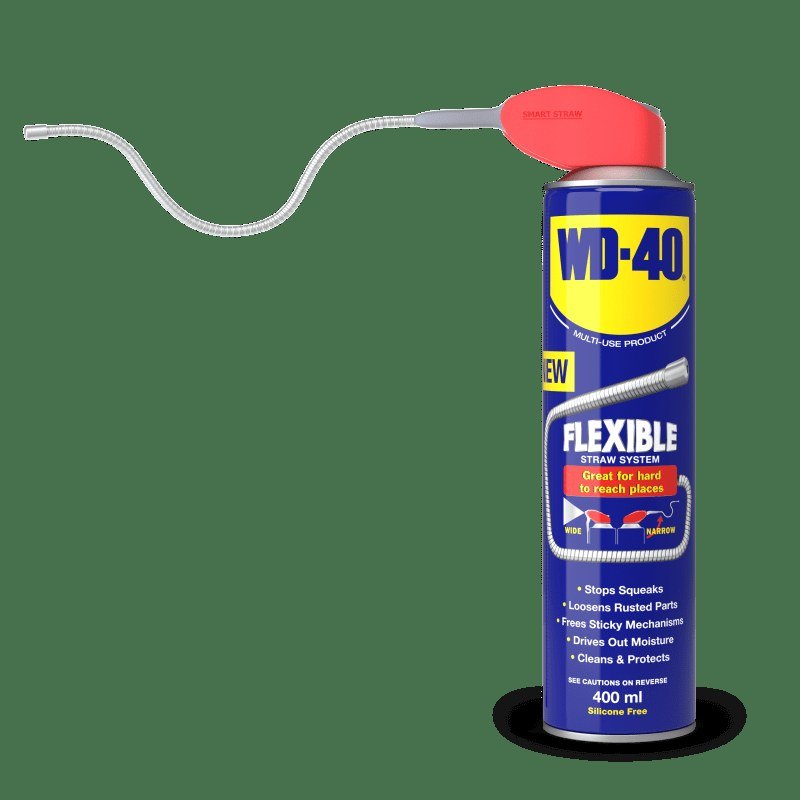
Check every tread and fill gaps and cracks with flexible sealant: it copes with the wood moving as humidity changes between winter and summer.
Choose a paint or varnish suited to your type of wood and rated for floors. Apply thin coats with drying time in between. Always fit anti-slip strips, especially if your family walks on the stairs in socks.
Step 4
Fit new tread covers
If the treads are badly worn, it is easier to cover them. Measure each tread with a stair template tool, transfer the outline to the cover and cut it with a fine-bladed jigsaw.
Apply construction adhesive to the old tread and lay the cover exactly in place. Measure, cut and glue the risers the same way. Repeat for every step, working from top or bottom as is convenient.
Step 5
Protect the new finish
Oak tread covers are often sold unfinished, so you choose the finish. Hard-wearing stair varnish forms a tough film, while hardwax oil soaks into the wood, brings out the grain and nourishes it. Choose a product designed for high-traffic floors.
Tip: A creaking tread can often be silenced before painting: dust talc into the joint between the tread and the riser, or secure the tread with an extra screw into the stringer.
What next
Refresh the varnish or oil on the busiest treads every few years, before the bare wood wears through. Keep WD-40 Multi-Use to hand for tape and glue residue on other surfaces around the house.
These uses come from the experience of WD-40 users in many countries. Always follow the instructions and warnings on the product label.
More guides in «How to use».